Sweater Darning: How to Mend Holes in Knitwear So They Last
Every favourite sweater eventually tells the same story: one elbow goes shiny and thin, a heel wears through, and one morning there is a hole where solid knitting used to be. Before you demote that sweater to gardening duty, try darning. A woven darn rebuilds the fabric itself, stitch by stitch, and a well made darn is soft, flexible and strong enough to outlast the yarn around it.
Darning is the natural companion to the sashiko visible mending you may already know from this blog. Sashiko shines on woven cloth like denim and cotton, where a patch and running stitch sit happily on the surface. Knitwear is stretchy, though, and a stiff patch on a stretchy sweater pulls and puckers. A darn, woven directly into the knitting, stretches with the garment, which is why it has been the standard sweater rescue for generations.
Darn, patch or Swiss darn? How to choose
Choose a woven darn when the yarn has actually broken and there is a hole, or when a worn patch is bigger than a coin. If you can see skin or light through the fabric, the structure has gone and needs rebuilding, and that is exactly what the steps below do.
Choose a patch when the damage is large, ragged or at a point of serious stress, for example a whole elbow that has worn paper thin across several inches. A knitted or fabric patch sewn over the area spreads the strain. You can also darn first to rebuild the hole, then patch over the top for double strength.
Choose Swiss darning when the stitches are thin but still intact: heels and toes on socks, elbows that look shiny, a small hole with its stitch loops still visible around the edge. Swiss darning, explained further down, traces new yarn over the old stitches before they break, so it is part repair and part prevention.
What you need
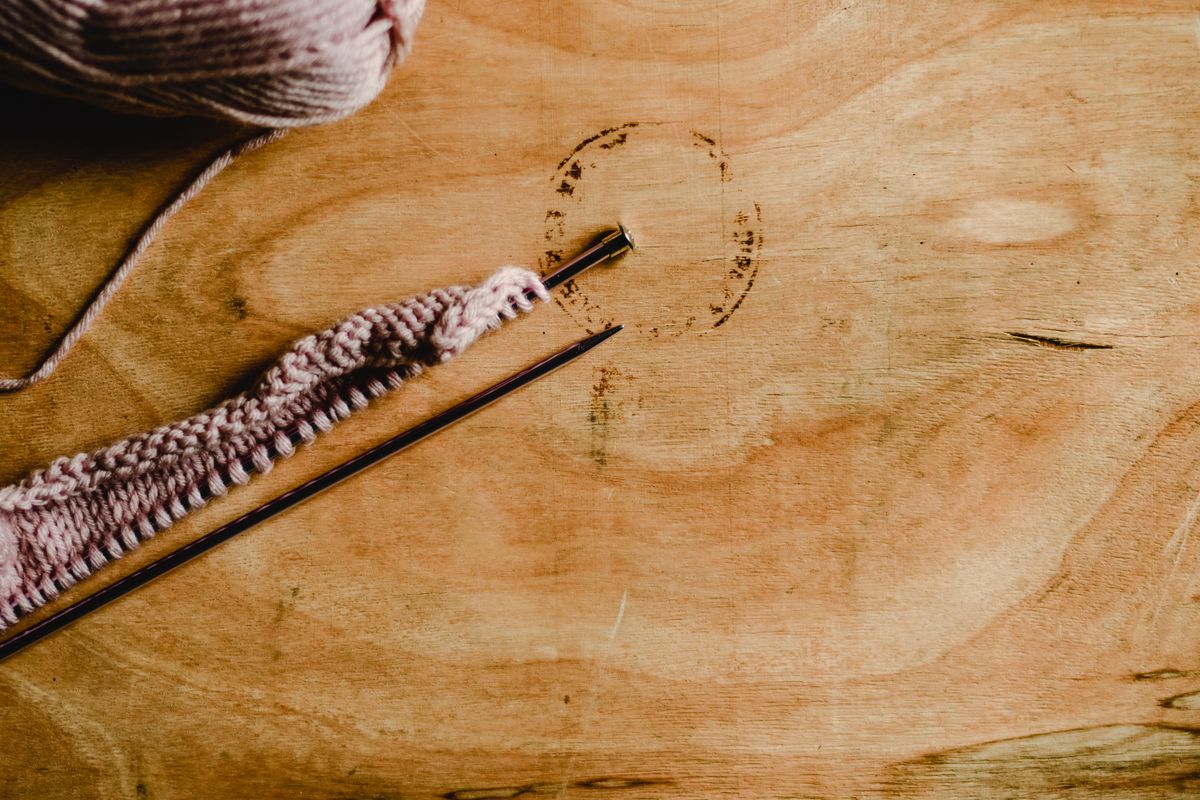
The list is short and mostly lives in a basic sewing box already. A darning mushroom, the smooth wooden dome that holds the fabric at the right tension, costs about $6 to $10 and is worth it if you plan to mend often. No mushroom? A jam jar lid, a smooth light bulb (switched off and cool, of course), a tennis ball or the base of a small bowl all do the same job.
You also need a long darning or tapestry needle with a blunt tip and a large eye, about $3 for a pack, and yarn that matches your garment in weight and fibre as closely as you can manage. Leftover yarn from the original project is perfect. Otherwise, match the thickness first and the colour second: a darn in the right weight but a slightly different shade sits flatter than a perfect colour in chunky yarn. Wool yarn on a wool sweater felts in slightly with wear and blends best of all. Add small scissors and good light, and you are ready.
Step 1: Set up the mend
Turn the garment inside out if the hole is on a seam, or leave it right side out for an elbow or heel. Stretch the damaged area smoothly over your mushroom or substitute and secure it with an elastic band or a loop of yarn if it slips. The fabric should be gently taut, like a drum skin, never stretched hard, because a darn worked on overstretched knitting relaxes into a pucker.
Trim any fluffy, broken ends back to sound yarn, and if the hole has ladders running from it, catch each loose loop with a spare needle or safety pin so it cannot run further while you work. Cut a length of yarn about 18 inches long. Longer sounds efficient but tangles, frays and wears thin as it passes through the fabric again and again.
Step 2: Lay the warp threads
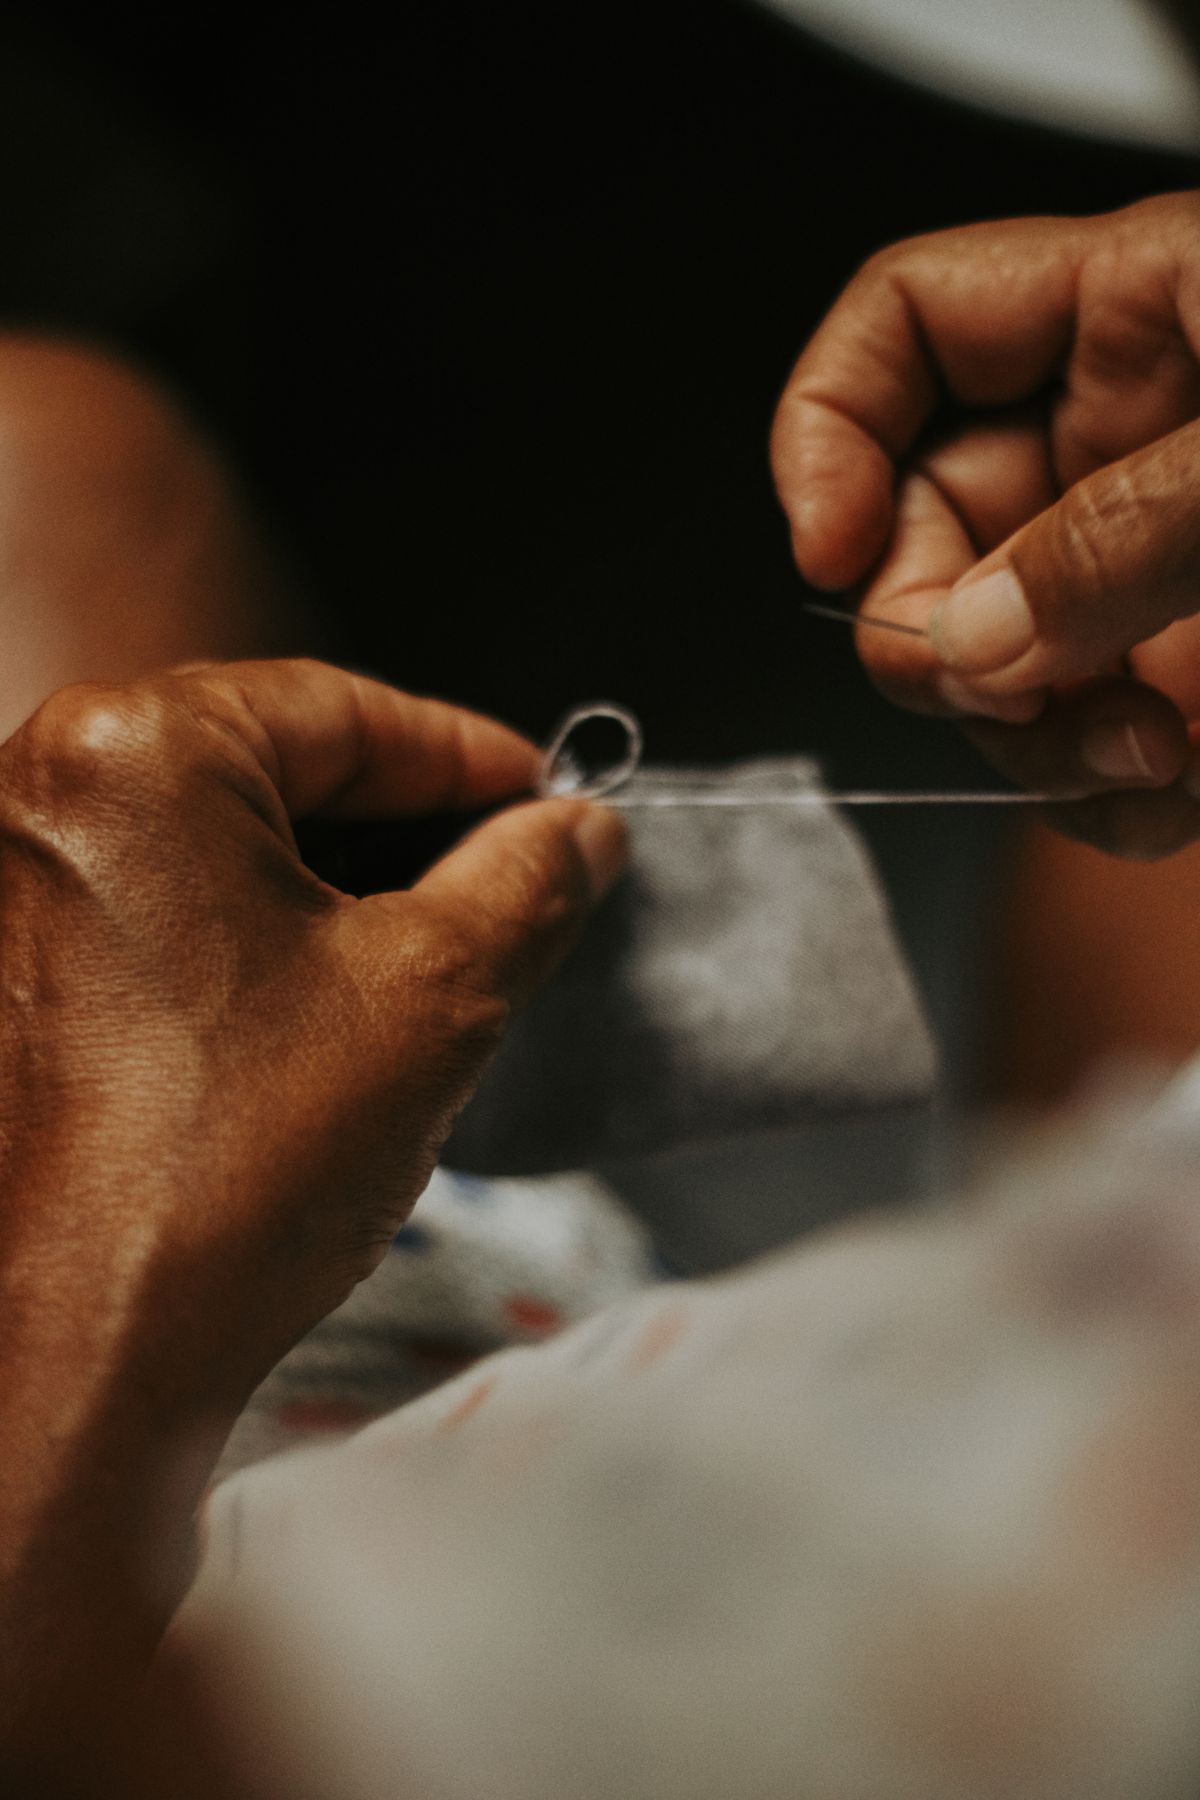
The darn is built like a tiny piece of weaving. First come the warp threads, running in the direction of the knitted columns, up and down the hole. Start in solid fabric about half an inch beyond the hole. Bring the needle up, leave a tail of an inch or so on the underside (no knots, they make lumps), and take a long stitch down across the hole, anchoring again in solid fabric below it.
Work back up beside your first thread, spacing threads about one stitch width apart, until the whole hole is covered with neat parallel strands, each one anchored in sound knitting at both ends. Keep the tension even and relaxed. These threads are the skeleton of your new fabric, so neatness here pays off in the next step.
Step 3: Weave the weft
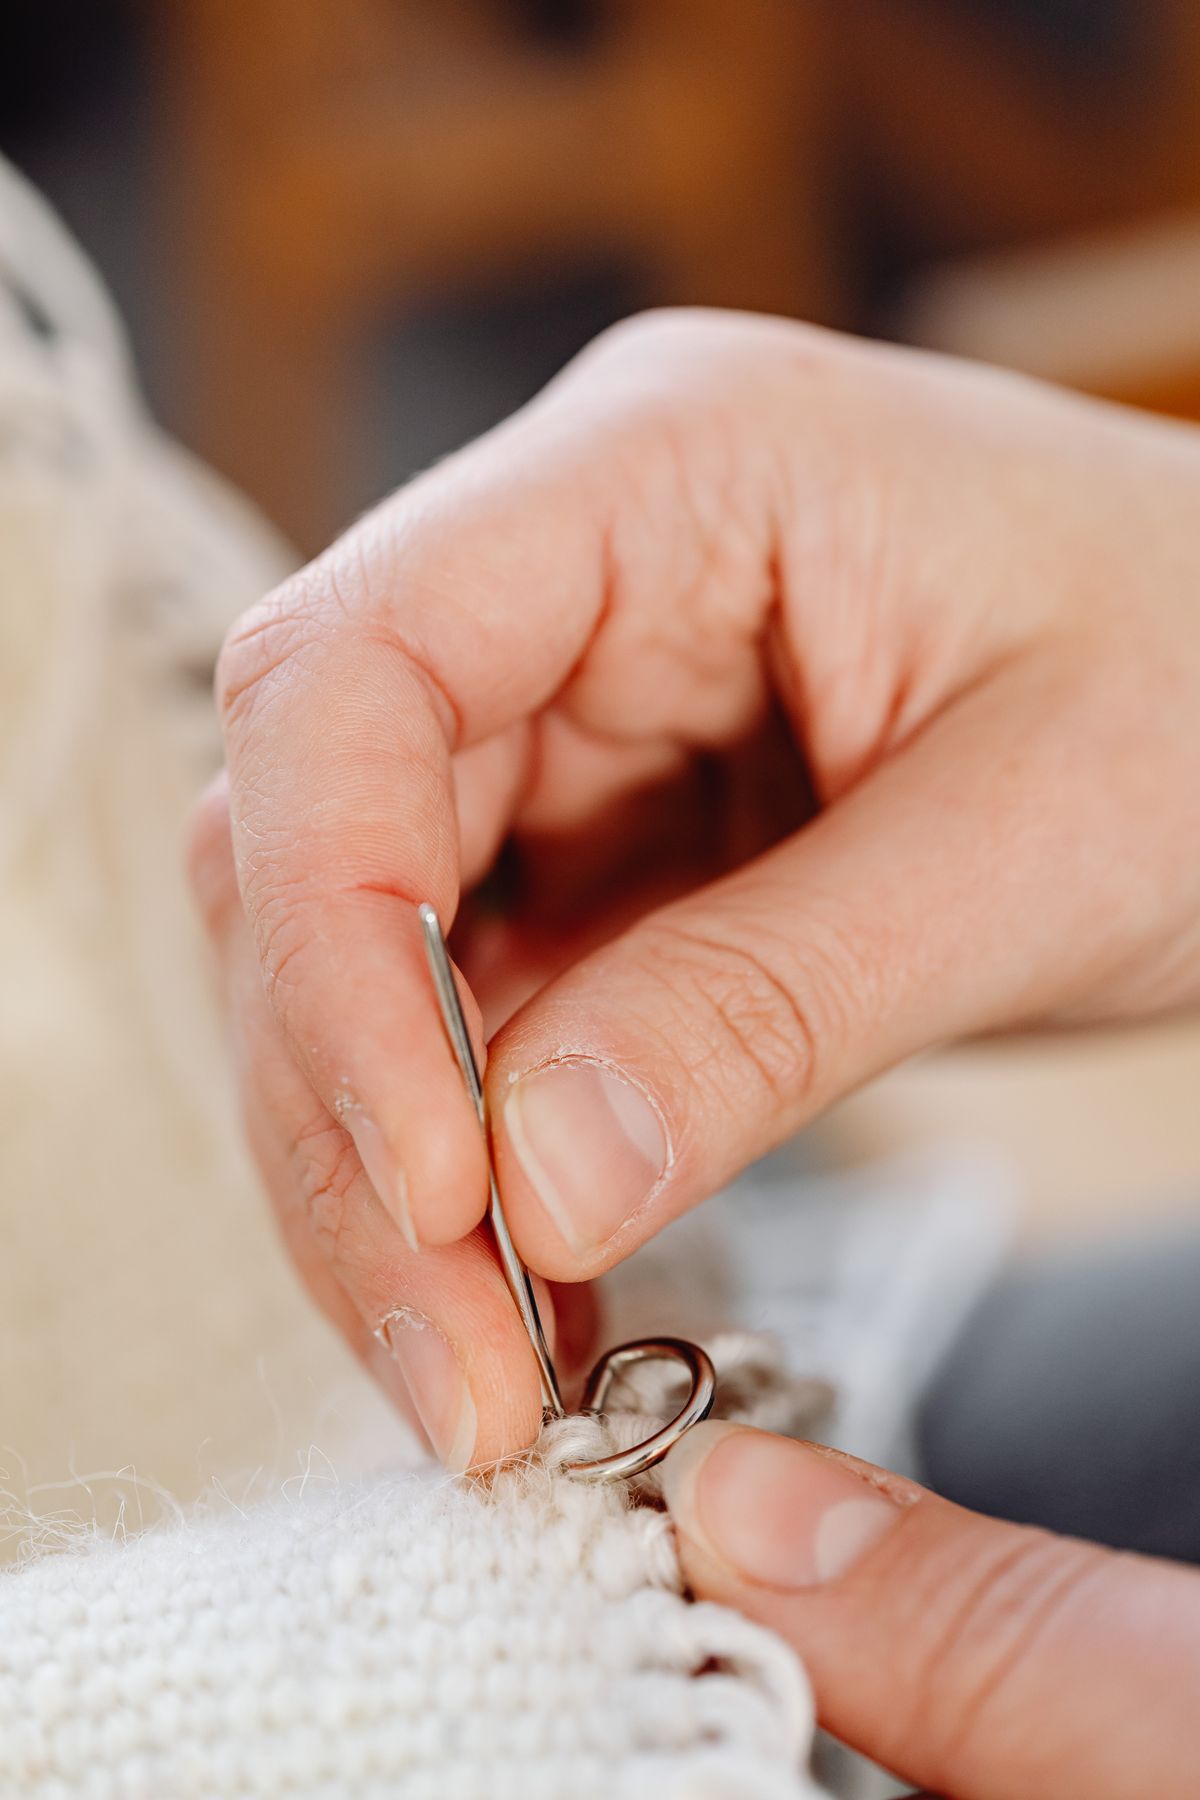
Now weave across. Starting in solid fabric to one side of the hole, pass the needle over the first warp thread, under the second, over the third, and so on across the row, then anchor in the solid knitting at the far side. Come back for the second row doing the opposite: under where you went over, over where you went under. That alternating pattern is what locks the threads into real cloth.
Push each row gently up against the last with the needle tip rather than pulling it tight. The woven patch should sit level with the surrounding knitting, neither domed nor dented. Rows should also extend into the solid fabric at both sides, so the edges of your little woven square are attached to healthy stitches all the way round.
Step 4: Fill the edges and check the cover
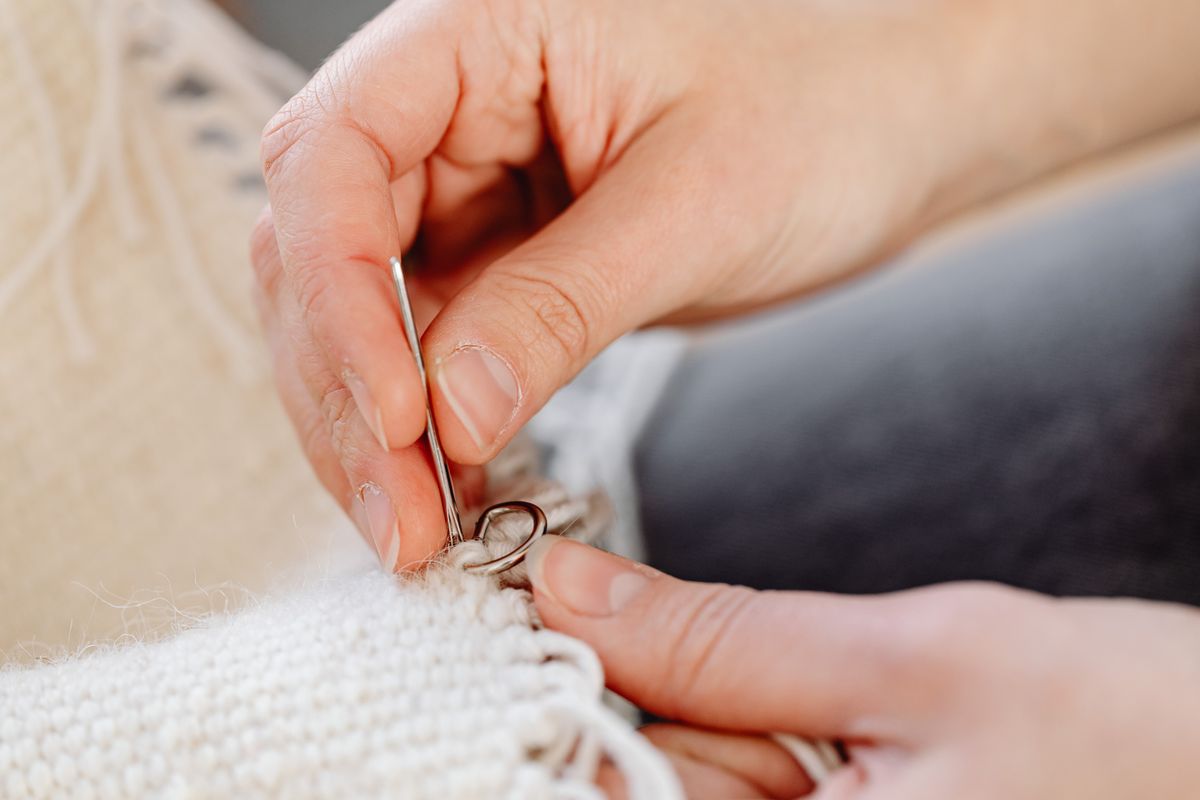
As the patch fills in, hold the work up to the light. The same amount of light should pass through the darn as through the rest of the sweater. Bright spots mean the weaving is too sparse, so add an extra row or two in those places. Thin areas at the corners are common, because the hole is rarely a tidy square, so run a few shorter rows to fill the shape out.
If your hole is on a heel or toe, you can shape the darn slightly by skipping a thread at the edges of alternate rows, making the patch follow the curve. For an elbow, keep the patch flat and generous, extending at least half an inch into sound fabric in every direction, because the area around an old hole is usually thinner than it looks.
Step 5: Secure the ends
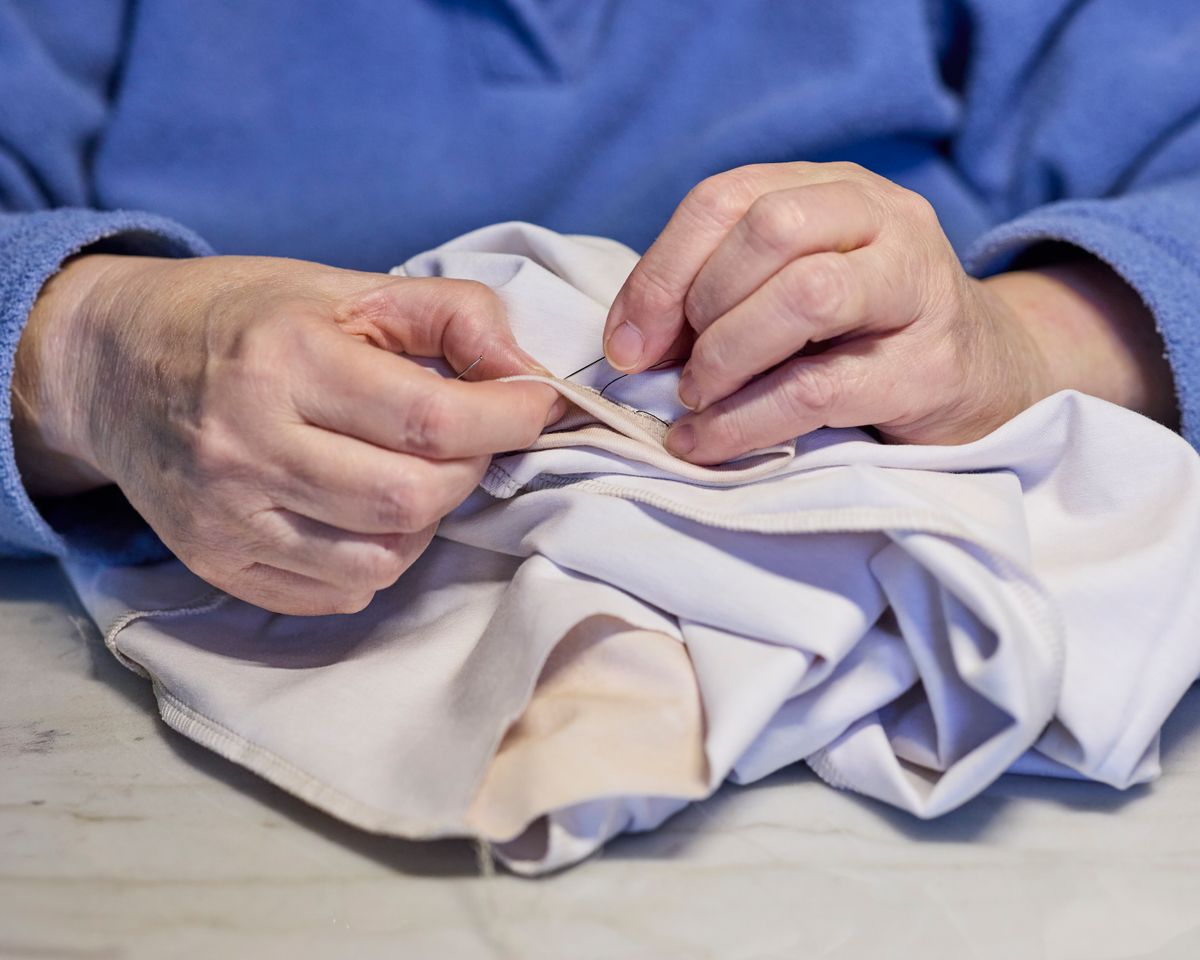
When the weaving is complete, turn the garment over. Thread each loose tail in turn and weave it back through the underside of your darn for an inch or so, following the direction it came from, then trim it close. Backing the yarn over itself like this locks it without knots, and short tails threaded through only the top layer of stitches will not show on the right side.
Take the garment off the mushroom and give the mend a gentle steam or a press with a warm hand, then smooth it flat. The fibres settle, the slight stiffness of new weaving relaxes, and you can see the finished darn as it will look in wear: a small, honest patch of new fabric where the hole used to be.
Swiss darning for small holes and thin spots
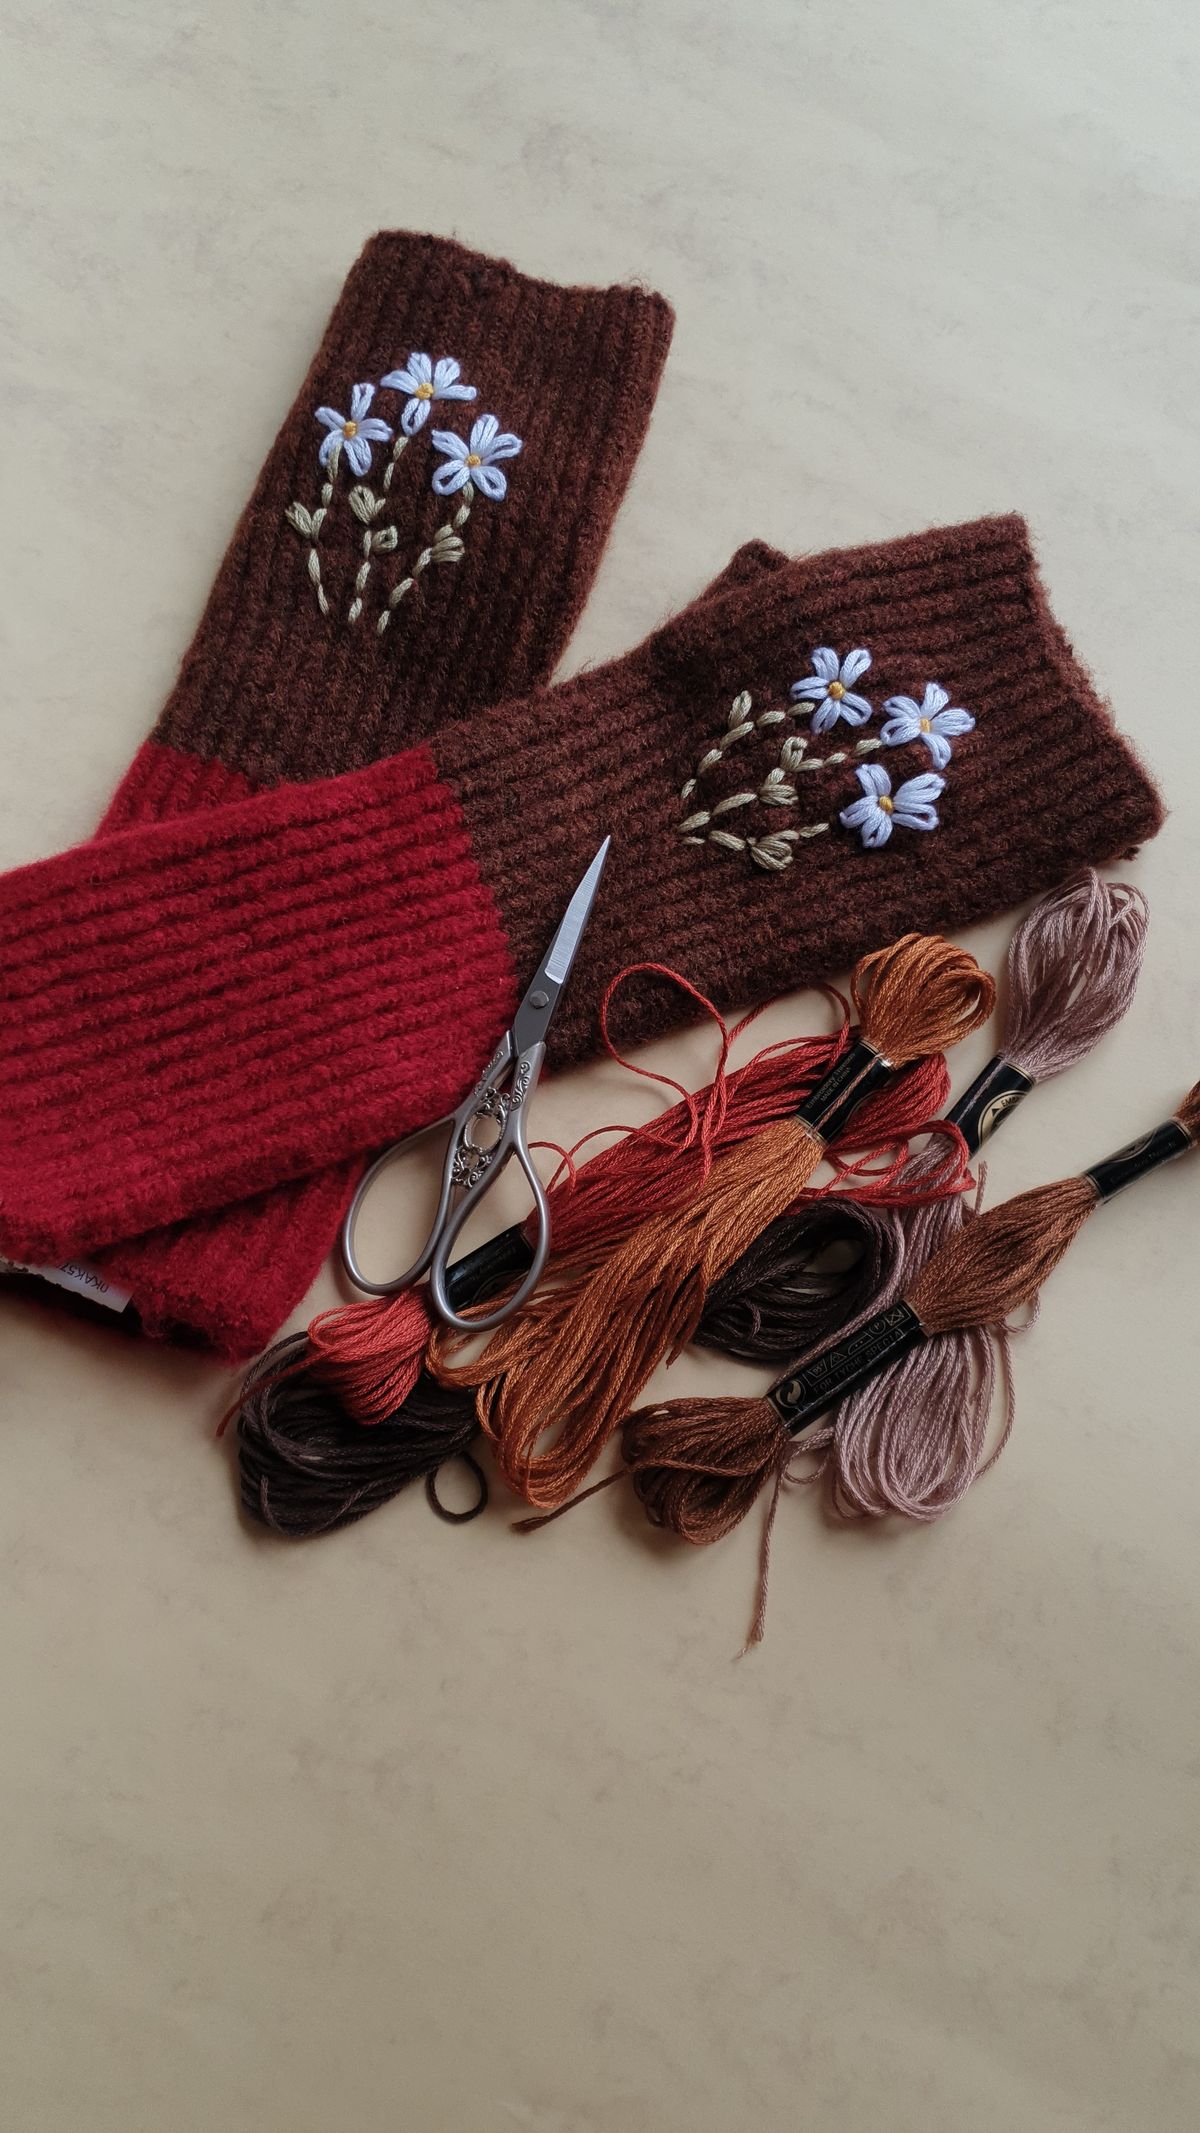
Swiss darning, also called duplicate stitch, is the technique to reach for before a hole fully forms. Instead of weaving a grid, you follow the path of the original knitting: the needle traces the V of each stitch, covering the worn yarn with fresh yarn in exactly the same pattern. Because it copies the existing stitches, it is nearly invisible in a matched yarn, and in a contrast colour it looks like a deliberate embroidered detail.
Work it over any area that looks thin when held to the light, covering the weak patch plus one healthy stitch all the way round. It is quick, meditative work, and the same duplicate stitch skills build on the decorative stitching in our hand embroidery projects for beginners. Ten minutes of Swiss darning on a thinning heel in autumn can save a full woven darn in winter.
Care tips so your mend lasts
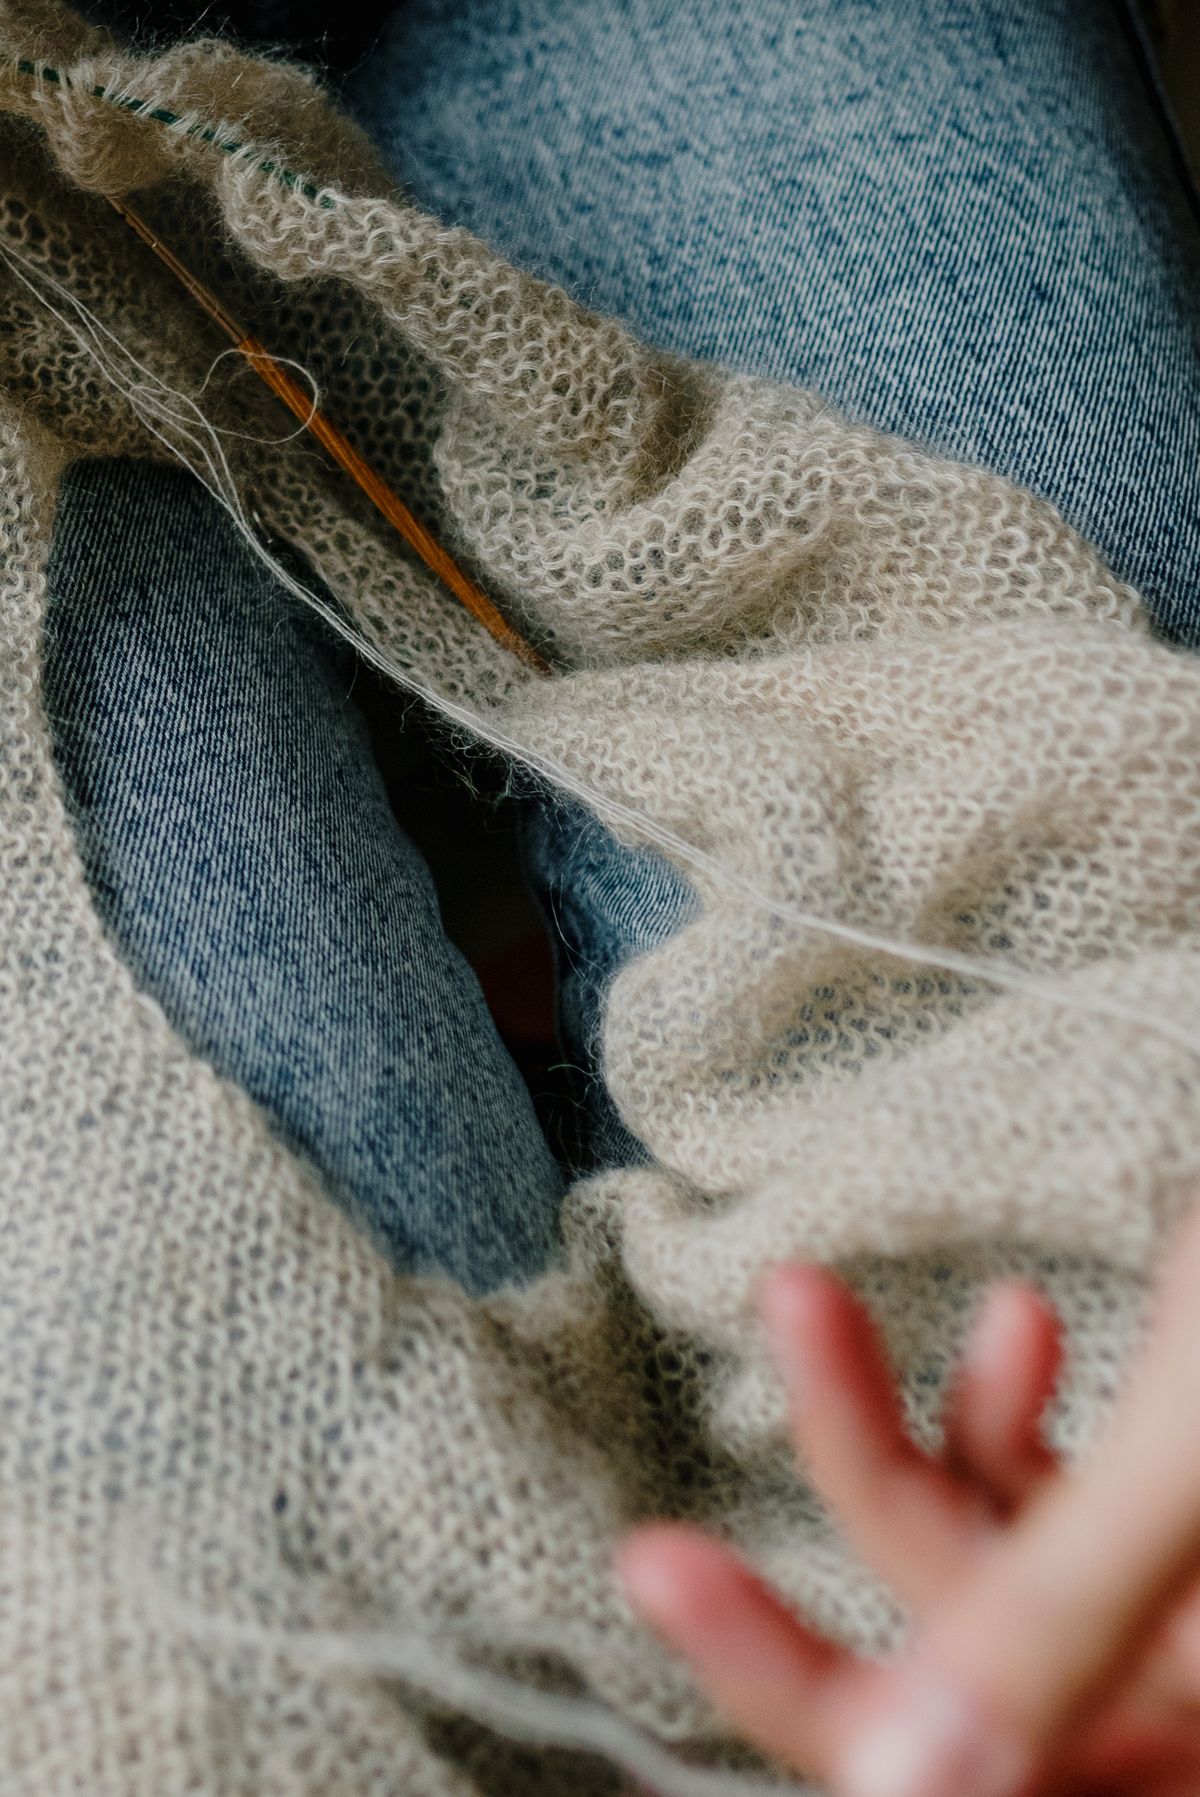
Wash mended knitwear gently, inside out, in cool water, and dry it flat. A darn is new fabric knitted into old, and rough machine washing worries at the joins. Store sweaters folded rather than hanging, because hangers stretch shoulders and put fresh strain on elbows and cuffs. Keep a small mending kit with your leftover yarns somewhere you will actually see it: holes caught at the thin stage take five minutes, while holes left to grow take an evening.
Most of all, wear the sweater. A visible darn in a cheerful colour, or an invisible one only you know about, is a small record of care. Garments that get mended tend to be the ones with stories, and a darned elbow is a much better ending than the back of a drawer.


Comments
Post a Comment