Junk Journal for Beginners: Start Your First Journal from Scraps
If you have a drawer full of pretty paper scraps, old envelopes, ticket stubs and bits of ribbon that feel too lovely to throw away, a junk journal is the perfect home for all of them. It is a handmade book you build yourself, fill at your own pace, and enjoy without worrying about neat handwriting or perfect pages.
This guide is for complete beginners. You do not need a craft room, a special kit or any bookbinding experience. If you can fold paper, thread a needle or press a stapler, you can make your first journal this weekend from things you already have at home.
What is a junk journal?
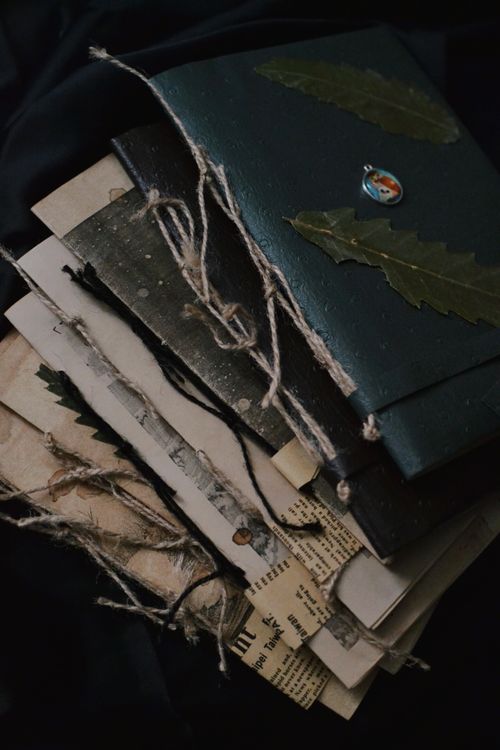
A junk journal is a handmade book built from scraps, ephemera and leftovers. The word junk does not mean rubbish. It means the everyday paper bits that pass through our lives and usually end up in the recycling bin: packaging, old book pages, greeting cards, paper bags, maps and leftover scrapbook paper. In a junk journal, those bits become pages, pockets and decoration.
There are no rules. Your journal can be a diary, a scrapbook, an art journal, a recipe keeper, a travel record or a mix of all five. Pages can be different sizes, edges can be uneven, and nothing has to match or be expensive. Most makers start with what is already in the house, and that thrifty, use what you have spirit is exactly the point.
If you enjoy handmade paper gifts, our guide to how to make a birthday magazine is a lovely next project to try.
What you need
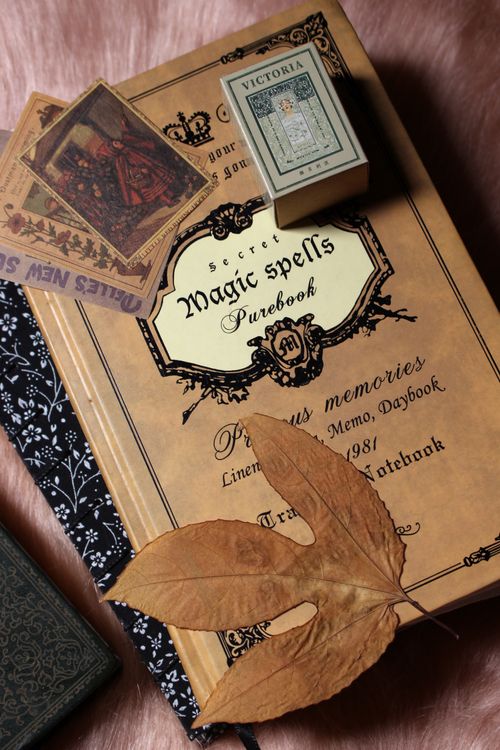
Gather supplies from around the home before you buy anything at all. Raid the recycling pile, the junk drawer and the back of the wardrobe. Here is a simple starter list:
- Cardboard from a cereal box or parcel, or the cover of an old hardback book, for your cover
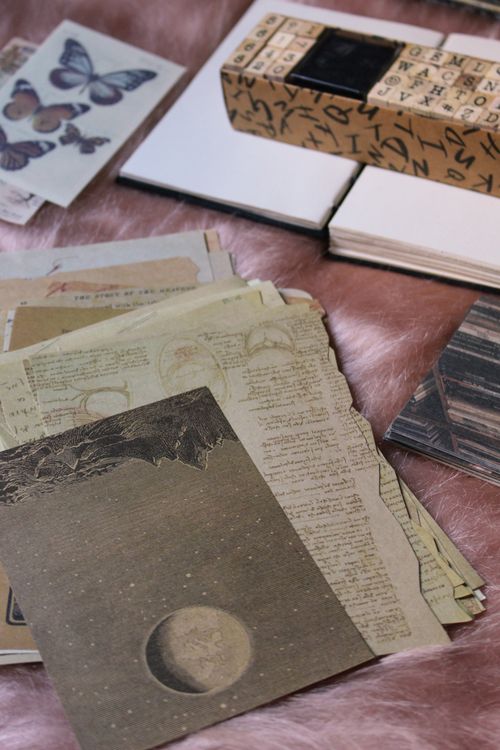
- Scrap papers: wrapping paper, book pages, envelopes, paper bags and scrapbook offcuts
- A large needle and strong thread, such as embroidery thread or twine, or a stapler
- Glue stick or craft glue
- Scissors, plus a ruler and pencil if you have them
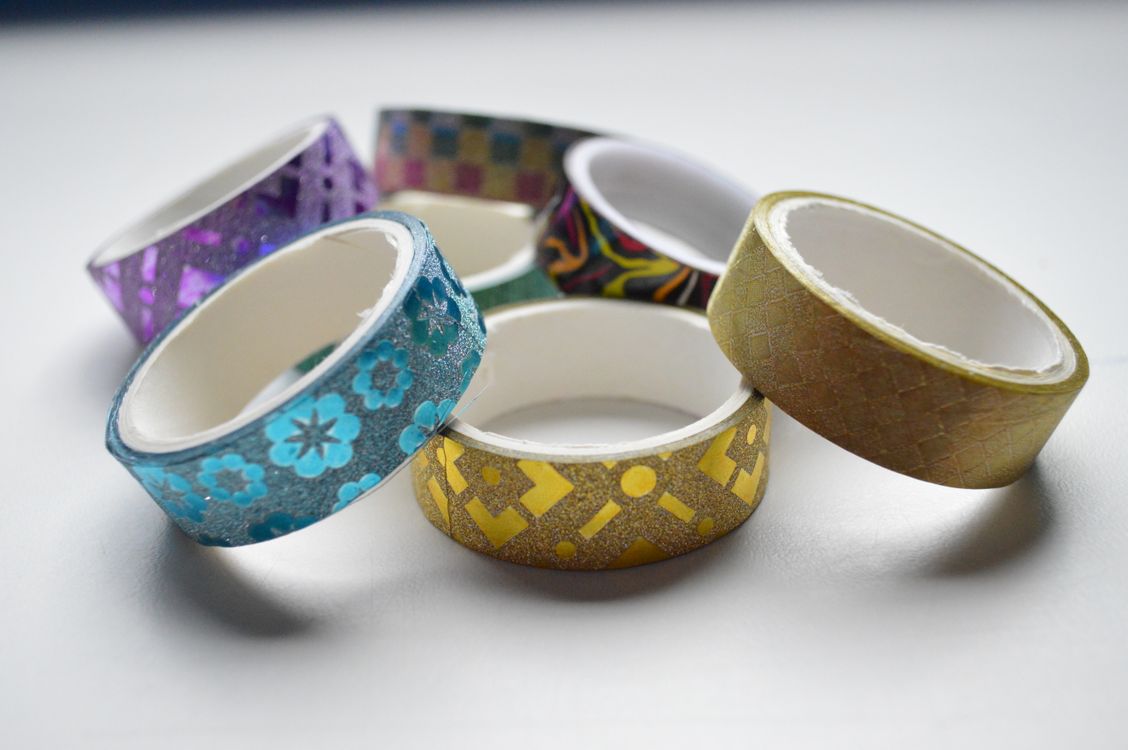
- Washi tape, stickers or stamps for easy decoration
- Envelopes, tags and index cards for pockets and tuck spots
- Fabric scraps, lace, ribbon and buttons from the sewing basket
That is truly all you need. A paper trimmer is a nice extra, but not required. Set everything out and enjoy the sorting as much as the making.
How to make your first junk journal
Step 1: Choosing and prepping a cover
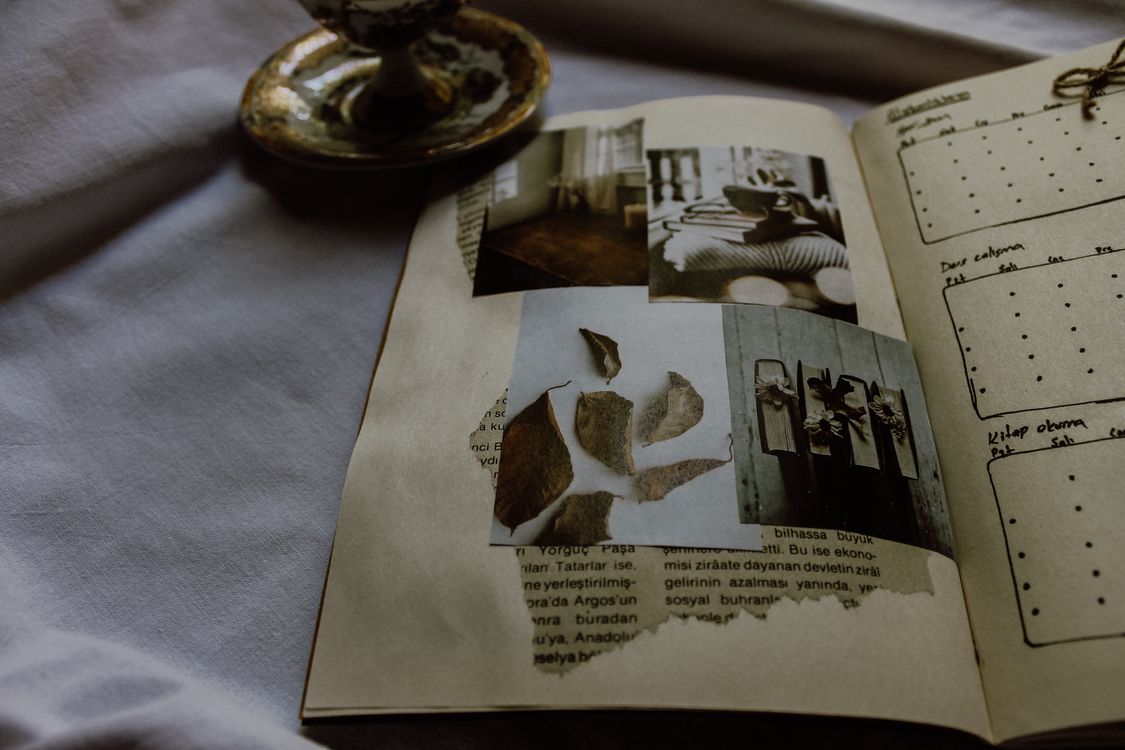
Your cover gives the journal its shape, so choose something sturdy. Cardboard from a cereal box or parcel works well, and the cover of an old hardback book with its pages removed works beautifully too. Cut it a little larger than you want your pages to be. A good beginner size is about 15 cm by 21 cm, close to a standard paperback, but any size you like is fine.
Cover the outside with wrapping paper, fabric, a map or a brown paper bag. Spread glue evenly, press the covering down from the centre outwards to push out bubbles, and fold the edges to the inside and glue them flat. Add a sheet of paper inside to hide the folded edges, then leave it under a heavy book for an hour to dry flat.
Step 2: Making paper signatures
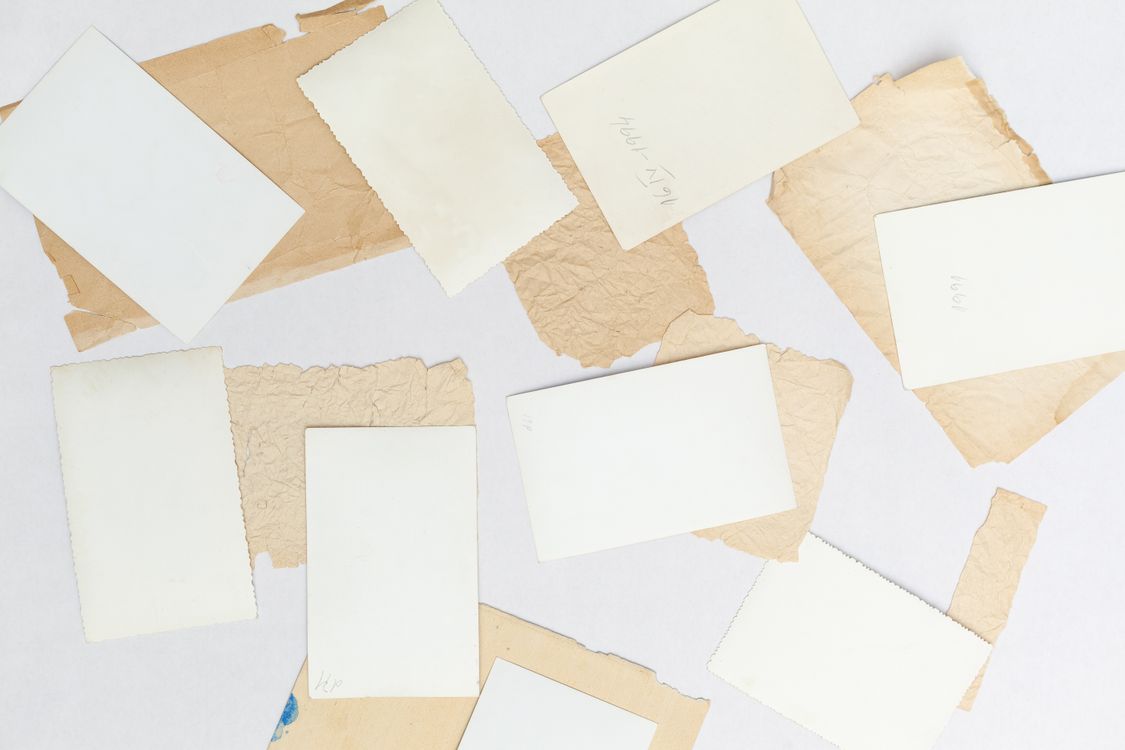
Bookbinders group pages into small bundles called signatures, and you will too. Take five to eight sheets of mixed papers, stack them with the nicest ones on the outside, and fold the whole stack in half together. That folded bundle is one signature. Make two or three signatures for a first journal, which gives you a chunky book that is still easy to bind.
Mix your papers on purpose. Put a brown paper page next to a book page, and an envelope next to a sheet of wrapping paper where it will be a happy surprise. Trim any sheets that stick out too far, but do not fuss over uneven edges. That handmade look is part of the charm.
Step 3: Sewing or stapling the binding
You have two easy options here, and both work well. Choose the one that suits the tools you have.
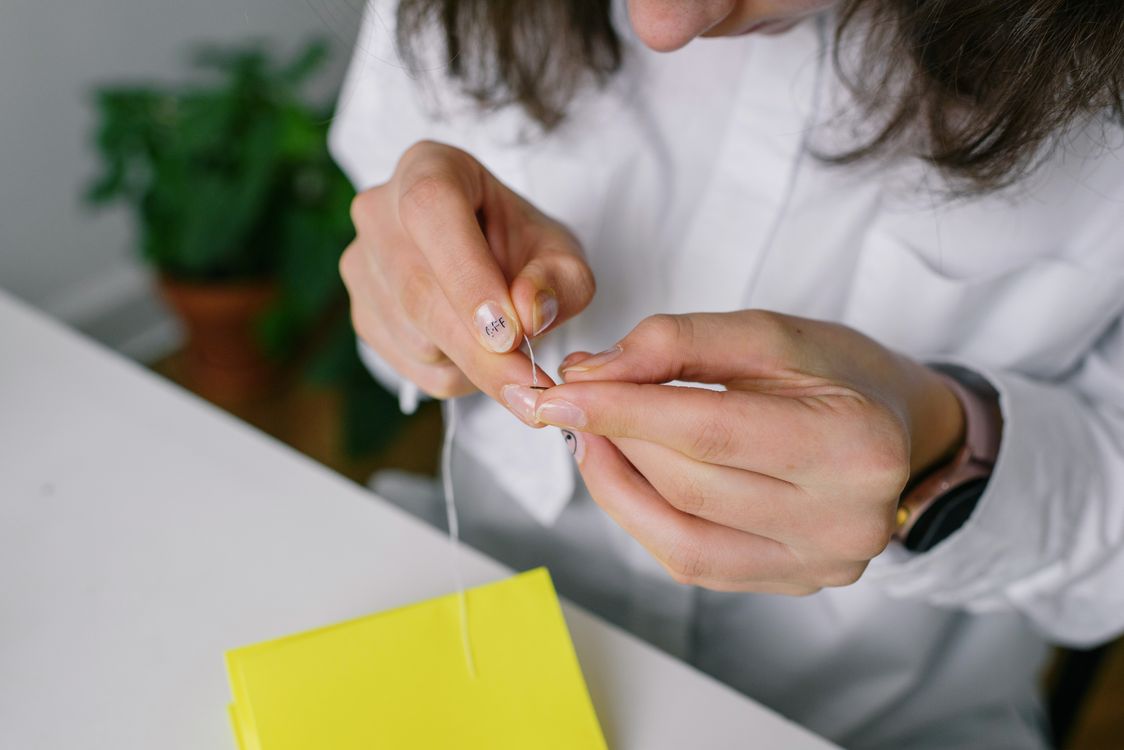
To sew: Open a signature to its centre fold and mark three dots along the fold, one in the middle and one near each end. Push your needle through the dots first to make holes, which makes sewing much easier. Thread a long piece of strong thread and sew in and out through the three holes in a simple line, finishing back at the middle. Tie the ends in a firm knot and trim. Repeat with each signature, then glue the folded edge of each bundle side by side inside the spine of your cover.
To staple: Open each signature flat, place it fold side up on a magazine, and staple twice along the fold. A standard stapler opened flat works if you press the staple legs down by hand afterwards. Then glue the back page of each signature firmly inside your cover, or join the bundles with washi tape along the spine and glue the whole block in. It is quick, sturdy and perfect for a first book.
Step 4: Adding pockets and tuck spots
Pockets give your journal its treasure hunt feeling. The simplest pocket is a small envelope glued onto a page by its back. You can also make one from a folded corner of paper, a piece of fabric, or a trimmed paper bag. Glue only the sides and bottom, and leave the top open so tags and notes slide in and out.
A tuck spot is even easier. Glue a small strip of paper, lace or washi tape across a page at two ends, leaving the middle loose, then tuck a photo, ticket or tag behind it. Add two or three pockets and tuck spots now, and save the rest for later as the journal fills up.
Step 5: Decorating with ephemera
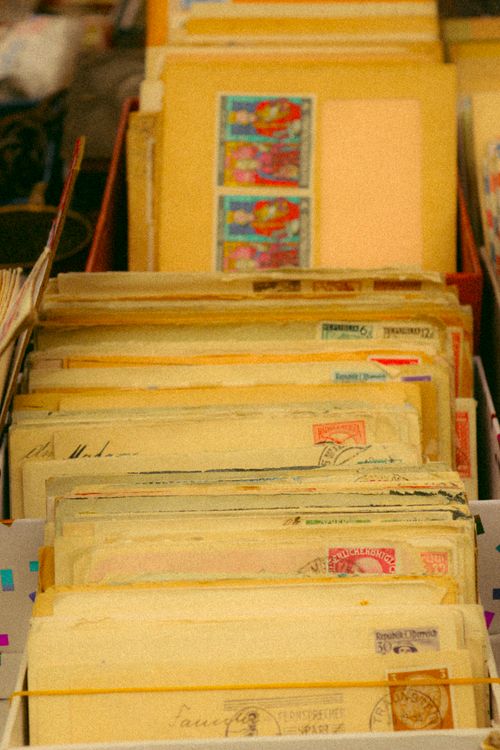
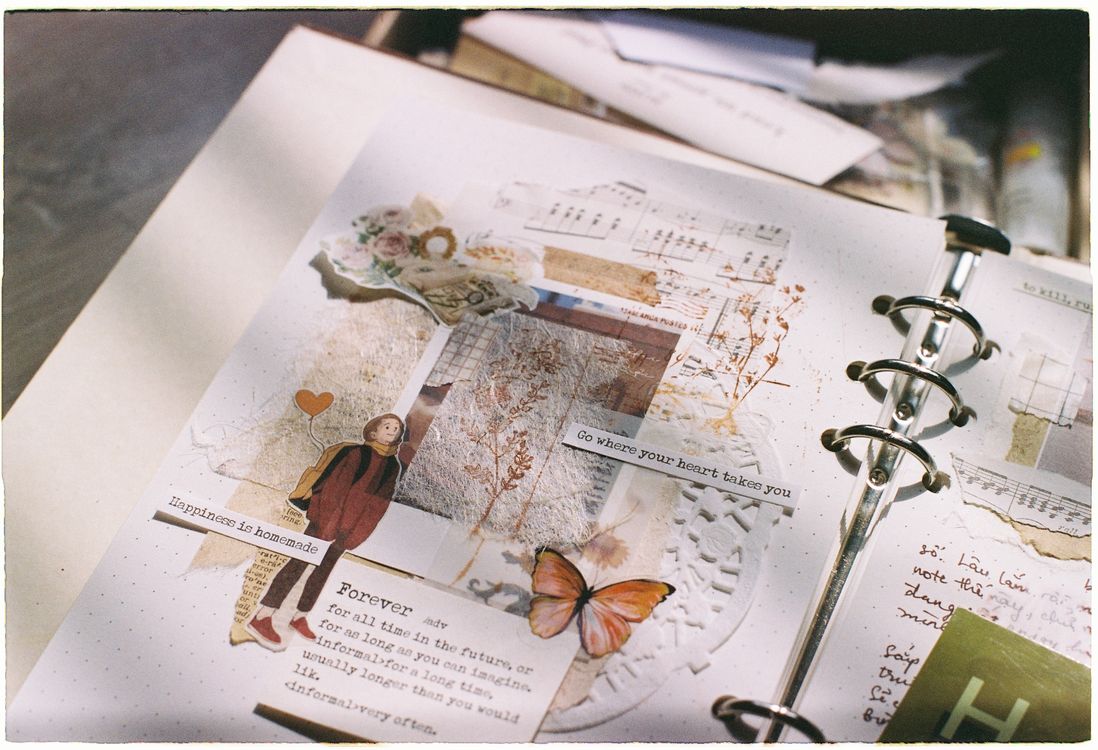
Now the playful part. Decorate a few pages before you start writing, and leave plenty of space to add more over time. Layer a doily under a photo, edge a page with washi tape, stamp a date, or glue a strip of lace along a fold. Clip tags to pages with small paper clips so you can move them until they feel right.
Work in small clusters rather than covering every inch. A decorated corner here and a filled pocket there leaves room for the journal to grow with you.
Ephemera ideas to look out for
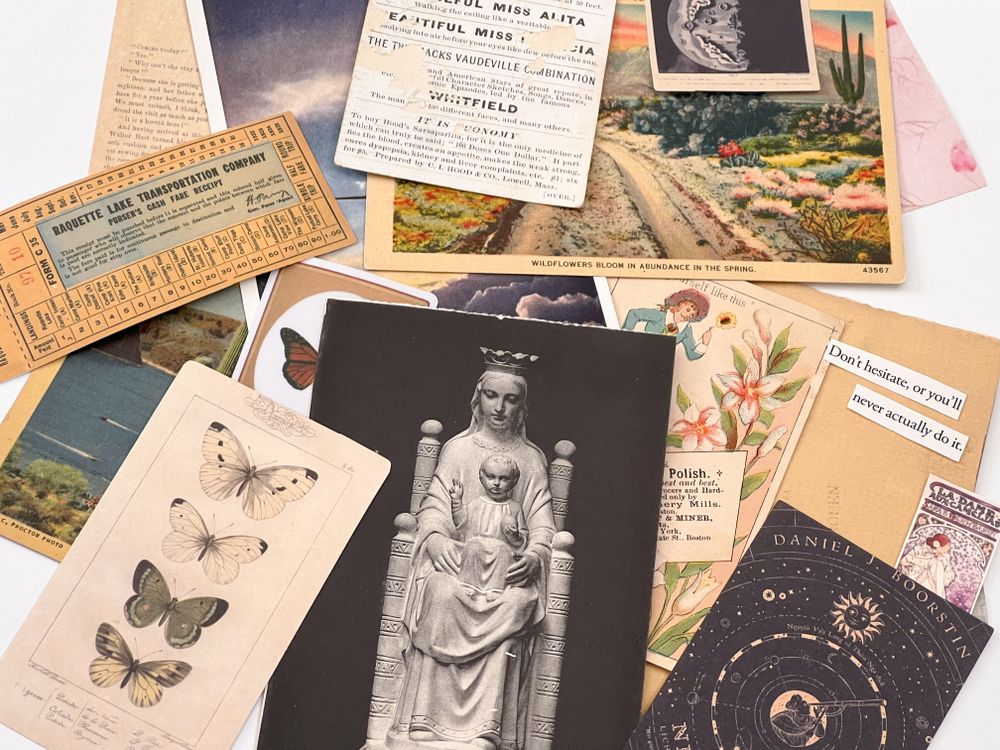
Ephemera is the paper treasure you collect to fill your journal. Once you start looking, you will see it everywhere. Pause before you throw paper away and ask, could this live in my journal? Here are favourites to save:
- Ticket stubs from films, trains, museums and days out
- Postcards, both new ones and old ones from charity shops
- Pressed leaves and flowers from walks and the garden
- Fabric scraps, lace trim, ribbon and spare buttons
- Old book pages, maps, sheet music and dictionary pages
- Pretty packaging, labels, tags and paper bags
- Stamps, stickers, receipts, lists and handwritten notes
Pressed nature costs nothing and looks beautiful on the page. If you would like to press flowers properly and use them in other projects too, our guide to pressed flower crafts shows simple ways to press, keep and craft with them all year round.
Your first page: 5 easy prompts
A blank first page can feel daunting, so start small. Pick one prompt, give yourself ten minutes, and remember that a half filled page counts as finished.
- Glue in one thing from today, such as a receipt, label or leaf, and write the date and one line about it.
- Make a list of five small things that made you smile this week.
- Tuck a photo or postcard into a pocket and write who or where it shows.
- Cover the page with washi tape stripes or paper scraps and write a favourite quote in the middle.
- Write a short note to your future self and seal it inside an envelope page.
A final word on beautiful imperfection
Your first junk journal will have wobbly stitching, crooked pockets and at least one page you wish you could redo. That is not a failed journal. That is a real one. Every maker you admire started with a lopsided first book and learned by filling it, page by page. So use the good scraps, write in your everyday handwriting, and let it be gloriously imperfect. The journals we treasure most are never the tidiest ones. They are the ones that hold a life, one saved scrap at a time.


Comments
Post a Comment