Eggshell Geodes: Grow Your Own Crystals in an Eggshell
Real geodes are one of nature's slowest crafts. Water seeps into a hollow rock, leaves minerals behind, and over thousands of years those minerals build up into sparkling crystal points. It is beautiful, patient work, and happily you do not have to wait thousands of years to enjoy a small version of it at home.
These eggshell geodes grow in days, not centuries, inside a plain eggshell you were probably going to throw away. The shell becomes the hollow rock, a hot mineral solution becomes the seeping water, and crystals grow along the inside walls just like they do in a real geode. Grow your own and you get to choose the color and line up a whole rainbow on your shelf.
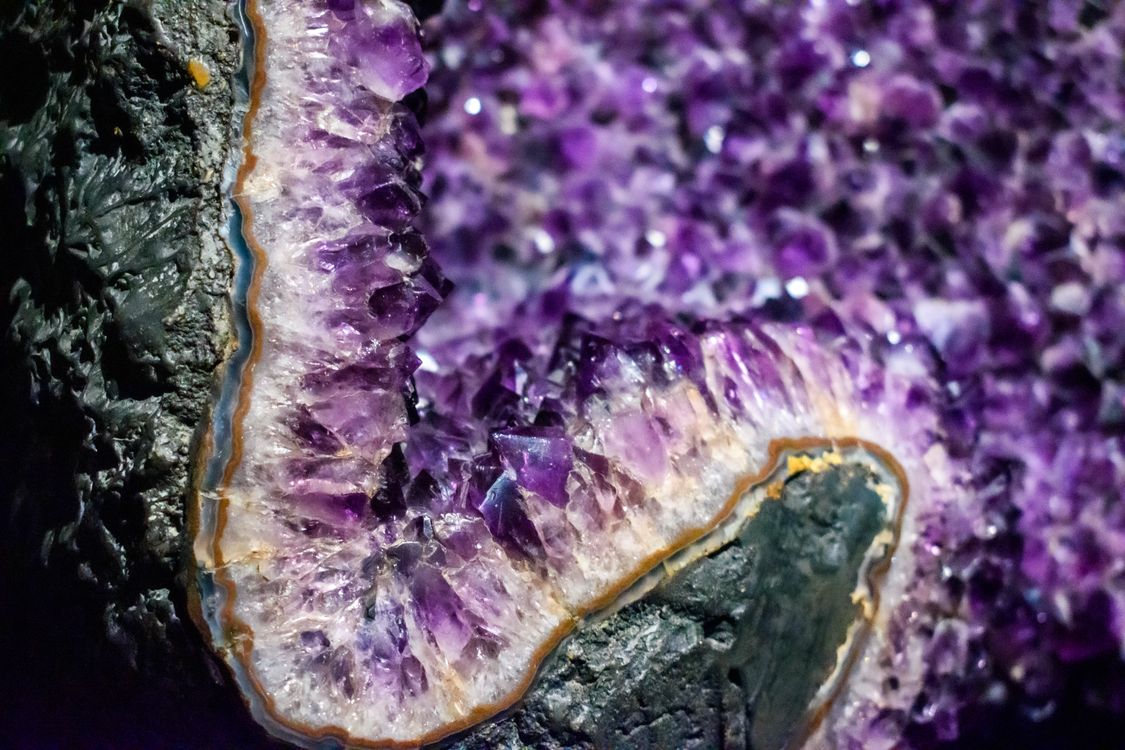
This is a lovely weekend project for families and classrooms. It costs very little, uses mostly kitchen supplies, and the waiting is honestly part of the fun.
A quick safety and supervision note
Please read this part first. Adults should handle the hot water and measure out all the powders, and an adult should stay in charge from start to finish. Older kids can help with cracking the eggs, painting the glue, choosing colors, and checking the crystals each day.
Nothing in this project is edible, even though some powders come from the food aisle. Keep finished geodes away from younger children and pets, keep borax well out of reach, and wash hands well after handling powders and crystals. Work on a tray so spills stay contained.
What you need
- Clean eggs, as many as you want geodes, plus a few spares for breakages
- One crystal powder to start: alum, borax, plain table salt, or Epsom salt
- Hot water and a heat safe jug or saucepan
- A spoon for stirring and a tablespoon measure
- White school glue and a small paintbrush
- Food coloring in your favorite shades
- An egg carton to hold the shells while they dry and grow
- Paper towels, a tray, and a bowl for the empty eggs
- Optional: small display stands, a magnifying glass, and a notebook for daily notes

Choosing your crystal solution: alum, borax, or salt
All three options work, and they each give a slightly different result. Pick one for your first batch, then try another next time and compare them side by side.
Alum: big, clear crystals and the fastest results
Alum is our top pick for a first try. You will find it in the spice aisle of many grocery stores, sold for pickling, and it grows the biggest, clearest crystals of the three. Stir about 3 to 4 tablespoons of alum into 1 cup of very hot water, adding a little at a time until no more will dissolve and a few grains stay at the bottom. That is your sign the solution is full and ready.
Borax: a dense, sparkly crust
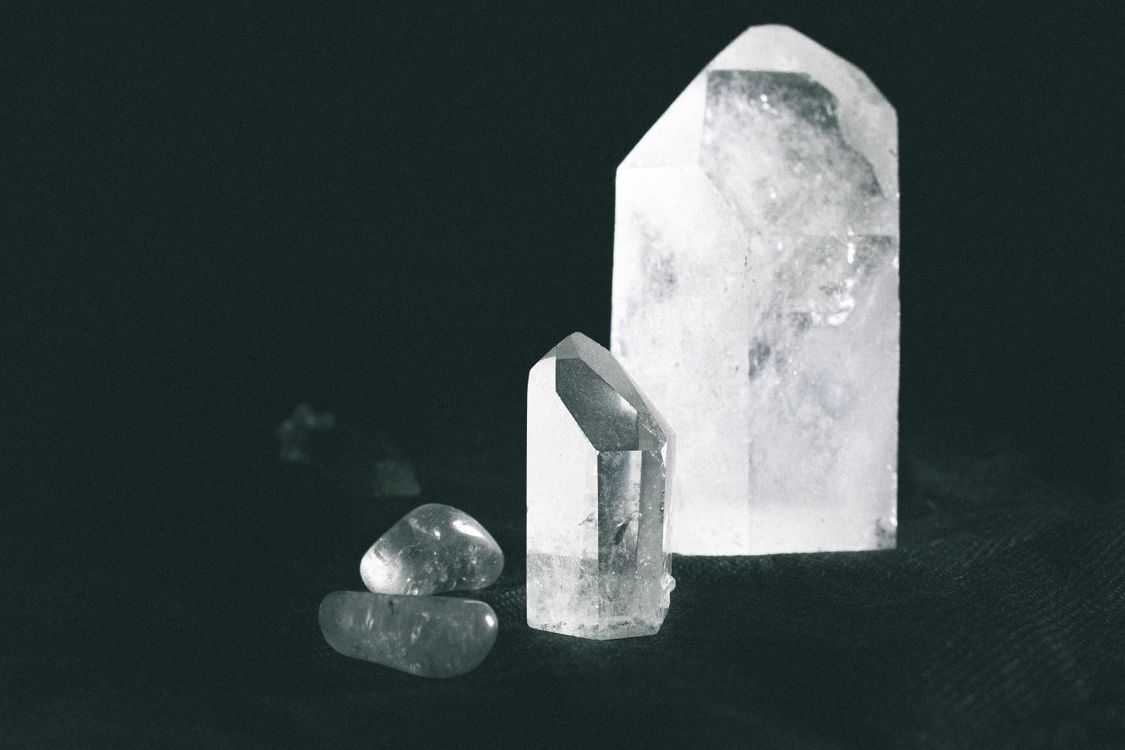
Borax, sold in the laundry aisle, grows lots of smaller crystals packed tightly together, so the inside of the shell ends up coated in a dense, frosty crust that catches the light beautifully. Stir about 3 tablespoons of borax into 1 cup of very hot water until it stops dissolving. Borax is not a food product, so adults should handle it and hands should be washed straight after.

Plain salt or Epsom salt: slower and smaller
Plain table salt and Epsom salt are the gentlest, cheapest options and most homes already have one of them. Stir about 4 to 5 tablespoons into 1 cup of very hot water until it stops dissolving. Expect smaller, more delicate crystals and a longer wait. Epsom salt tends to make soft, needle like clusters, while table salt makes tiny cubes. Both look lovely in pale colors.

How to make eggshell geodes
Step 1: Prep the shells
Tap each egg gently near the top, narrow end and crack a small opening there, a little bigger than a coin. Tip the egg out into your bowl and save it for cooking, because nothing needs to be wasted. Rinse each shell carefully under warm water, then use a fingertip to peel away the thin membrane inside. That membrane matters: crystals struggle to grip it, so taking it out gives you a much better coating.
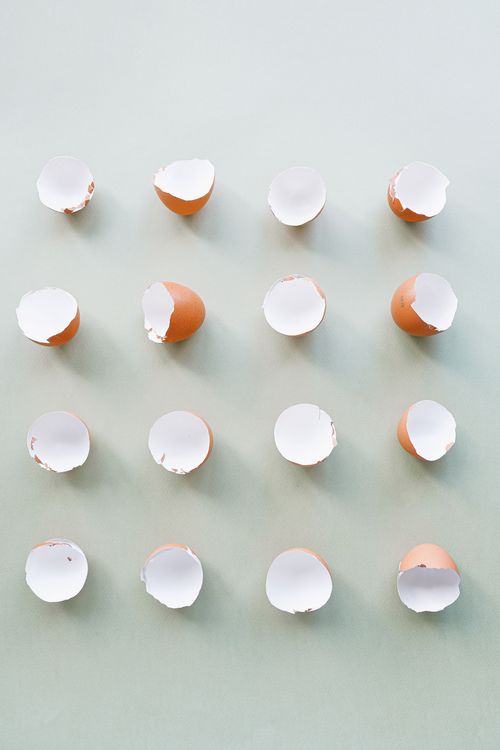
Stand the shells upside down in the egg carton and let them dry fully, ideally overnight. A thin layer of glue brushed inside and left to dry as a lining gives the shell a little extra strength.
Step 2: Add glue and seed crystals
Brush a thin layer of white glue over the inside of each dry shell. While it is still wet, sprinkle a pinch of dry crystal powder over it and tip the shell so the powder coats the walls. These tiny grains are your seed crystals, and new crystals will grow on and around them. This step is the difference between a patchy shell and a full lining. Leave the shells to dry for a few hours, or overnight.
Step 3: Mix and color the solution
Ask an adult to heat the water until it is very hot but not boiling, then stir in your powder using the ratios above until it stops dissolving. Add food coloring a few drops at a time until the color looks a shade deeper than you want, because crystals dry a little paler. Purple, teal, and deep pink work especially well. Let the solution cool for a few minutes so it will not crack the shells.
Step 4: Fill the shells and leave them undisturbed
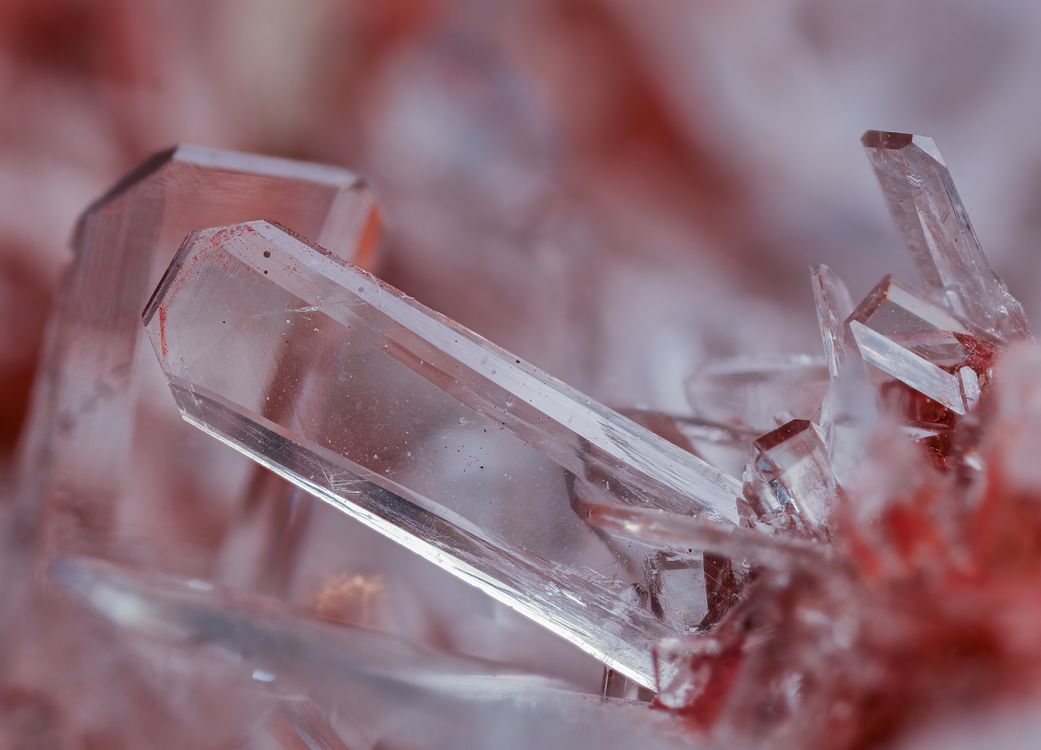
Set the seeded shells upright in the egg carton on your tray. Pour the warm solution in slowly until each shell is filled to the rim. Now move the carton, carefully and just once, to a quiet spot where it will not be knocked or bumped. A shelf or counter corner works well. Crystals grow best in still water, so the less you move them, the better they form.
Step 5: Wait while the crystals grow
Alum usually shows good crystals within 12 to 24 hours. Borax often coats the shell overnight and keeps thickening for another day or two. Salt and Epsom salt are slower, so give them two to several days. As the water cools and evaporates, the crystals keep building. Check once a day and take a photo. If the lining still looks thin, leave it longer rather than topping it up.
Step 6: Drain, dry, and display your geodes
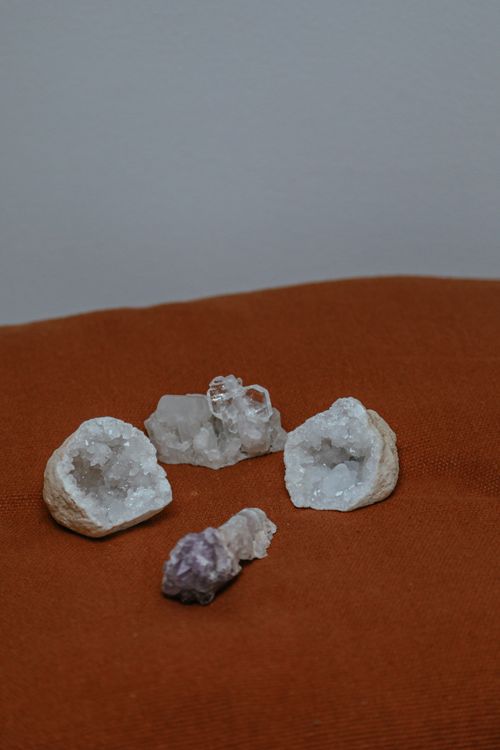
When you are happy with the crystals, pour the leftover solution away carefully and stand each shell upside down on paper towel for a few minutes. Then set them upright in a clean egg carton for a full day to dry out completely. Wet crystals look darker and glossier, so wait for the true color before you judge them.
For display, the egg carton itself makes a sweet, simple stand, especially painted or covered in plain paper. Small craft stands, bottle caps, and little rings of modeling clay work too. A whole row along a shelf or windowsill looks wonderful, and they sit happily next to other tiny makes, like the little treasures in our guide to miniatures from trash. Group them by color for the most striking effect.
Troubleshooting: quick fixes
No crystals at all. The solution was probably not full enough. Reheat it, stir in more powder until grains stay undissolved at the bottom, and refill a freshly seeded shell.
Crystals only on top. A skin of crystals can form on the surface while the walls stay bare. This usually means the seed layer was skipped or washed off. Make sure the glue and powder layer is fully dry before you pour, and pour gently down the side of the shell.
The shell cracked. Very hot solution and thin shells are a tricky mix. Let the solution cool a little longer, handle shells by the carton instead of by hand, and keep those spare eggs we mentioned. A cracked geode can still be glued once it is dry.
A small collection worth keeping
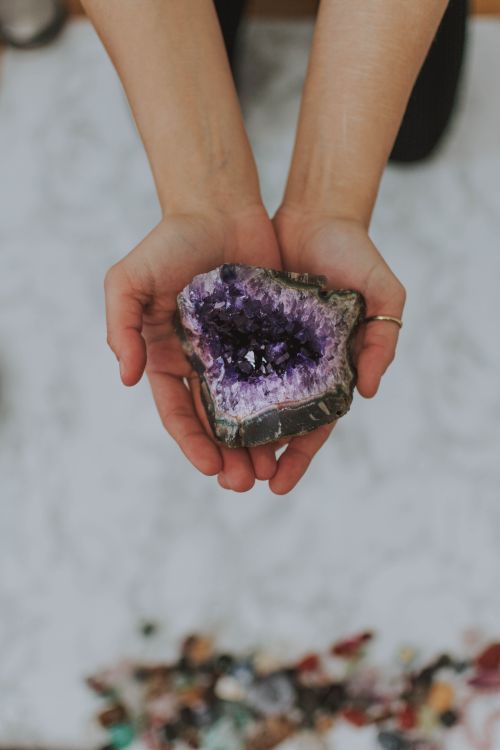
Once you have one batch, it is hard to stop at one color. Try a second run with a different powder, label each shell with the solution and date, and you will have a proper little collection to compare. They make thoughtful gifts, a great science fair display, and a pretty partner piece beside a mini terrarium on the same shelf. Plain eggs, a spoonful of powder, and a few days of patience really can grow something that looks like it took thousands of years.


Comments
Post a Comment