DIY Mouse House: A Tiny Home from a Cardboard Box (Step by Step)
If your Pinterest feed is full of tiny kitchens, matchbox beds and mouse size front doors, you are not alone. Miniature houses are having a big moment, and the sweetest ones are often made from almost nothing. This DIY mouse house starts with one sturdy cardboard box and turns it into a cozy little home with paper walls, tiny furniture, soft bedding and a few storybook details.
It is a lovely weekend project for adults, and older kids can help with the painting, gluing and arranging. You do not need a kit, a dollhouse set or special tools. Most supplies come from the recycling box and the fabric scrap bag, so the whole house can cost next to nothing. Keep your scraps nearby as you work, because one offcut becomes a rug and the next becomes a roof tile.
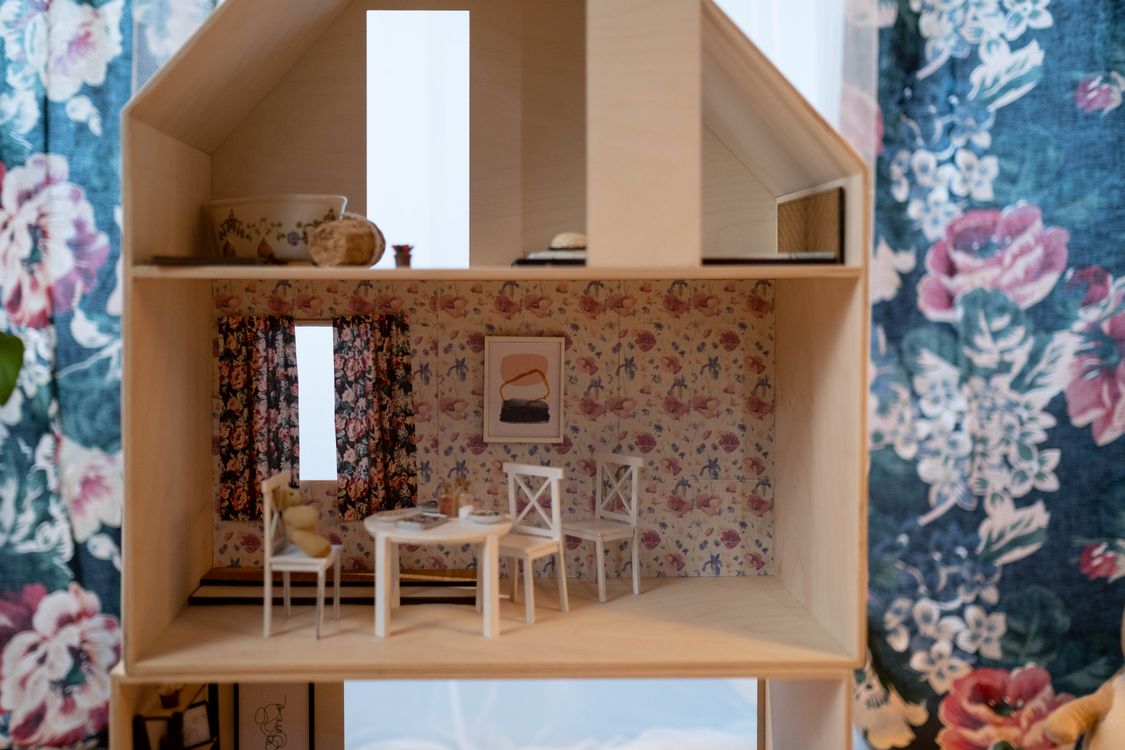
What you need
Choose a box with strong corners and no damp patches. A shoebox is easy to handle, but a small shipping box gives taller rooms and space for stairs. Gather everything before you start so the glue does not dry while you hunt for scissors.
- The house: one sturdy cardboard box, plus extra cardboard or cereal boxes
- Cutting tools: scissors, craft knife, metal ruler, pencil and cutting mat
- Glue: white craft glue, a glue stick and hot glue if you have it
- Wall finishes: scrapbook paper, wrapping paper, old book pages or acrylic paint
- Furniture bits: matchboxes, bottle caps, corks, buttons, beads and small boxes
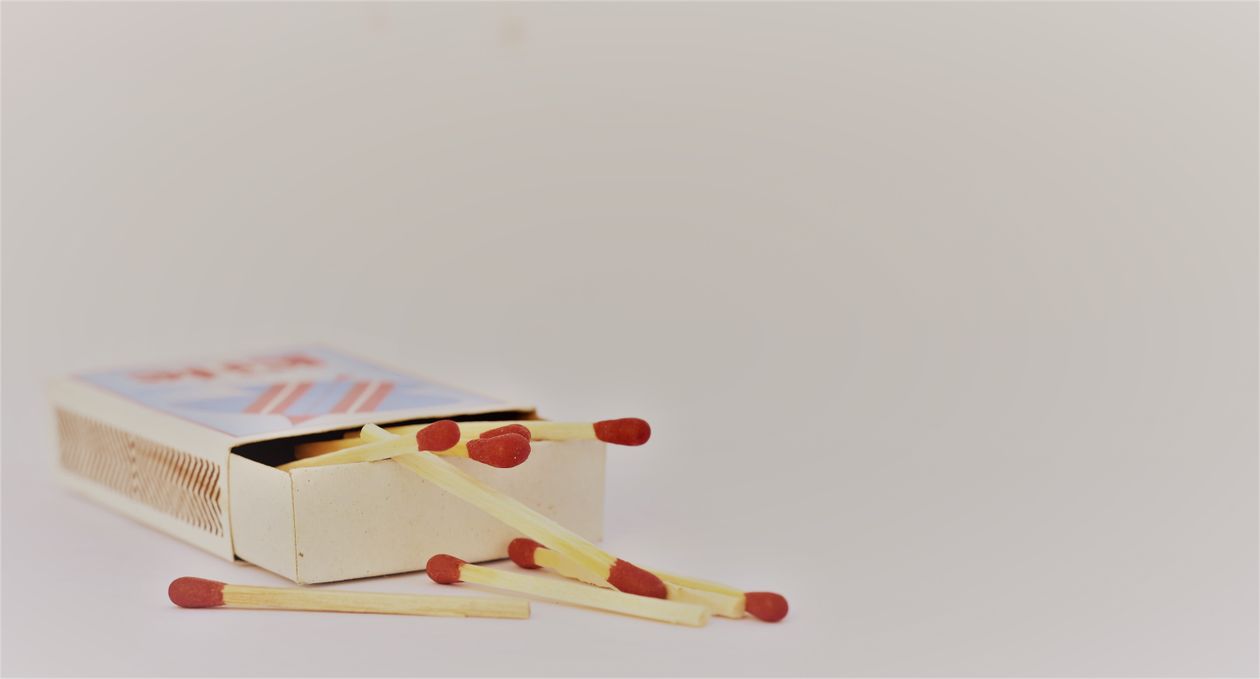
- Sticks: popsicle sticks, coffee stirrers, toothpicks and plain matchsticks
- Soft scraps: fabric offcuts, felt, ribbon, lace trim and a little stuffing or cotton
- Details: paper scraps, card, string, tiny shells, pebbles or dried flowers
How to make a DIY mouse house
Step 1: Choose and prep the box
Decide which side will be the open front. If the box has flaps, cut off the front flap and save it for furniture. Keep a top flap if you want a sloped roof, or remove it for a flat roof you can decorate later. Wipe the inside clean, then reinforce weak corners with strips of cardboard glued inside. If the box feels wobbly, glue a second layer of cardboard to the floor. Mark a simple plan on paper first: living room below, bedroom above, and a door that is big enough for your mouse or small doll.
Step 2: Cut the doors and windows
Draw the front door and windows with a ruler and pencil. A door near one corner leaves more wall space for furniture, and two small windows look better than one huge hole. Cut slowly with a craft knife on a cutting mat, and let an adult do this part if children are helping. For a door that opens, cut only three sides and fold gently on the fourth side. For windows, cut the opening, then add cardboard strips as frames. Round window tops look very storybook, but simple squares are easier and still cute.
Step 3: Wallpaper and paint the walls
Decorate the inside before any furniture goes in. Measure each wall, cut scrapbook paper or wrapping paper to fit, and glue it down with a glue stick, smoothing from the center out. Paint is just as good: pale cream, soft sage and dusty pink all suit a mouse house. Paint the edges and window frames white for a neat finish. Add a paper floor too, either wood effect paper, stripes drawn with a ruler, or plain card painted brown. Let every wall dry fully before moving on, or the furniture will stick in the wrong place.
Step 4: Make the tiny furniture
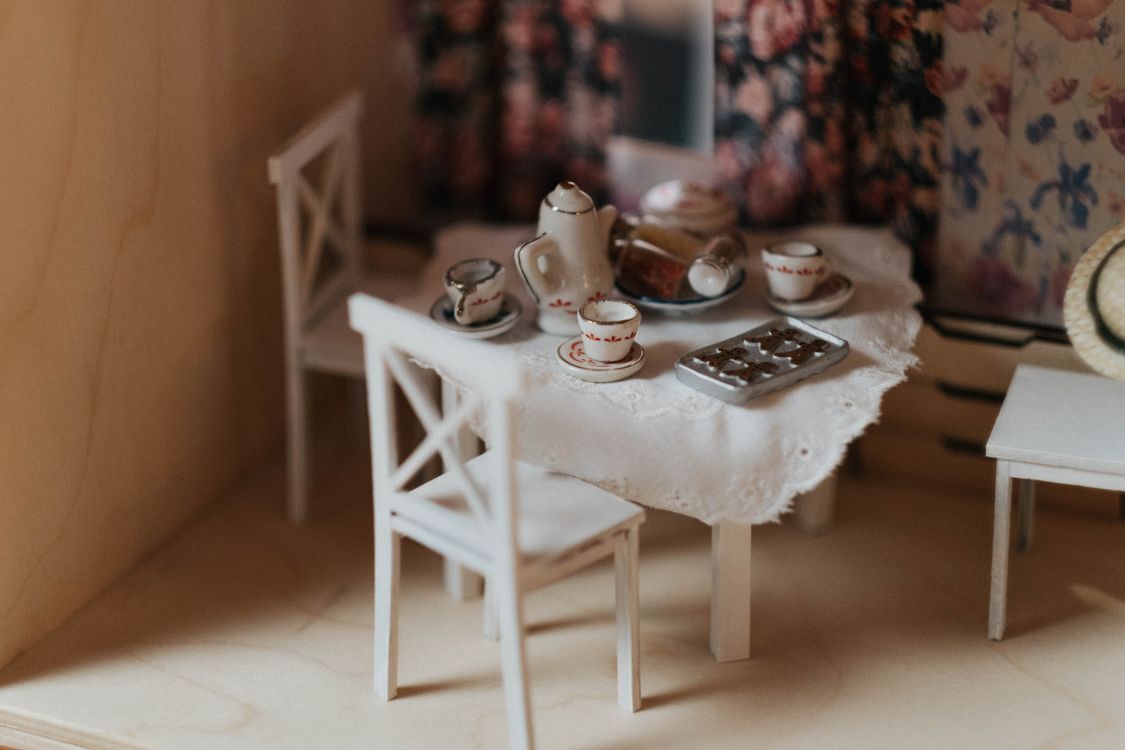
Start with the bed, because it sets the size for everything else. A small gift box, a matchbox drawer or folded cardboard makes a good base. Glue on a card headboard, add a fabric mattress and a tiny pillow. For a table, glue a bottle cap or card circle onto a cork, spool or stack of buttons. Chairs can be folded from thick card, with a square seat, a back and four matchstick legs. Make a simple sofa from a small box with the front cut low, then cover it in fabric. Test each piece inside the house before the glue dries.
Step 5: Build stairs from sticks
If your box has an upper floor, add stairs along one wall. Glue popsicle sticks or coffee stirrers side by side to make a small ramp, then add matchstick steps across it. An easier option is a ladder: two long sticks with matchstick rungs glued between them. For a folded cardboard stair, cut a long strip, fold it into a zigzag, and glue the ends to the floor and the upper level. Check the angle with your mouse figure nearby. Stairs that are too steep look funny, but they also make furniture placement harder.
Step 6: Add fabric scraps for bedding and curtains
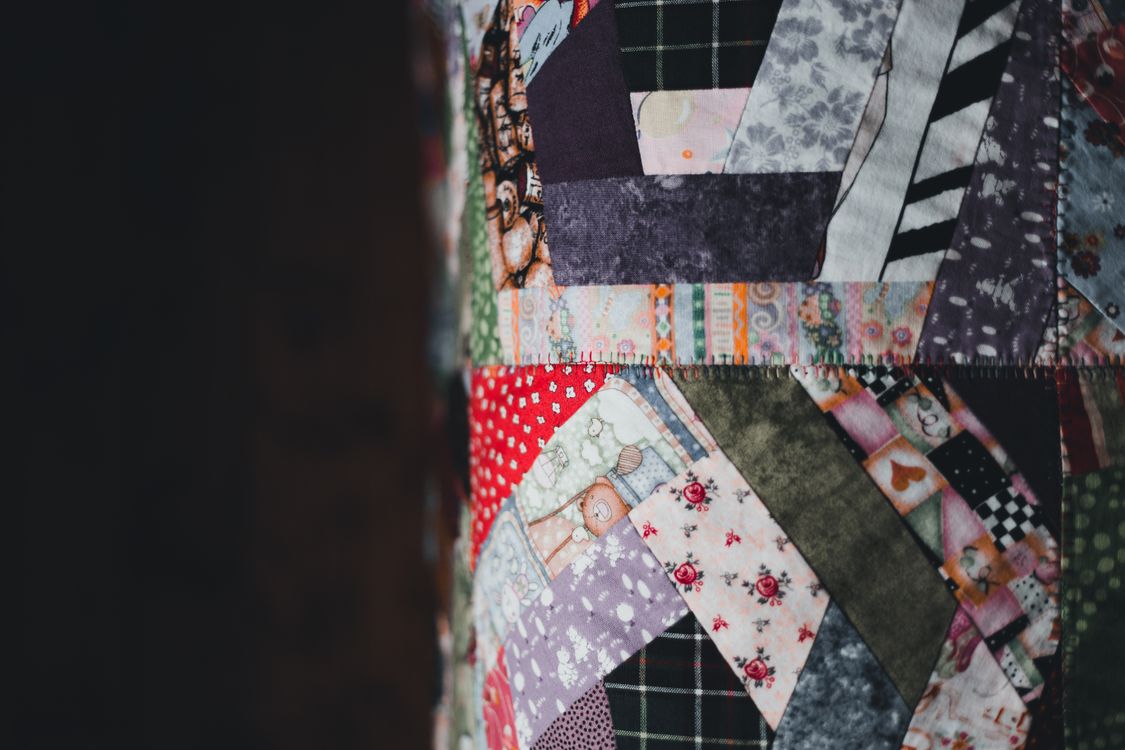
Now make the house feel soft. Cut a fabric scrap a little larger than the bed, fold the edges under, and glue or sew a tiny blanket. A pillow is just two small squares with a pinch of stuffing inside. For curtains, thread a fabric strip onto a toothpick or thin stick and glue the ends above the window. A rug can be a felt rectangle, a woven strip of fabric, or a small crochet circle if you have one. Mix patterns gently: one floral, one plain and one stripe is plenty for such a small home.
Step 7: Add the tiny details
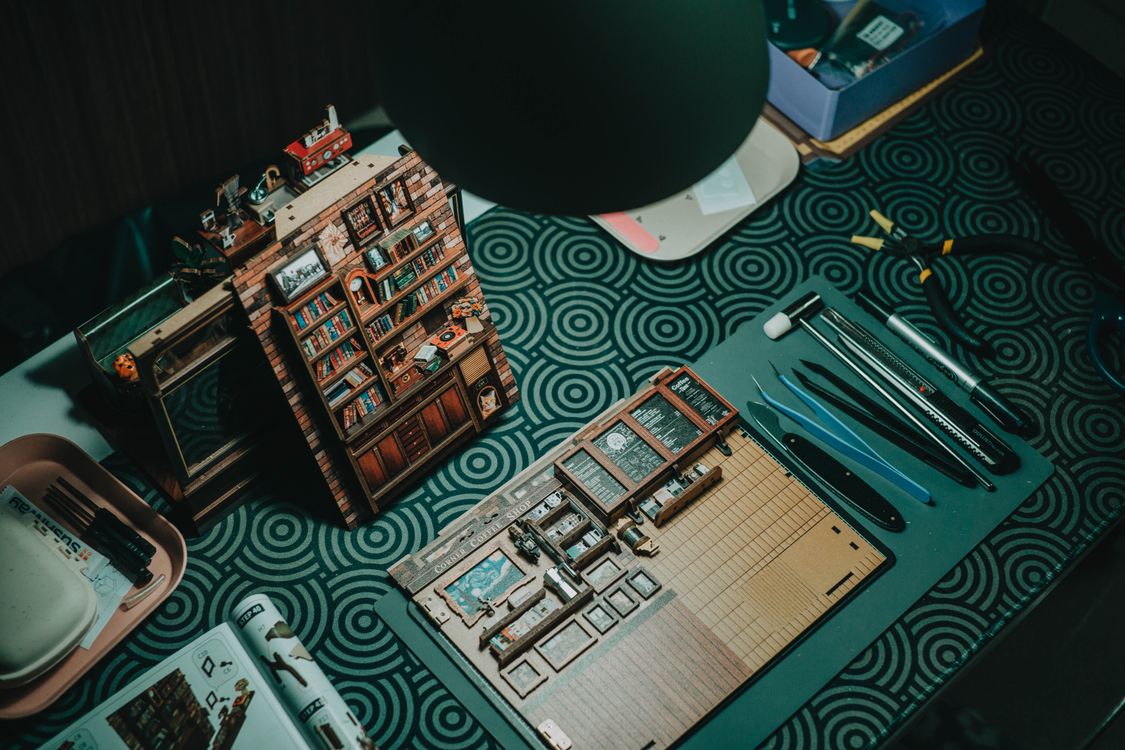
The details are where the mouse house gets its charm. Fold mini books from paper strips and cover them with card, then stand them on a shelf or stack them by the bed. A teapot can be a bead with a tiny spout, a bottle cap with a bead lid, or a small clay pinch pot. Add framed pictures from magazines, a tiny vase with a dried flower, and a welcome mat from felt. If you want more scrap ideas, our guide to miniatures from trash has plenty of tiny makes from bottle caps, corks and matchboxes.
Step 8: Finish, style and display it
Touch up paint, trim loose paper edges and add a name sign above the door. A flat pebble path, a tiny fence from sticks or a paper flower box under the window all help the outside look finished. Display the house on a shelf where the front stays open. It looks sweet beside a mini terrarium DIY, which can pretend to be the garden. For a bigger display, mix it with other small makes using these trinket shelf ideas, and keep heavy items away from the cardboard roof.
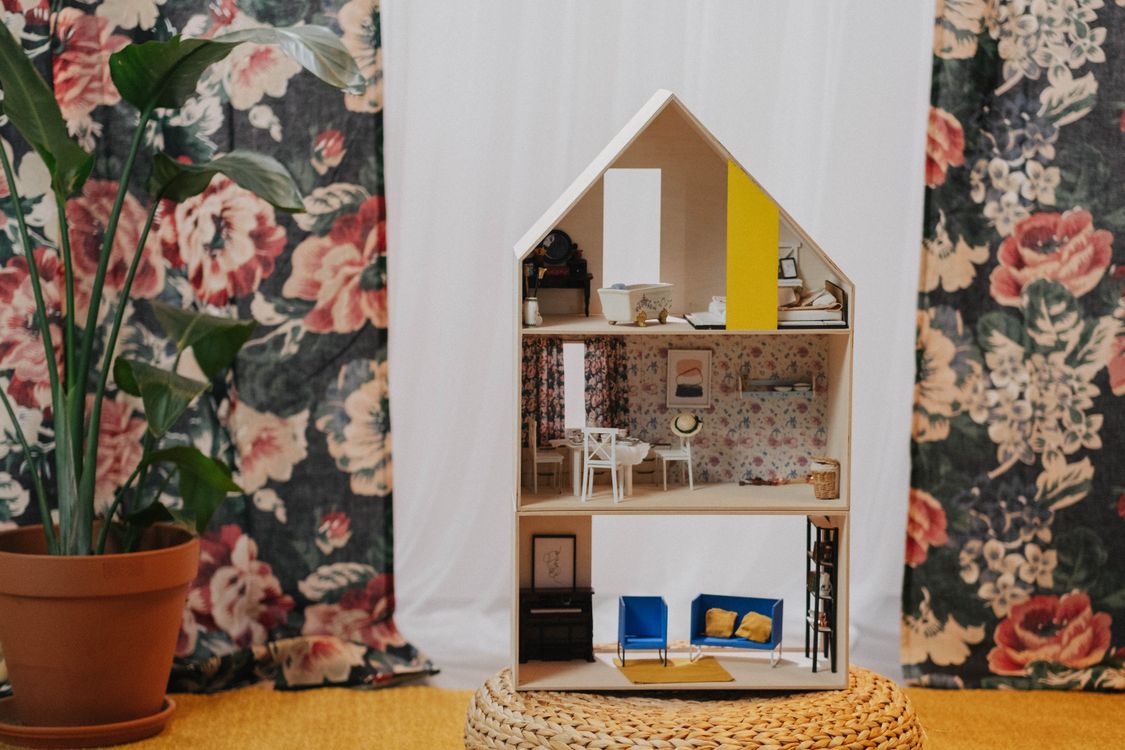
More tiny details to try
Once the main house is done, these little extras take only a few minutes each and make the scene feel complete.
- Cheese snack: shape a tiny wedge from yellow clay or foam, add holes with a toothpick, and leave it by the door.
- Mailbox: fold a mini envelope box from card, paint it red, and prop it on a stick near the path.
- Clothesline: tie string between two sticks and hang tiny fabric clothes with mini pegs or paper clips.
- Lamp glow: place a battery tea light behind a window for a warm evening look, never a real flame.
- Bookshelf wall: glue a shallow cardboard strip across one wall and fill it with mini books and a tiny plant.
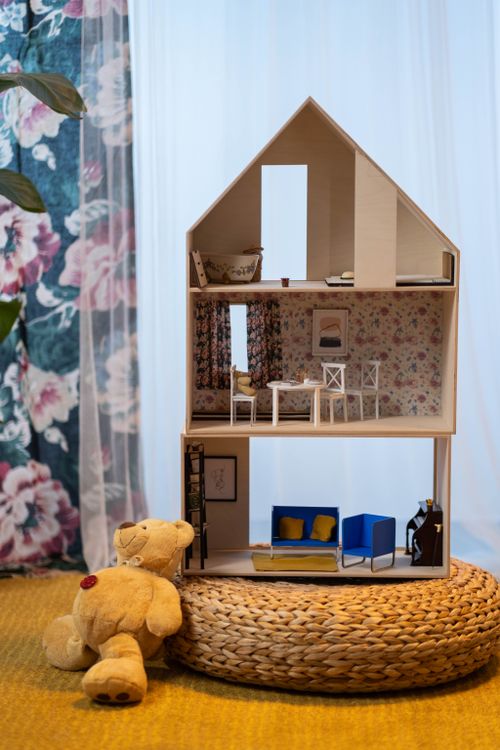
The best part of a DIY mouse house is that it does not need to be perfect. A slightly wonky stair, a curtain that hangs crooked or a chair made from a bottle cap all add to the handmade charm. Make one for a child, keep one on your craft shelf, or wrap it as a gift with a tiny note tucked inside the door. Once you start thinking at mouse scale, every scrap in the house begins to look useful.


Comments
Post a Comment