DIY Dollar Store Christmas Wreath (Under $10, Looks Store-Bought)
A good Christmas wreath sets the tone for the whole house, but the prices at the home stores can stop you right there in the aisle. The full, pretty ones, the ones with ribbon, pinecones and just the right amount of sparkle, often cost $40 or more. The cheaper ones can look thin and a little sad. Here is the secret, though: a dollar store wreath does not have to look like a dollar store wreath. With a plain form, a couple of pine garlands and a few well chosen extras, you can build one that looks store bought for under $10.
This is a relaxed afternoon project and it is very forgiving. There is no sewing and no special skill involved, and greenery can always be fluffed, moved and fluffed again. If you enjoy stretching a small craft budget, you will probably also like our dollar store fall crafts, which come from the same budget friendly aisles.

The finished wreath: full greenery, a big bow and a few pinecones. Nobody will guess the total cost.
What you need
Everything on this list came from a dollar store, where most craft items are priced at $1.25. Prices can vary a little by store, so treat this as a guide and swap colors to suit your door.
- One 12 inch or 14 inch wreath form, foam or wire: $1.25
- Two 9 foot pine garlands: $1.25 each, $2.50 total
- One pack of small shatterproof ornaments: $1.25
- One roll of wired ribbon, 1.5 inch or 2.5 inch wide: $1.25
- One pack of berry picks or pinecone picks: $1.25
- One pack of floral wire or green pipe cleaners: $1.25
Running total: $8.75. From home you will also need a hot glue gun and glue sticks, plus scissors. Wire cutters help with the picks, but strong scissors can manage most of them. If your store charges a little more for the wreath form, drop the berry picks and use pinecones from the yard instead, and you will still land under $10.

Lay everything out before you start so you can see your colors together.
How to make your dollar store Christmas wreath
Step 1: Prep the wreath form
Start by deciding which point of the form will be the top, and mark it with a small twist of floral wire. That mark saves confusion later when you add the hanger. Take the garlands outside, give them a good shake, and run your fingers along each one to open up the branches and fluff them out. Dollar store garlands arrive squashed flat, and two minutes of fluffing makes the biggest difference between a cheap looking wreath and a full one.
Now wrap the first garland around the form. Push the end into the foam, or twist it firmly to the wire frame, then wind the garland around and around, securing it with floral wire every few inches. Keep the wrap snug but not tight. This is the base layer, so cover the form evenly and do not worry about making it pretty yet.
Step 2: Attach the greenery
Wrap the second garland in the gaps left by the first, weaving it in the opposite direction so the branches cross and lock together. This second layer is what gives the wreath its full, store bought depth. As you work, bend the branch tips outward and upward rather than letting them lie flat, and keep most of the tips pointing in the same direction around the circle. That one way flow is a small detail that makes a handmade wreath look professionally made.
Push the berry or pinecone picks into the foam, or wire them to the frame, spacing them evenly. Step back every few minutes and look for bald patches. Fill any thin spots by bending a longer branch across the gap and wiring it down. When the circle looks even from a few feet away, your base is done.
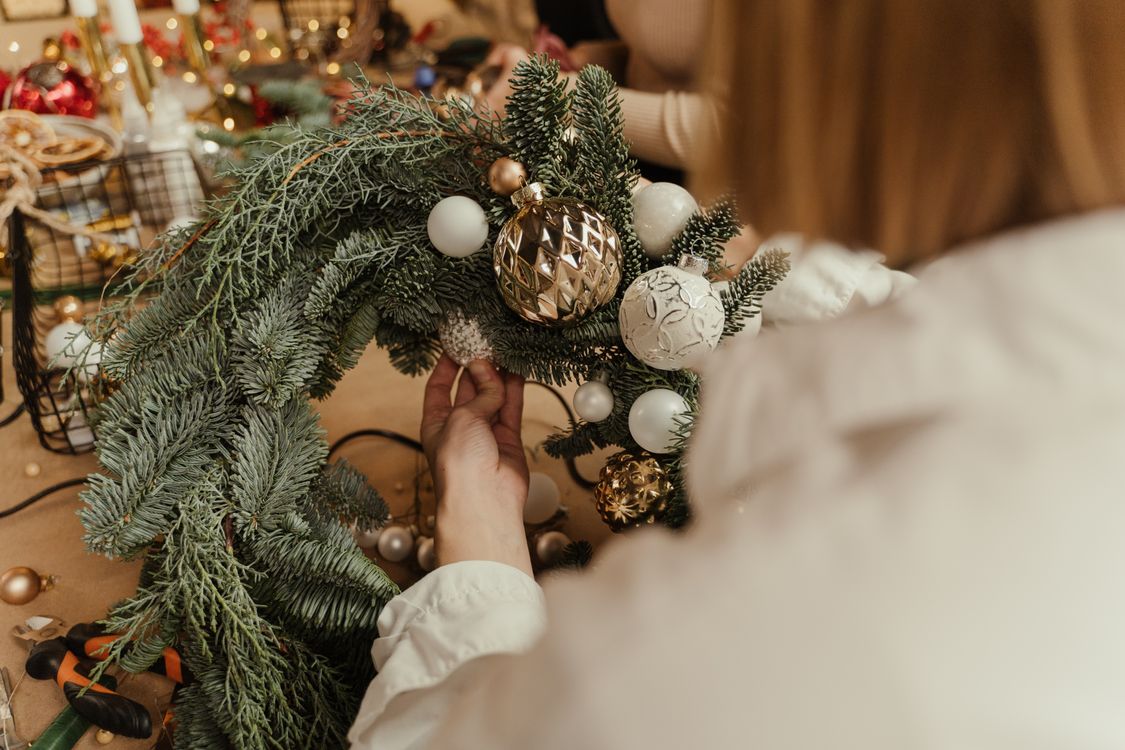
Work the second garland into the gaps and bend the tips outward for a full, layered look.
Step 3: Add ribbon and ornaments
Cut a long length of ribbon and weave it loosely in and out of the greenery, making soft loops as you go. Push each loop down into the wreath rather than laying the ribbon on top, so it looks woven in instead of draped on. Secure any loop that springs back with a dot of hot glue hidden under a branch.
Next, add the ornaments in small groups of three. Clusters look richer than single ornaments scattered evenly, and odd numbers are easier on the eye. Wire or glue each ornament at a slightly different depth: some sitting proud on top, some tucked halfway into the greenery. Keep your color balance even by working around the whole circle, adding one cluster at a time instead of finishing one side first.

Group ornaments in threes and vary the depth so the wreath catches the light.
If you like a glow, wind in a short string of battery fairy lights now, before the bow goes on, and tuck the battery pack behind the greenery at the back.

A short string of battery lights tucked into the greenery makes the wreath glow after dark.
Step 4: Make and attach the bow
A generous bow is what really sells the store bought look, so do not skimp here. Hold the ribbon in one hand and make a loop, pinch it in the center, then make a matching loop on the other side. Keep adding loops, two or three on each side, pinching the center tightly. Wrap floral wire around the pinched center several times and twist it closed at the back. Fluff each loop open with your fingers, then trim the two tails at an angle or cut a neat V notch into each end.
If you want a fuller, layered bow, our guide to velvet bow Christmas decor shows how to stack two ribbons for a richer finish. Wire your bow to the wreath at the top center, or off to one side at about the ten o'clock position, which looks a little more modern. Let the tails hang down over the greenery and trim them so they end above the ornaments.

Pinch, loop and wire: a big bow takes two minutes and finishes the whole wreath.
Step 5: Hang it and add finishing touches
Twist a loop of floral wire around the top back of the form to make a hanger, using your mark from Step 1 so the bow sits straight. Hang the wreath on an over the door hook or a sturdy nail, then step back across the room and look at it properly. Bend any stray branches into place, straighten the bow, and turn one or two ornaments so their best side faces out.
For finishing touches, consider a light dusting of fake snow spray on the branch tips, or a small wooden sign wired at the bottom. Then stop. A wreath that is almost full looks elegant, while one more ornament than it needs starts to look crowded.
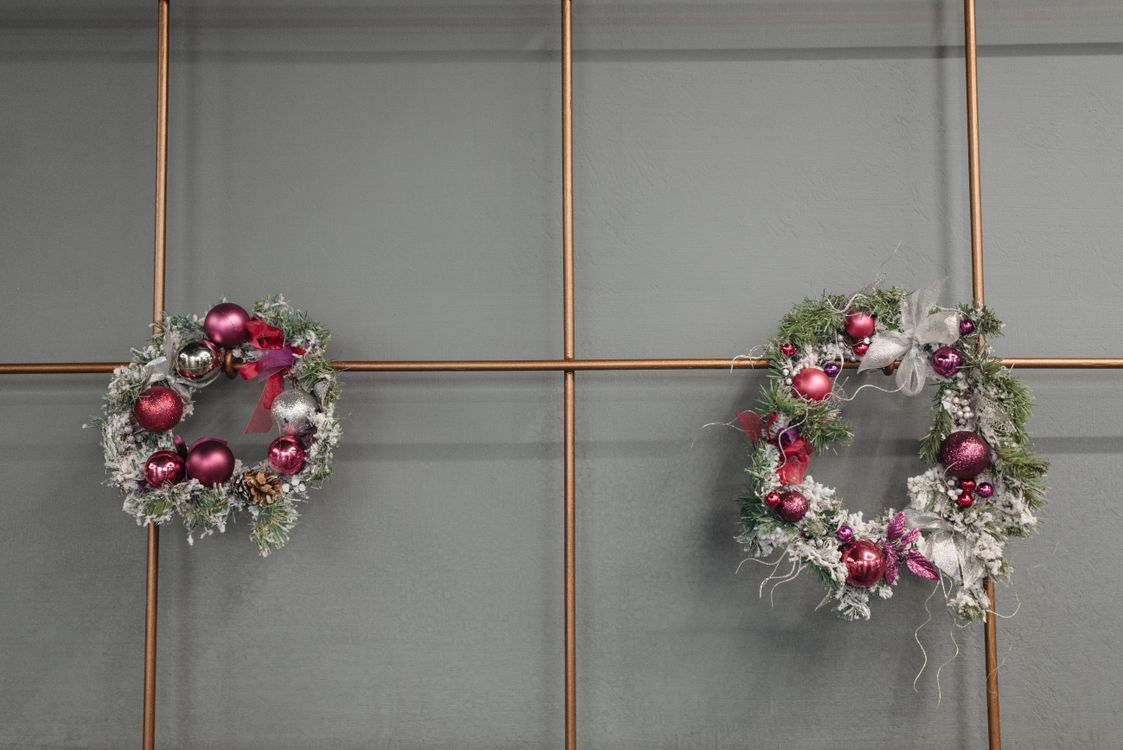
Hang the wreath, step back, and adjust the branches and bow until it sits straight.
3 easy variations to try
Snowy white
Swap the red accents for silver and white ornaments, choose a white or pale grey ribbon, and mist the finished wreath lightly with fake snow spray. It looks beautiful on a dark colored door and feels calm and wintry rather than bright.

Frosted tips and pale colors give the snowy version its quiet, wintry feel.
Rustic pinecone
Use burlap or plaid ribbon, add extra pinecones from the yard, and tuck in a few dried orange slices for color. Our dried orange slice ornaments take an afternoon to make and look wonderful wired into a rustic wreath like this one.

Dried orange slices, pinecones and berries give the rustic version its cozy, natural look.
Pretty in pink
Choose pink baubles, blush ribbon and a few white pom poms or soft pink picks, and your wreath will match a softer Christmas scheme beautifully. It pairs perfectly with our DIY pink Christmas decorations if you are doing a whole pink theme this year.
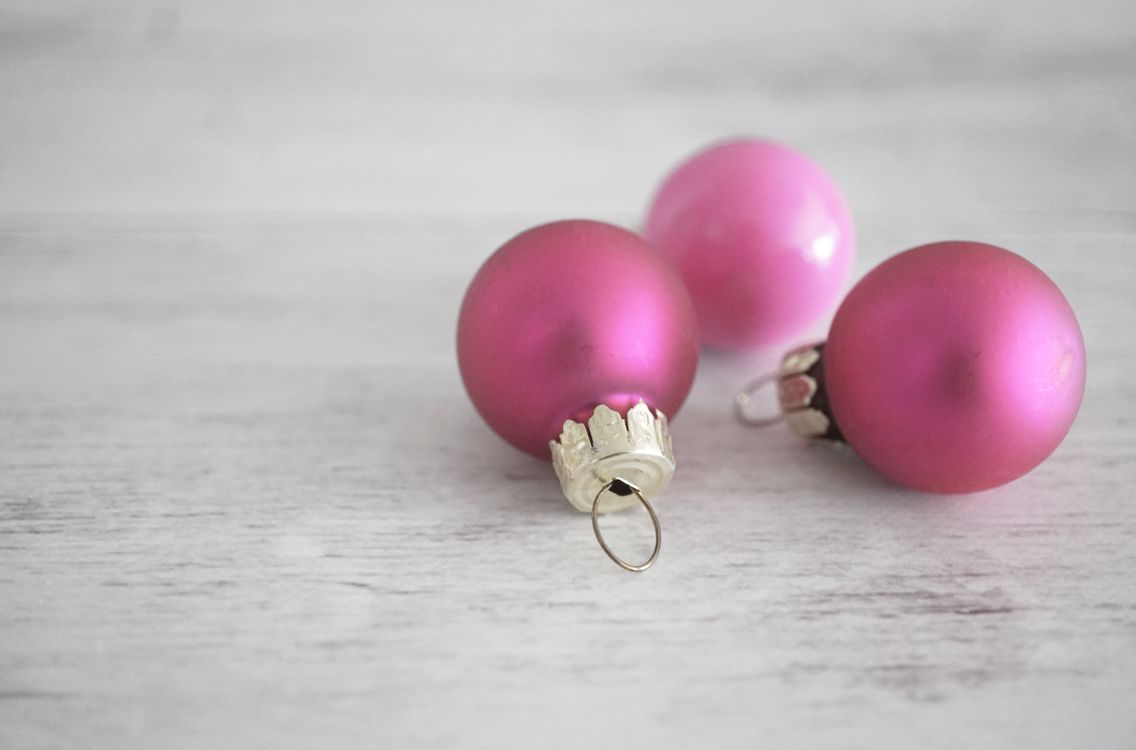
Pink baubles and blush ribbon turn the same basic wreath into a sweet pink version.
Care and storage tips
Because everything on this wreath is faux, it should last for many Christmases with a little care. Dust it at the start of the season with a cool hair dryer held at arm's length, which blows dust out of the branches without bending them. If it hangs outside, choose a covered porch if you can, since weeks of direct rain and sun will fade ribbon fastest.
When the season ends, store the wreath flat in a large storage bag or a sturdy box, with tissue paper tucked around the bow so it does not crush. Hanging it on a hook inside a closet also works well and keeps its round shape. Avoid a very hot attic if you used a lot of hot glue, because high heat can soften the glue over a long summer. Next year, if you fancy a change, just swap the ribbon and ornaments: the greenery base can stay exactly as it is.
That is the whole project: under $10, about an hour of relaxed work, and a wreath that looks like it came from a shelf with a much bigger price tag. Make one for the front door, then make a second as a gift. Handmade wreaths are always received well, and at this price you can afford to be generous.


Comments
Post a Comment