Crochet Bag Charms: 8 Cute Charms to Hook in an Afternoon
A bag charm is the smallest possible crochet project with the biggest possible effect. One tiny flower or a pocket sized octopus turns a plain tote into something personal, and each charm takes so little yarn that your scrap basket will barely notice. They are also the perfect answer to an empty half hour: most of these eight charms take under an hour from first stitch to keyring.
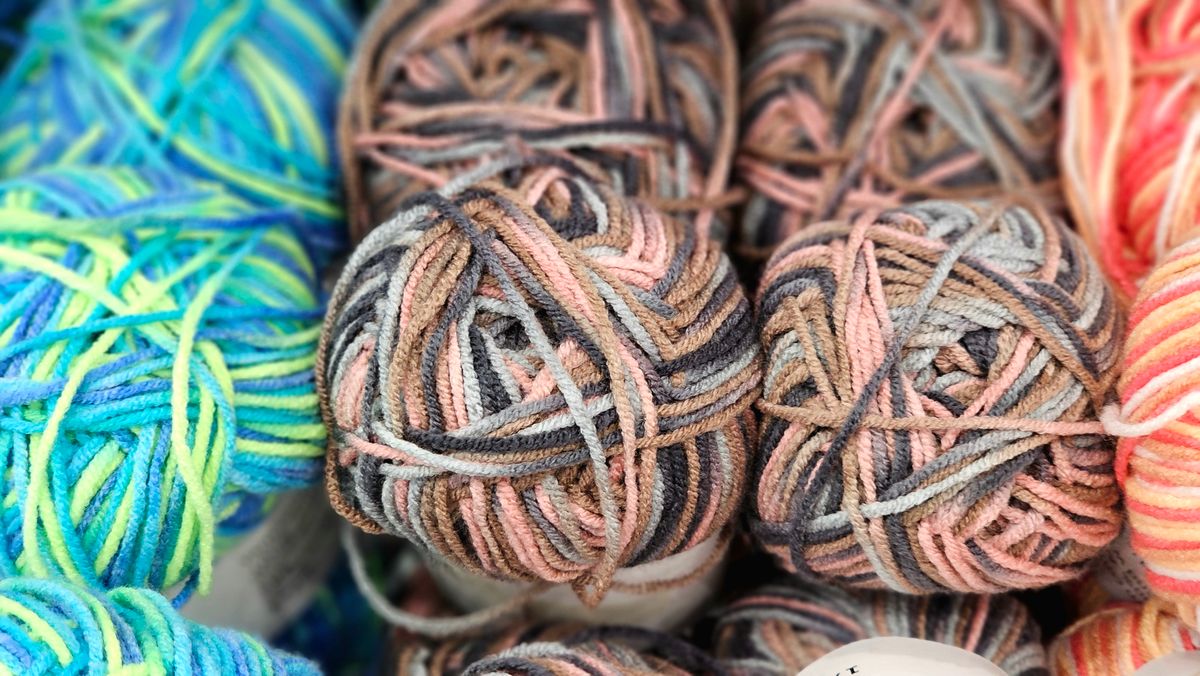
Before you start, gather the basics once and every charm gets easier. You need small amounts of DK or worsted weight cotton or acrylic yarn, a 3 mm to 4 mm hook (one size smaller than the yarn suggests, so the fabric stays tight), a yarn needle, a pinch of toy stuffing or yarn scraps for the plump charms, and split ring keyrings or lobster clasps, which cost pennies each in a multipack. Charms sit beautifully alongside other handmade bag decorations too, and if you enjoy mixing crafts, our DIY beaded bag charms pair happily with the crochet ones on the same bag.
1. Mini flower charm

Skill level: beginner. Yarn and hook: DK cotton in a petal colour plus a scrap of yellow, 3.5 mm hook. Time: about 20 minutes.
The classic first charm. Work a small ring of double crochet stitches in yellow for the centre, then make five or six petals by working a cluster of treble stitches into each stitch of a second round in your petal colour. The flower lies flat, so it needs no stuffing and suits bags that get knocked around. Make it in one colour for a simple daisy look, or add a second, larger layer of petals behind the first for a fuller bloom. A short chain loop at the top becomes the hanger, and a tiny leaf in green yarn takes two extra minutes.
2. Tiny heart charm
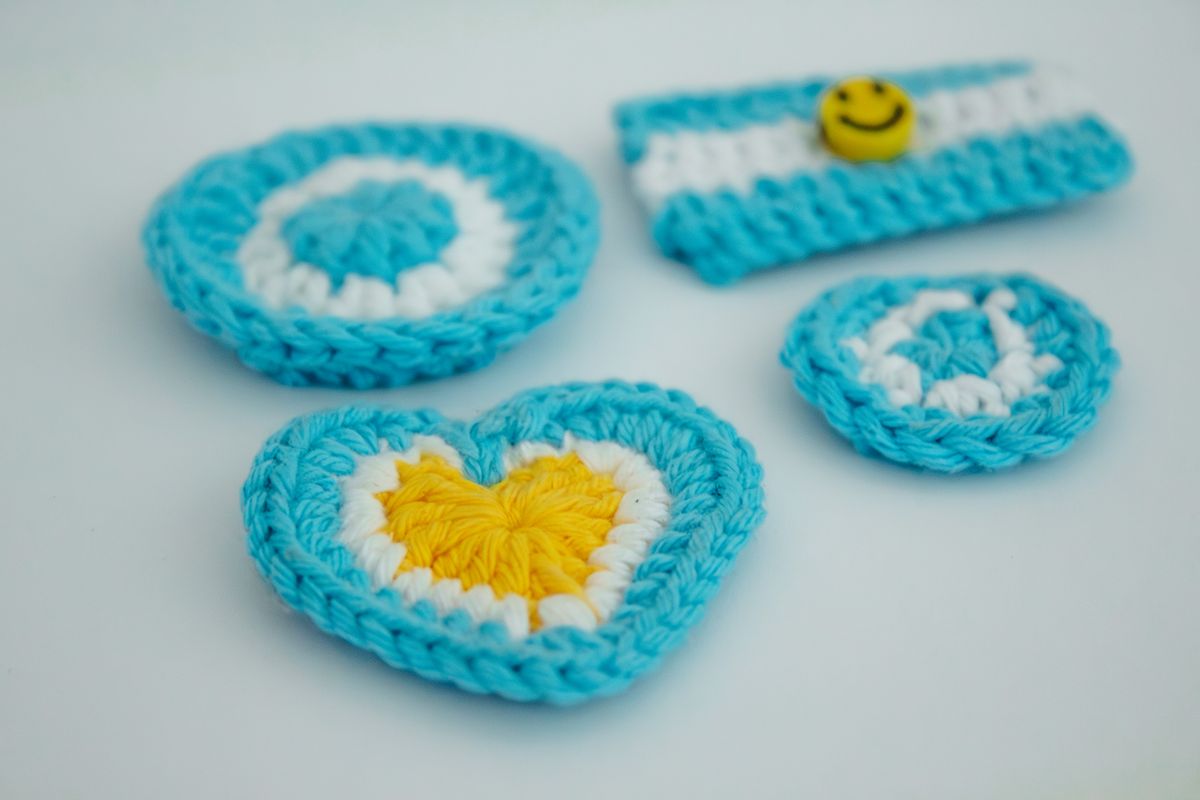
Skill level: beginner. Yarn and hook: any DK or worsted yarn, red and pink are classic, 3.5 mm hook. Time: about 25 minutes.
A heart charm is really two small rounds sewn together with a pinch of stuffing, and the shaping comes free from a few increases worked at the top. Start each half with a magic ring, work a few rounds of single crochet with increases, then flatten the top edge with two small dips to form the heart shape. Keep your stitches tight so the stuffing stays hidden. Hearts scale beautifully: chunky yarn and a 5 mm hook makes a plump keyring charm in the same time, while fine cotton thread makes a delicate one for a zip pull.
3. Mini octopus charm
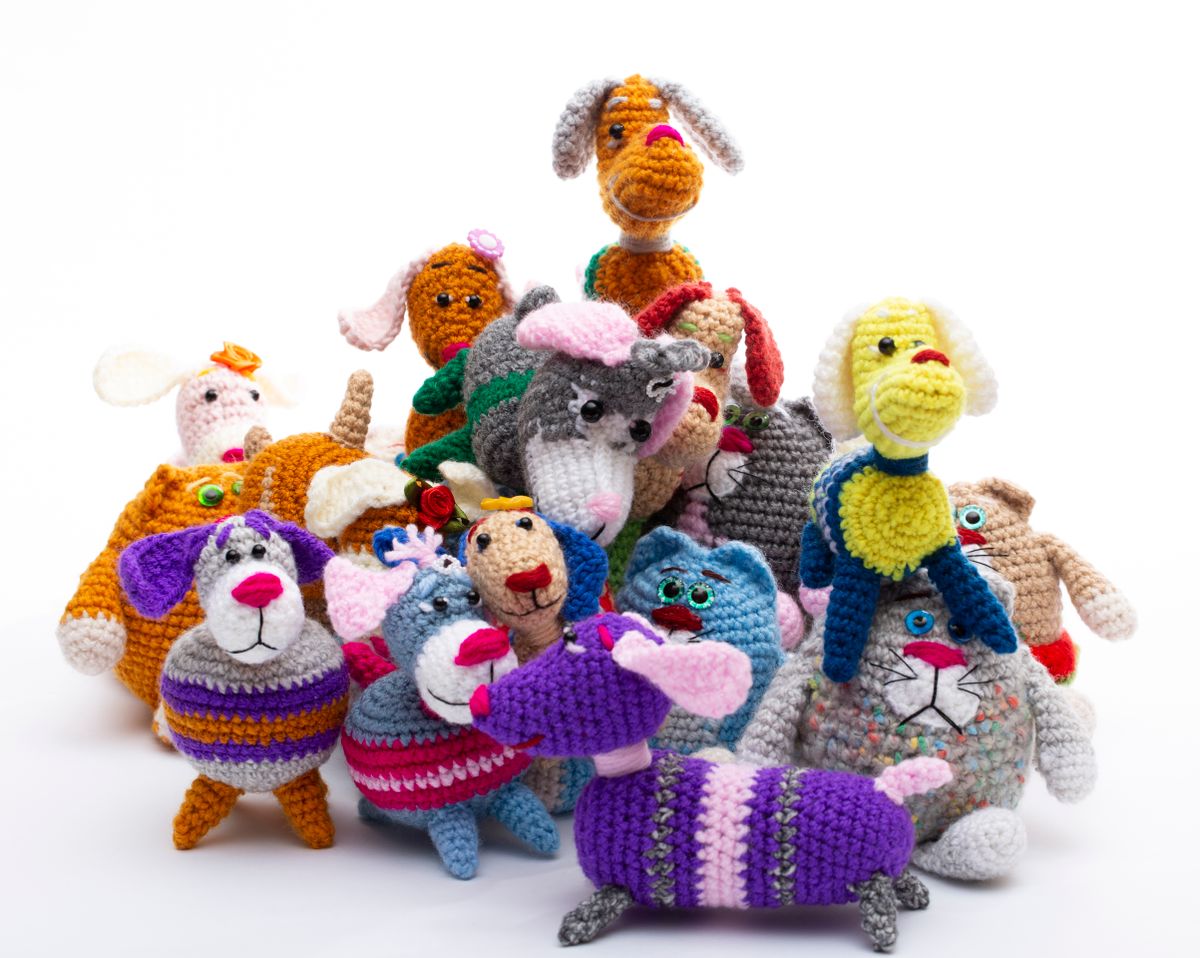
Skill level: confident beginner. Yarn and hook: worsted acrylic in any bright colour, 3.5 mm or 4 mm hook, two small safety eyes or black yarn for embroidered eyes. Time: about 45 minutes.
The most gifted charm on this list. The head is a simple sphere worked in spiral rounds, stuffed lightly, and the eight legs are just short chains with two or three single crochet stitches worked back along each one so they curl on their own. No sewing pieces together, no fiddly parts. Embroider the eyes if the charm is for a young child. An octopus in pastel yarn looks sweet on a school bag, and one in mustard or rust is a cheerful autumn extra for your own tote.
4. Strawberry charm
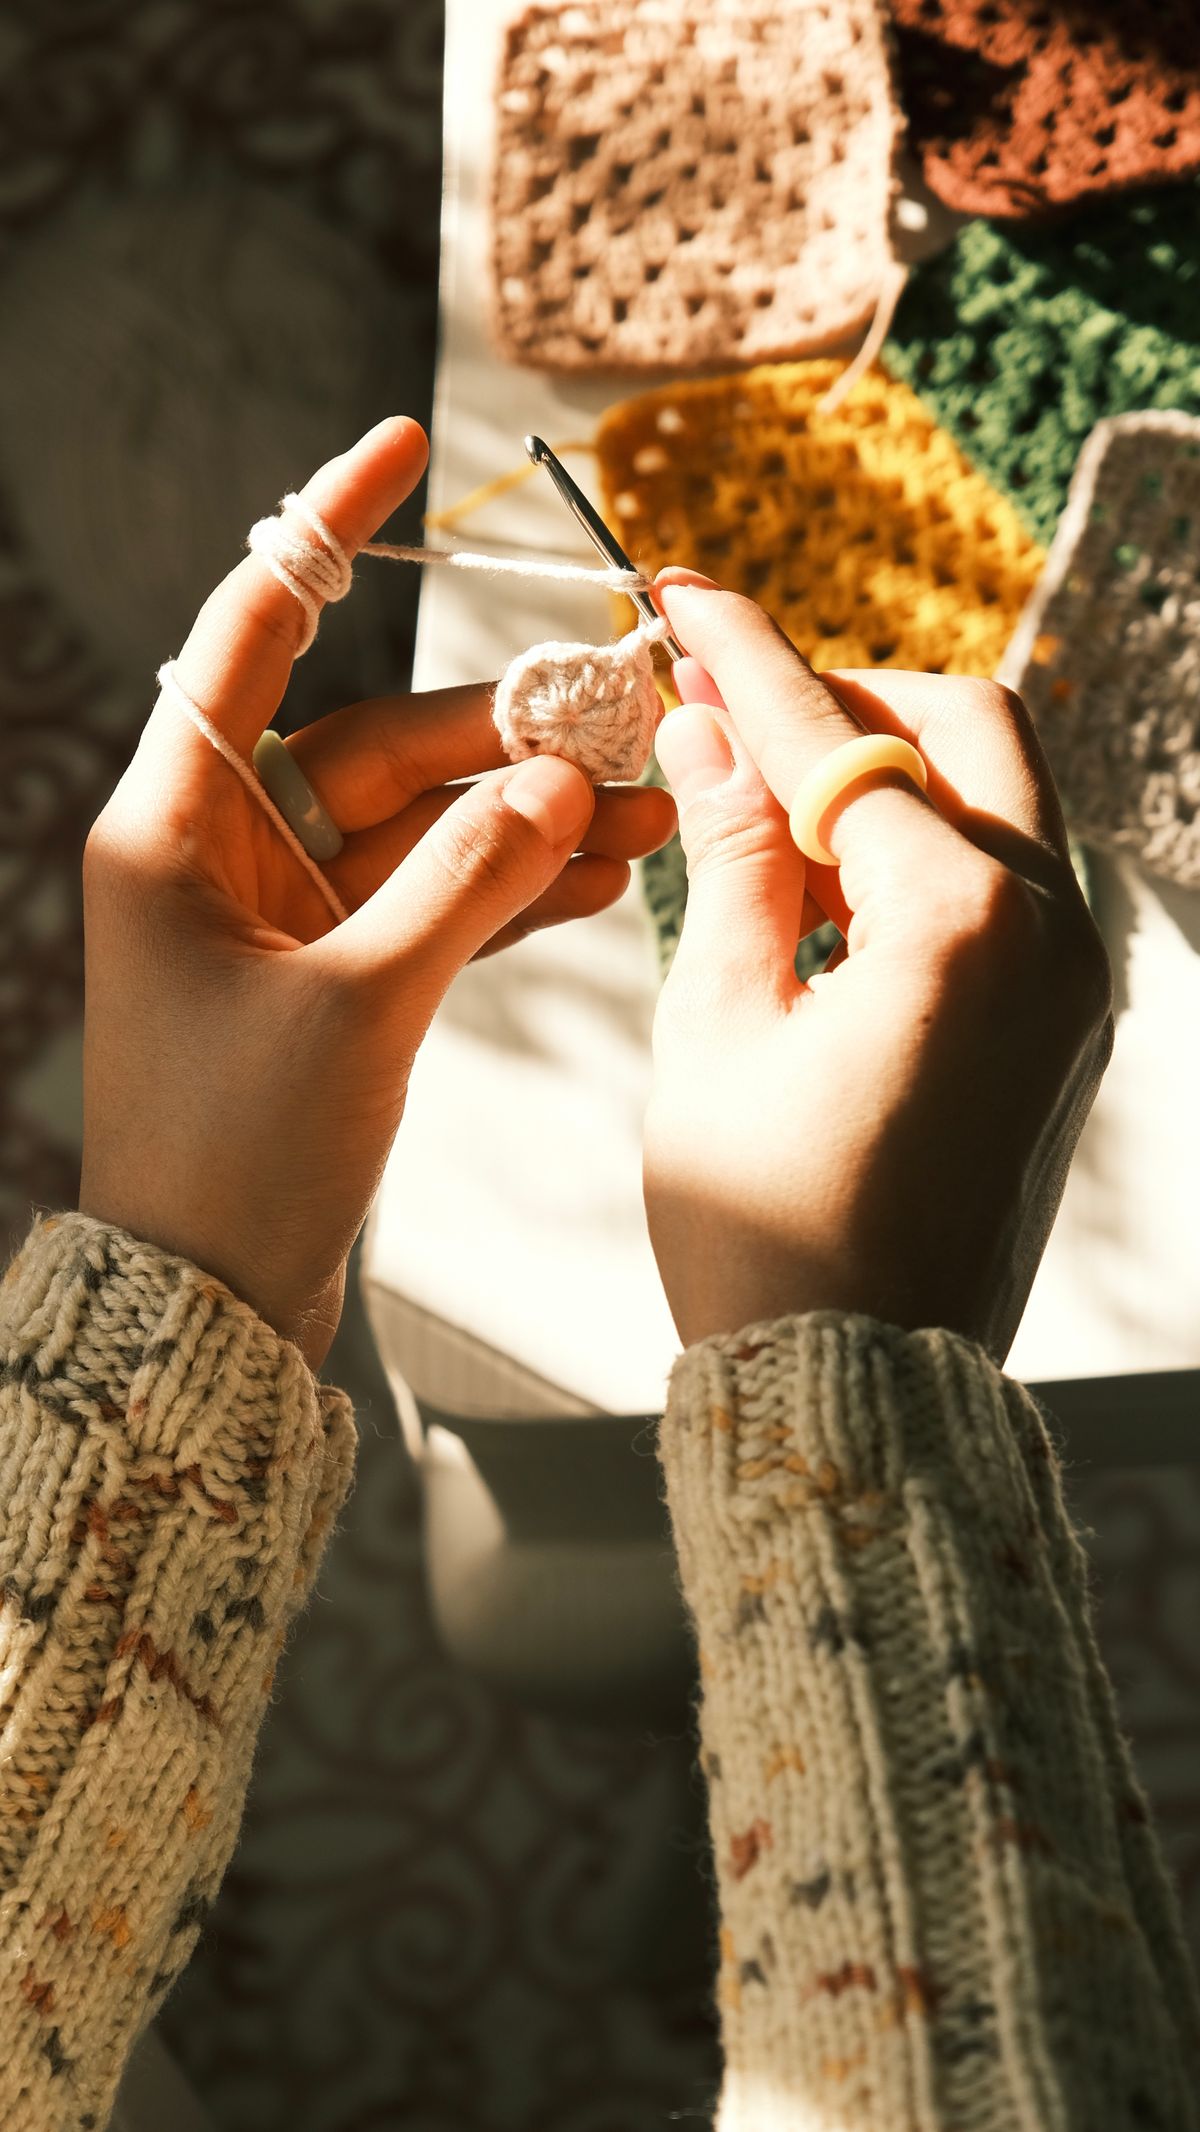
Skill level: confident beginner. Yarn and hook: red DK cotton, a scrap of green for the leaves, tiny amounts of cream or pale yellow, 3 mm hook. Time: about 40 minutes.
A strawberry is a teardrop shape in red, worked from the bottom tip up with steady increases, then lightly stuffed. The leafy top is a small green star of five pointed leaves crocheted separately and stitched on, and it hides the closing stitches neatly. Dot the seeds on afterwards with short straight stitches in cream yarn, spacing them unevenly so it looks hand grown rather than printed. This is the charm that teaches you shaping, because the increases do all the work and the result is unmistakable even on a first attempt.
5. Star charm
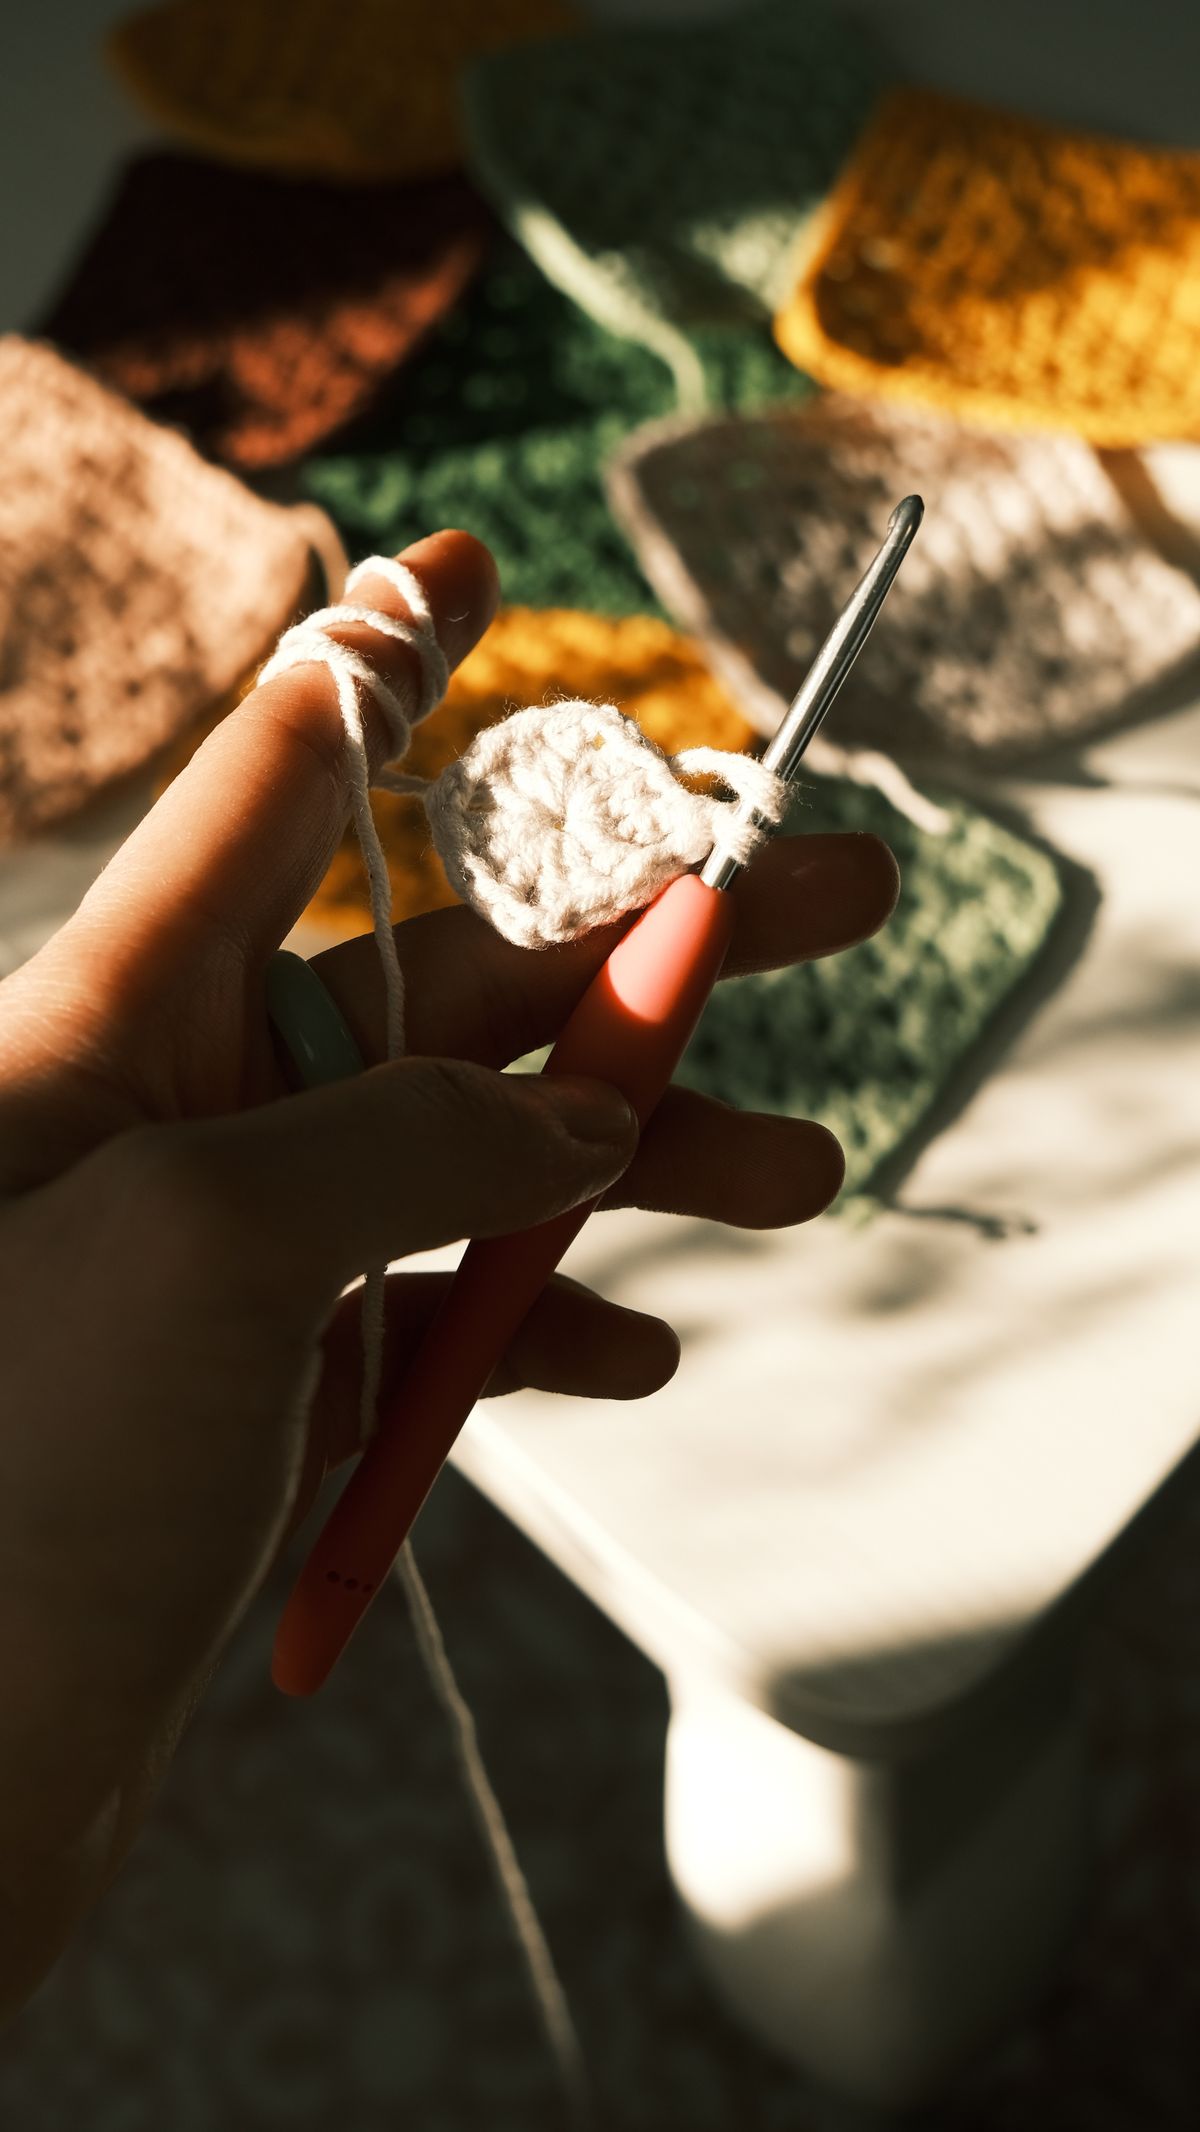
Skill level: beginner. Yarn and hook: yellow or gold DK yarn, 3.5 mm hook; metallic thread held alongside the yarn is a pretty option. Time: about 25 minutes.
Stars are worked flat, in two identical pieces. Each point is a small peak of chains and stitches worked around a central ring, and the rhythm of it becomes automatic after the first two points. Sew the pair together around the edges, adding a tiny pinch of stuffing just before you close, so the star keeps a soft puff. A star in silver grey yarn makes a lovely winter bag charm, and a rainbow set of five small stars on one ring is a cheerful gift for a teacher or a new driver.
6. Mini mushroom charm

Skill level: confident beginner. Yarn and hook: red and cream DK cotton, 3 mm or 3.5 mm hook. Time: about 40 minutes.
The cottagecore favourite. The cap is a small red dome with a few white spots embroidered or worked in as you go, and the stem is a short cream cylinder. Join them with a ring of stitches through both pieces, stuffing the cap lightly as you close. Mushrooms look best made in pairs or trios at slightly different sizes, which also uses up the smallest scraps in your basket. They suit woodland themed bags, gardeners, and anyone whose style leans storybook.
7. Tassel charm
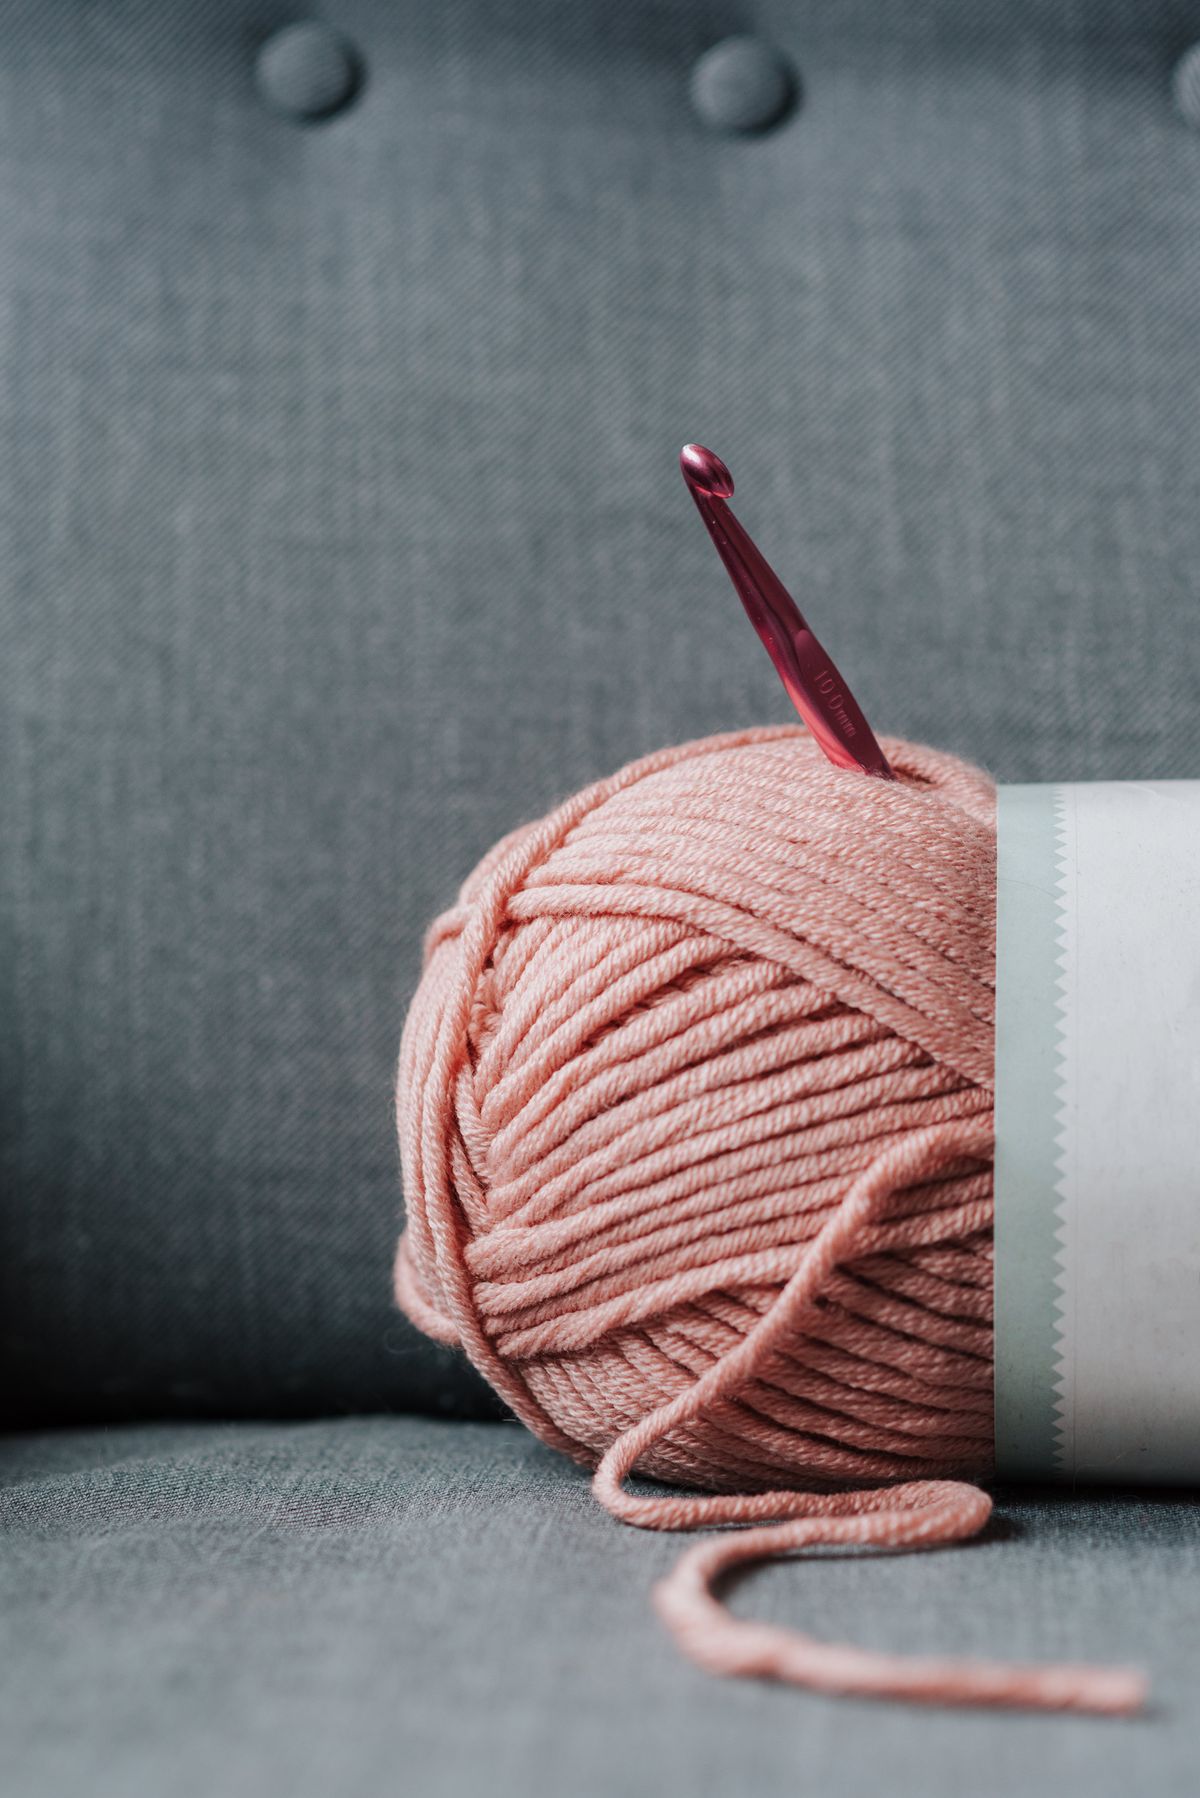
Skill level: beginner, and the fastest make here. Yarn and hook: any smooth DK or worsted yarn, 4 mm hook for the cord. Time: about 15 minutes.
Not every charm needs stuffing and shaping. For a tassel, crochet a short cord or a small flat band, then wind yarn around a card about twenty times, slide the bundle off, tie it tightly at the top, and trim the bottom ends level. Wrap a few turns of contrasting yarn just under the head for a tidy finish. Tassels are the best scrap busters on this list and they look genuinely elegant in neutral yarns on a leather bag, or bright and swingy in rainbow scraps on a beach tote.
8. Tiny tote charm

Skill level: intermediate beginner. Yarn and hook: DK cotton in two colours, 3.5 mm hook. Time: about 50 minutes.
A miniature bag on your bag: it raises a smile every time. Work a small rectangle in single crochet for the base and sides, or crochet a tube in rounds and pinch the bottom flat and sew it shut, then add two tiny chain handles. A stripe of contrast colour near the top makes it read as a tote instantly. The tiny tote is genuinely useful too, because it holds a lip balm or a folded note. Keep the stitches firm so it holds its shape without stuffing.
Attaching and gifting your charms
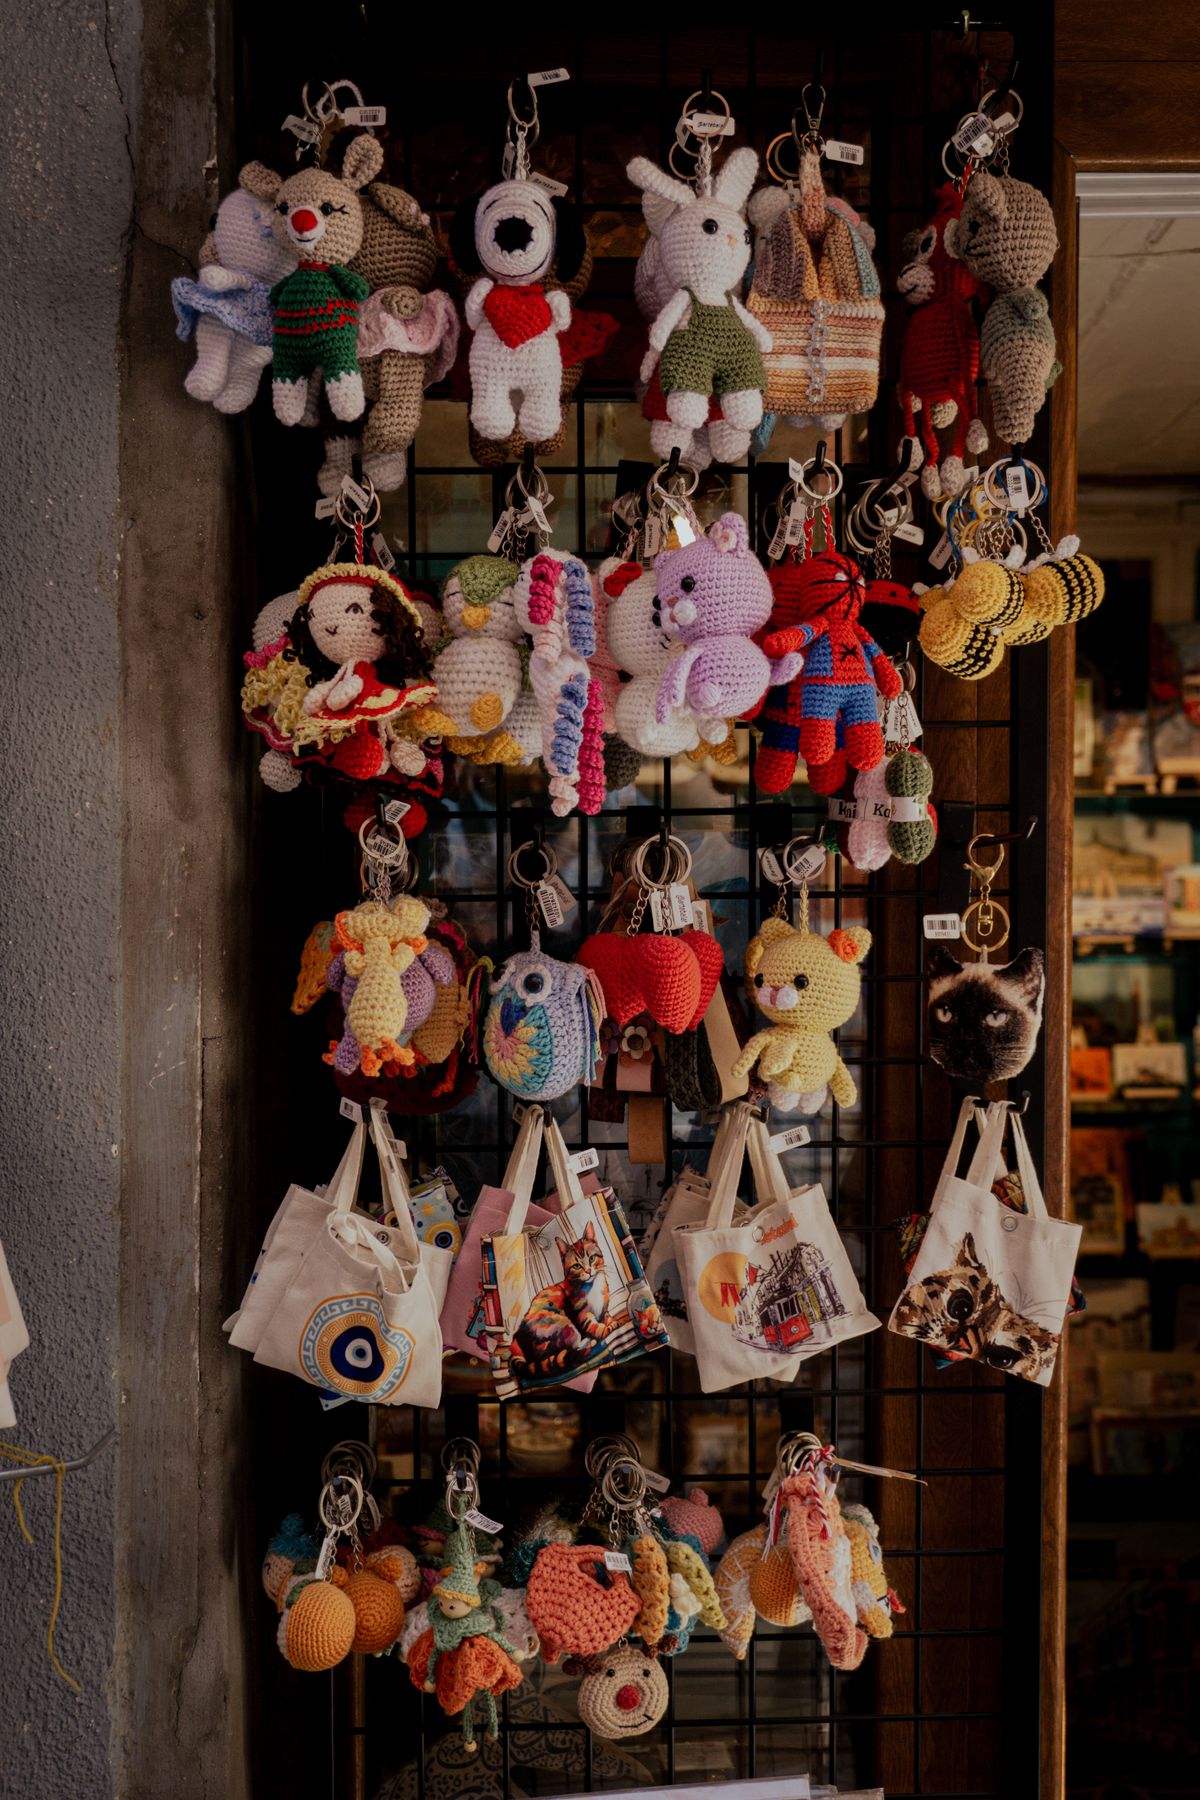
Finish each charm with a short chain loop, a jump ring or a small lobster clasp so it can move between bags. Clasps are the friendliest option for gifts, because the lucky person can clip the charm straight onto their own bag, keys or zip. If you like working in other materials too, our clay bag charms make a lovely mixed set with these crochet ones, one soft and one glossy on the same ring.
Charms also follow the seasons beautifully. The shaping skills you practise here are the same ones behind our beginner crochet pumpkin pattern, so an autumn batch could add a tiny pumpkin to the ring. Start with the flower or the tassel this afternoon, and do not be surprised if you end the week with a whole jingling bunch.


Comments
Post a Comment