Candle Making for Beginners: Your First Soy Candle, Step by Step
There is a particular kind of smug satisfaction in lighting a candle you poured yourself. It glows the same as a shop bought one, it smells exactly how you wanted, and it cost a fraction of the price. Soy candles are the friendliest place to start candle making, because soy wax is forgiving, easy to clean up with soap and water, and happy to melt in a simple double boiler on your stove.
This guide walks you through your very first soy candle, step by step, with the temperatures that actually matter and the little habits that separate a smooth, professional looking candle from a lumpy one. Make one candle first, learn how your wax behaves, then batch your next session. If you enjoy working with natural waxes at the kitchen table, you will probably also like our guide to how to make beeswax wraps, which uses the same gentle melting setup.
What you need
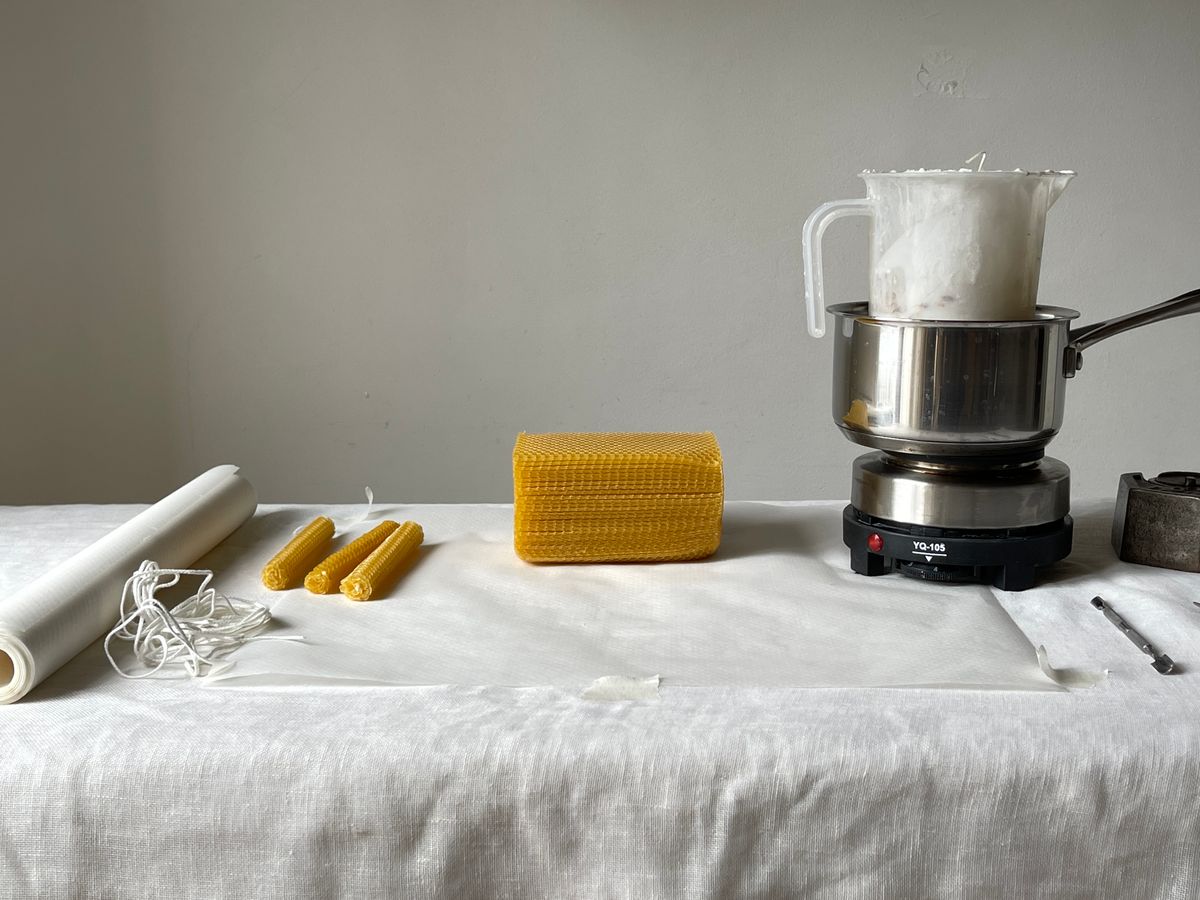
Most candle making kits bundle these items together for $20 to $30, which is the easiest route for a first candle. Buying separately works too, and the tools last for years.
- Soy container wax flakes, 1 lb (450 g): about $8 to $10. Look for wax sold for containers, not pillar wax.
- Heat safe containers: clean glass jars, tins or sturdy ceramic cups, $1 to $3 each. Two 8 oz jars are a good first pour.
- Cotton wicks with metal tabs: a mixed pack costs about $5. Size the wick to your container width; wider jars need thicker wicks.
- Fragrance oil made for candles: about $6 to $9 for a 1 oz bottle. Vanilla, cedar or a simple lavender are all beginner friendly.
- A pouring jug and a larger pan: a heatproof jug for the wax, set inside a pan of water as a double boiler. A dedicated jug costs about $10.
- A kitchen thermometer: about $8. Guessing temperatures is the main cause of rough looking candles.
- Wick stickers or a dab of hot glue, plus two pencils or a clothes peg: pennies, for holding the wick in place and keeping it centred while the wax sets.
- A kitchen scale: wax and fragrance are measured by weight, not volume.
Step 1: Choose your wax and containers
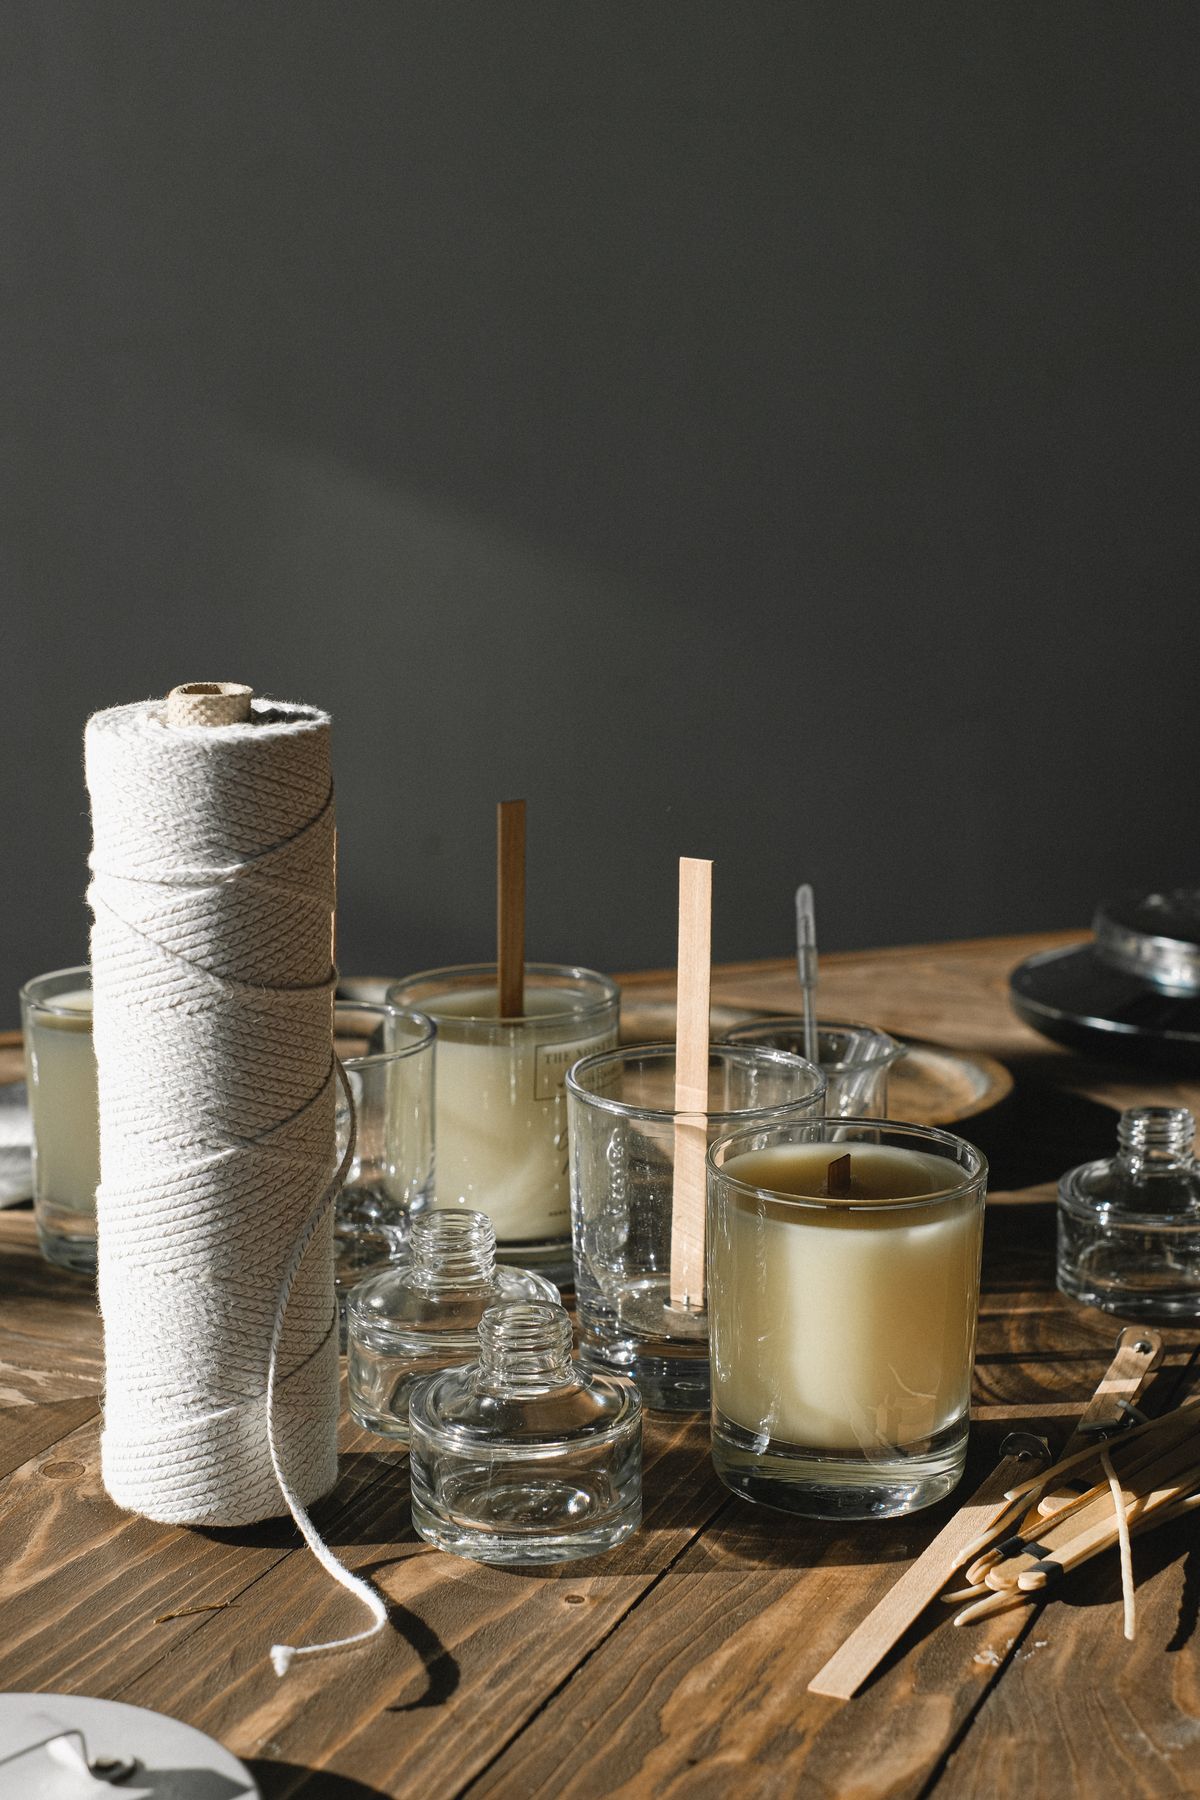
Soy wax sold as flakes or small chips melts evenly and is the easiest to weigh. One pound of soy wax fills roughly two 8 oz jars once melted, because melted wax takes up less room than the flakes suggest. A handy rule: fill your container with water, weigh the water, and use about 85 percent of that weight in wax flakes.
Containers must be heat safe and completely dry. Straight sided glass jars, metal tins and glazed ceramics all work well. Avoid very wide containers for a first candle, because a single wick struggles to melt the wax all the way to the edges of anything wider than about 3.5 inches, and avoid thin glass that has held food in the freezer, which can crack with heat. Wash jars in warm soapy water, dry them thoroughly, and bring them to room temperature before you pour.
Step 2: Set the wicks in place
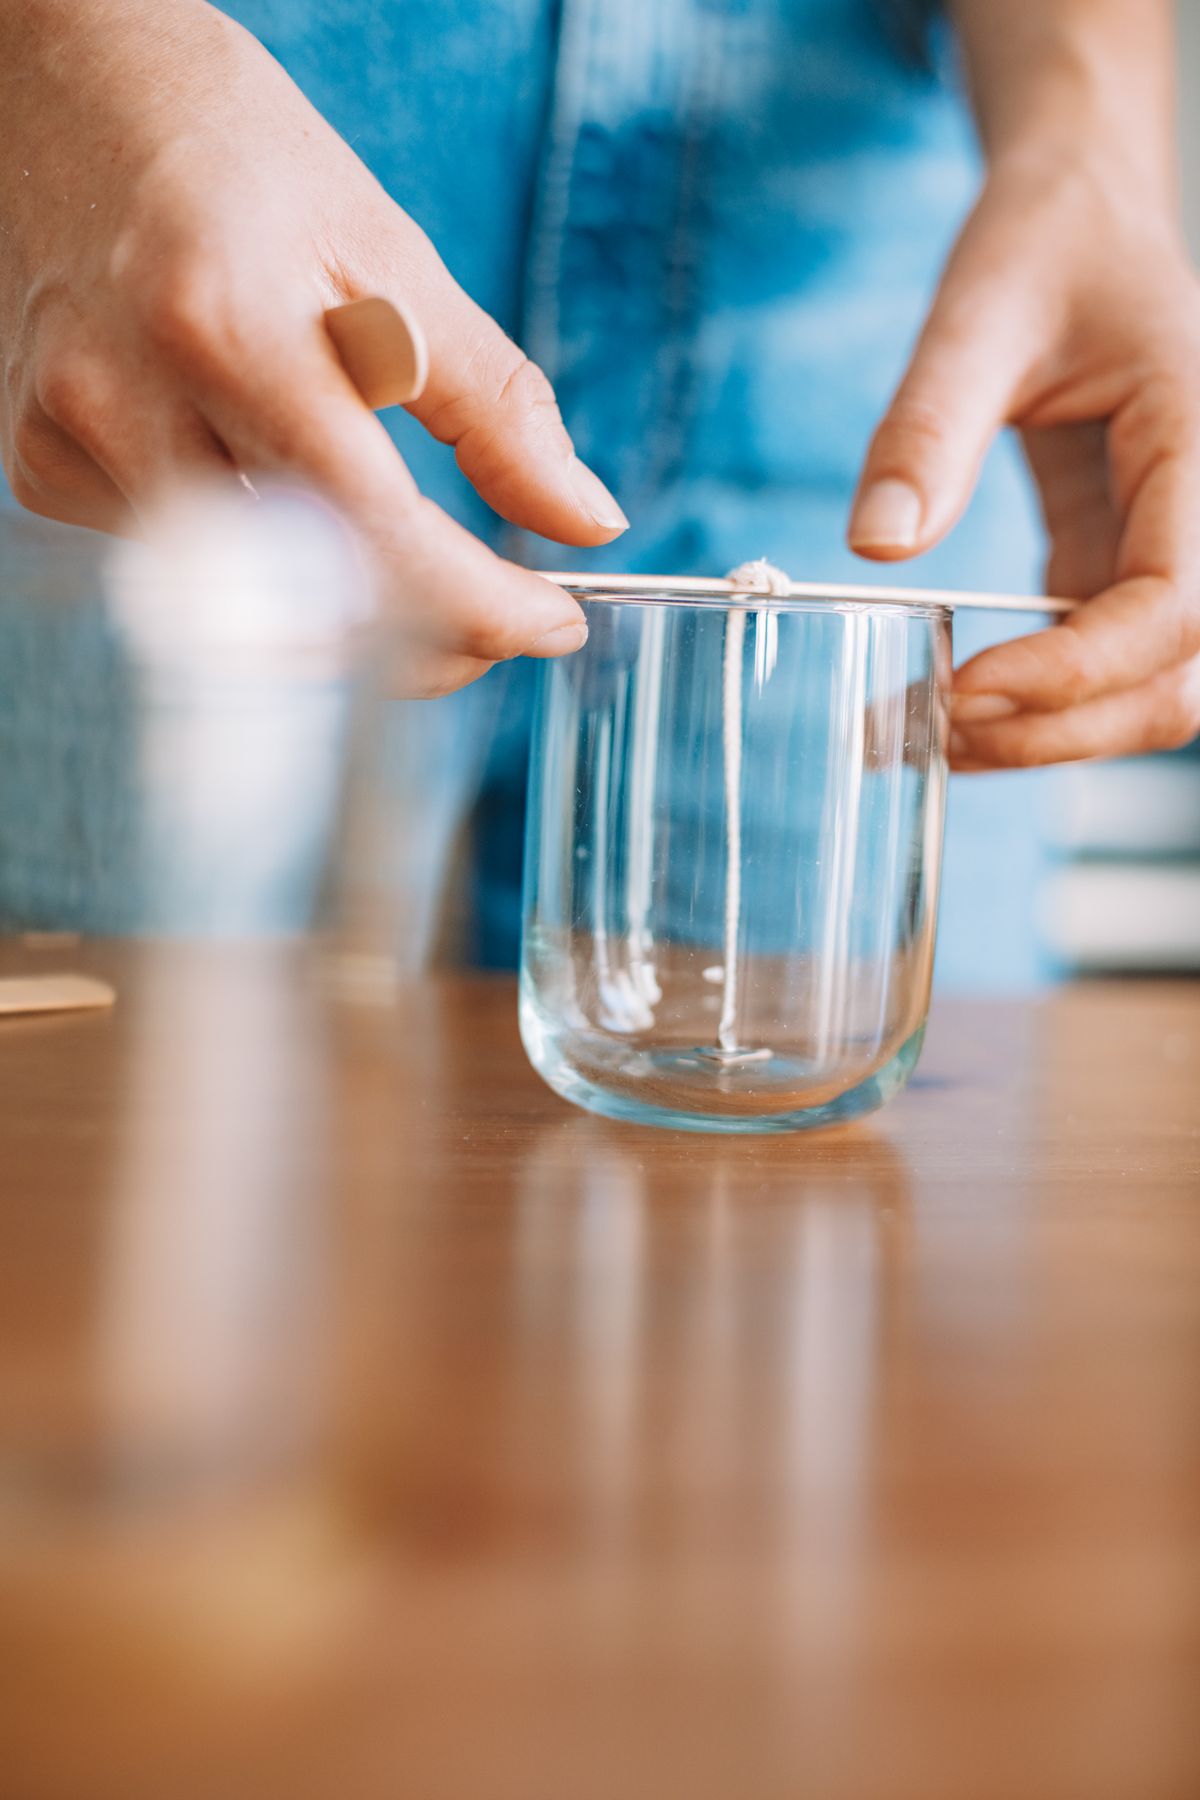
Fix the metal tab at the bottom of each wick to the centre of its container with a wick sticker or a small dot of hot glue, then press down firmly for a few seconds. A wick that drifts off centre while the wax is liquid will burn lopsided no matter what you do later, so this thirty second job is worth doing carefully.
Lay two pencils side by side across the top of the jar with the wick resting between them, or clip the wick gently in a clothes peg laid across the rim. The wick should stand straight and taut, not pulled hard to one side. Do this before the wax melts, because you do not want to be fiddling with pegs while holding a jug of hot wax.
Step 3: Melt the wax safely
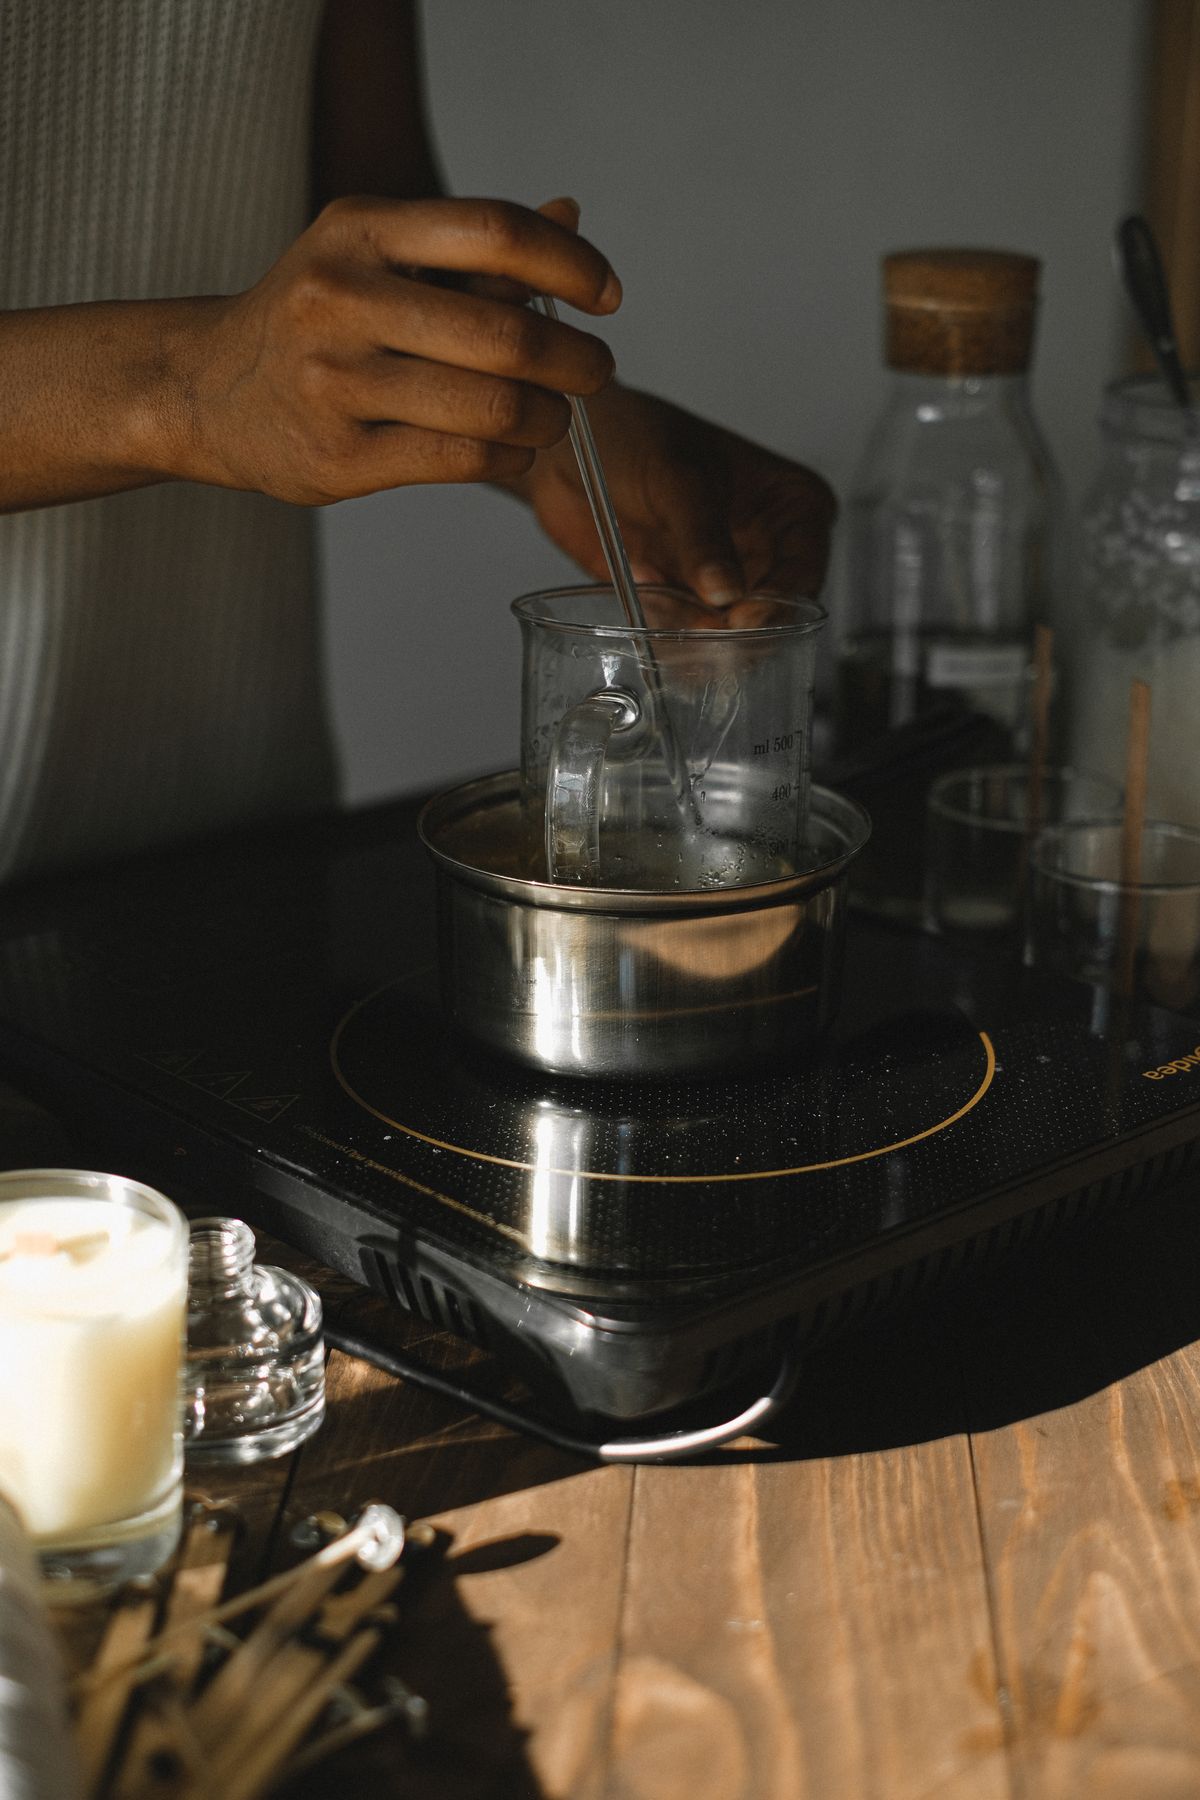
Weigh your flakes into the pouring jug and set the jug in a pan with a couple of inches of water in it. Heat on a low to medium setting and let the wax melt slowly, stirring now and then with a clean spoon or skewer. Soy wax melts at around 120°F (49°C), and you want to heat it to about 180 to 185°F (82 to 85°C) so the fragrance binds well later.
Two safety rules matter here. Never melt wax directly over a flame or in a pan without the water bath, because wax can catch fire if it overheats. And never leave melting wax alone, even for a minute. Keep the handle turned in, keep water well away from the wax itself, and treat the jug as you would a pan of hot oil. If children or pets are underfoot, make candles later.
Step 4: Cool slightly and add the fragrance
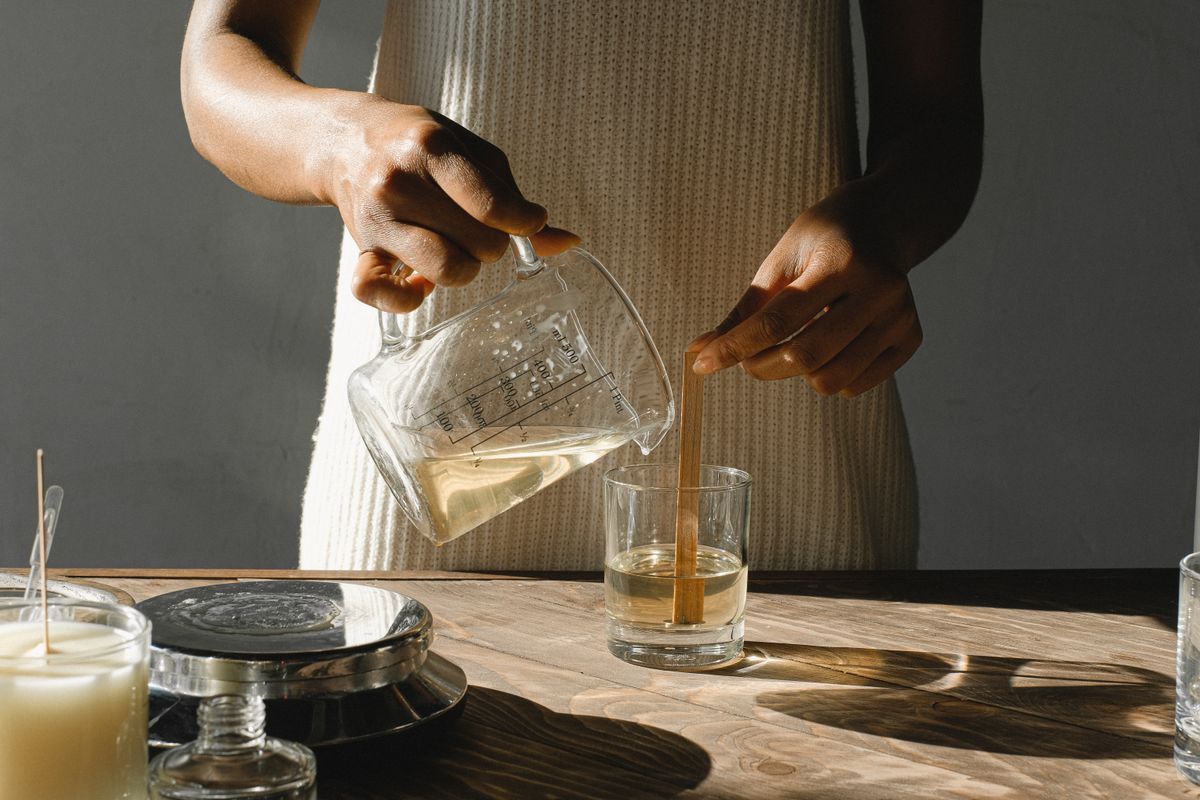
Take the jug off the heat once the wax reaches temperature and let it cool to around 185°F (85°C) if it climbed higher. Stir in your fragrance oil at about 6 to 8 percent of the wax weight, which is roughly 1 oz of fragrance per pound of wax. Stir slowly and steadily for a full two minutes. Slow stirring sounds fussy, but it is what bonds the fragrance into the wax instead of letting it pool, and it avoids whipping in air bubbles.
Then let the wax cool further, to about 130 to 140°F (54 to 60°C), before pouring. This short wait is the single biggest secret to smooth tops. Wax poured too hot shrinks hard as it cools and pulls away from the glass, while wax poured at this cooler temperature settles gently and sticks far better.
Step 5: Pour slowly and steadily
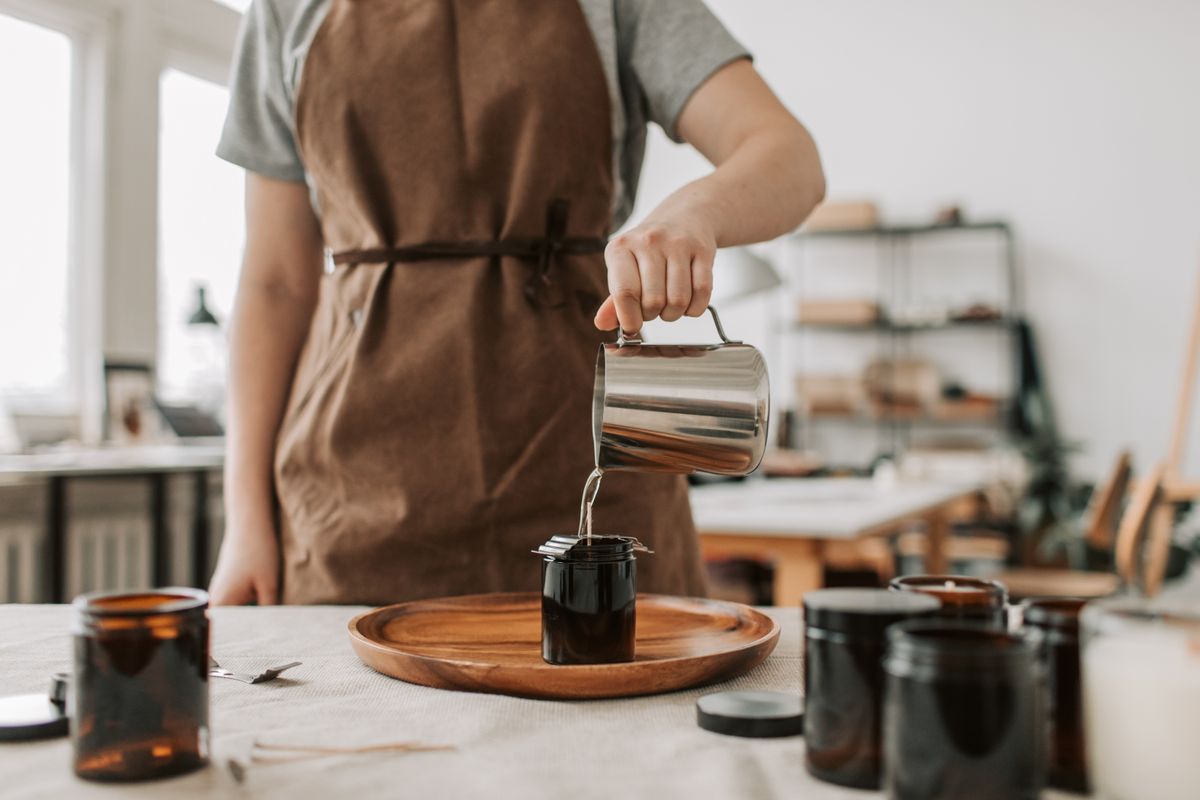
Pour the wax into each prepared jar in a slow, thin stream, keeping the jug low so the wax does not splash or trap air. Leave about half an inch of space at the top. Keep a small amount of wax back in the jug, because you may need it for a top up later. Check that each wick is still centred and adjust it gently with a skewer while the wax is liquid.
Set the jars somewhere level, at room temperature, away from drafts, open windows and radiators. Uneven cooling is a quiet candle killer: a jar cooling beside a cold window can set with cracks or wet spots even if you did everything else right. Covering the jars loosely with a cardboard box helps them cool slowly and evenly.
Step 6: Cool, cure and trim
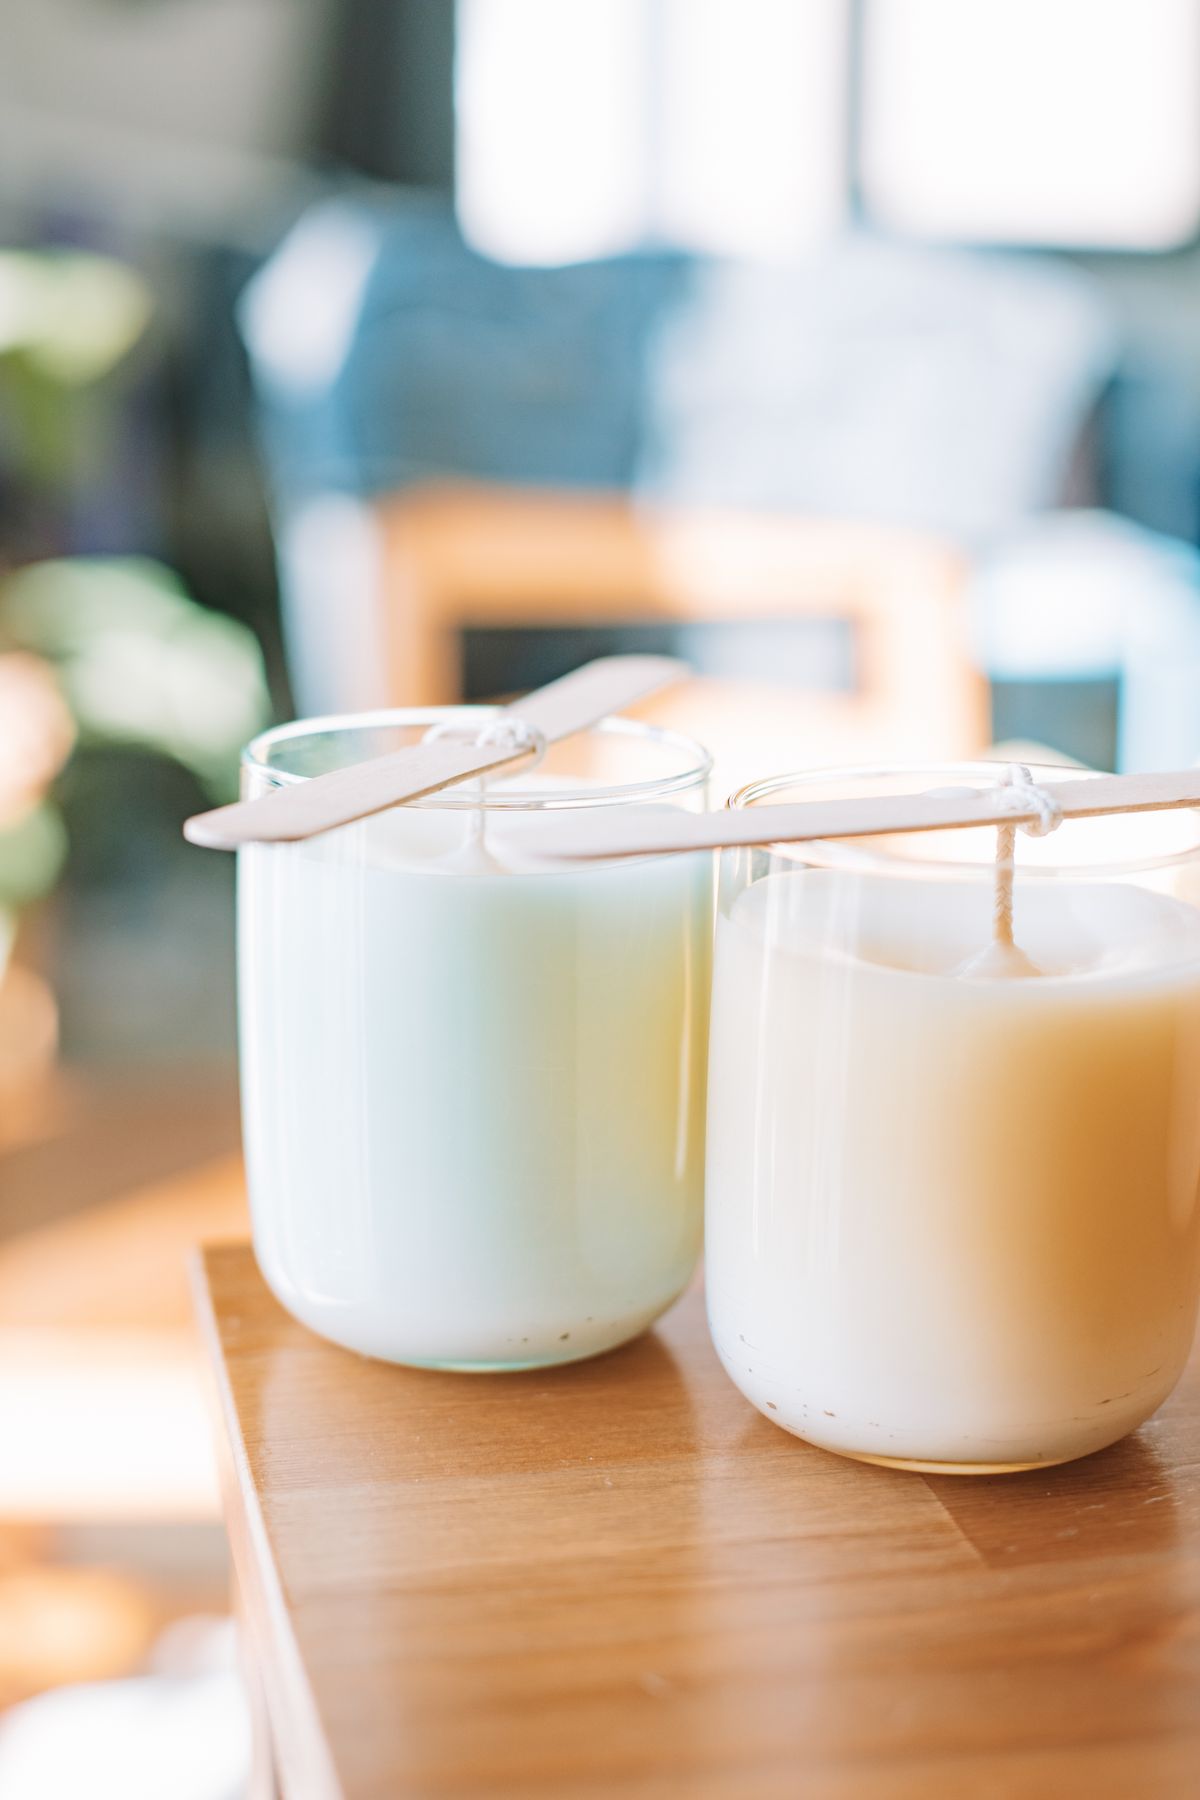
Leave the candles untouched for at least 24 hours while they firm up. Soy wax then needs curing time, which simply means letting the fragrance settle into the wax before burning. A week is the minimum for a decent scent, and two weeks is better. Write the fragrance and the pour date on a label under each jar so you remember which batch behaved best.
Before the first burn, trim the wick to about a quarter of an inch (5 to 6 mm). A long wick makes a big, smoky flame and soot on the glass, while a short, neat wick gives a clean, steady burn. On the first burn, let the candle stay lit until the melted wax reaches the edges of the jar, usually two to three hours for an 8 oz candle. Soy wax has a memory, and that first full melt pool teaches it how wide to melt every time after.
Troubleshooting: sinkholes, wet spots and tunneling
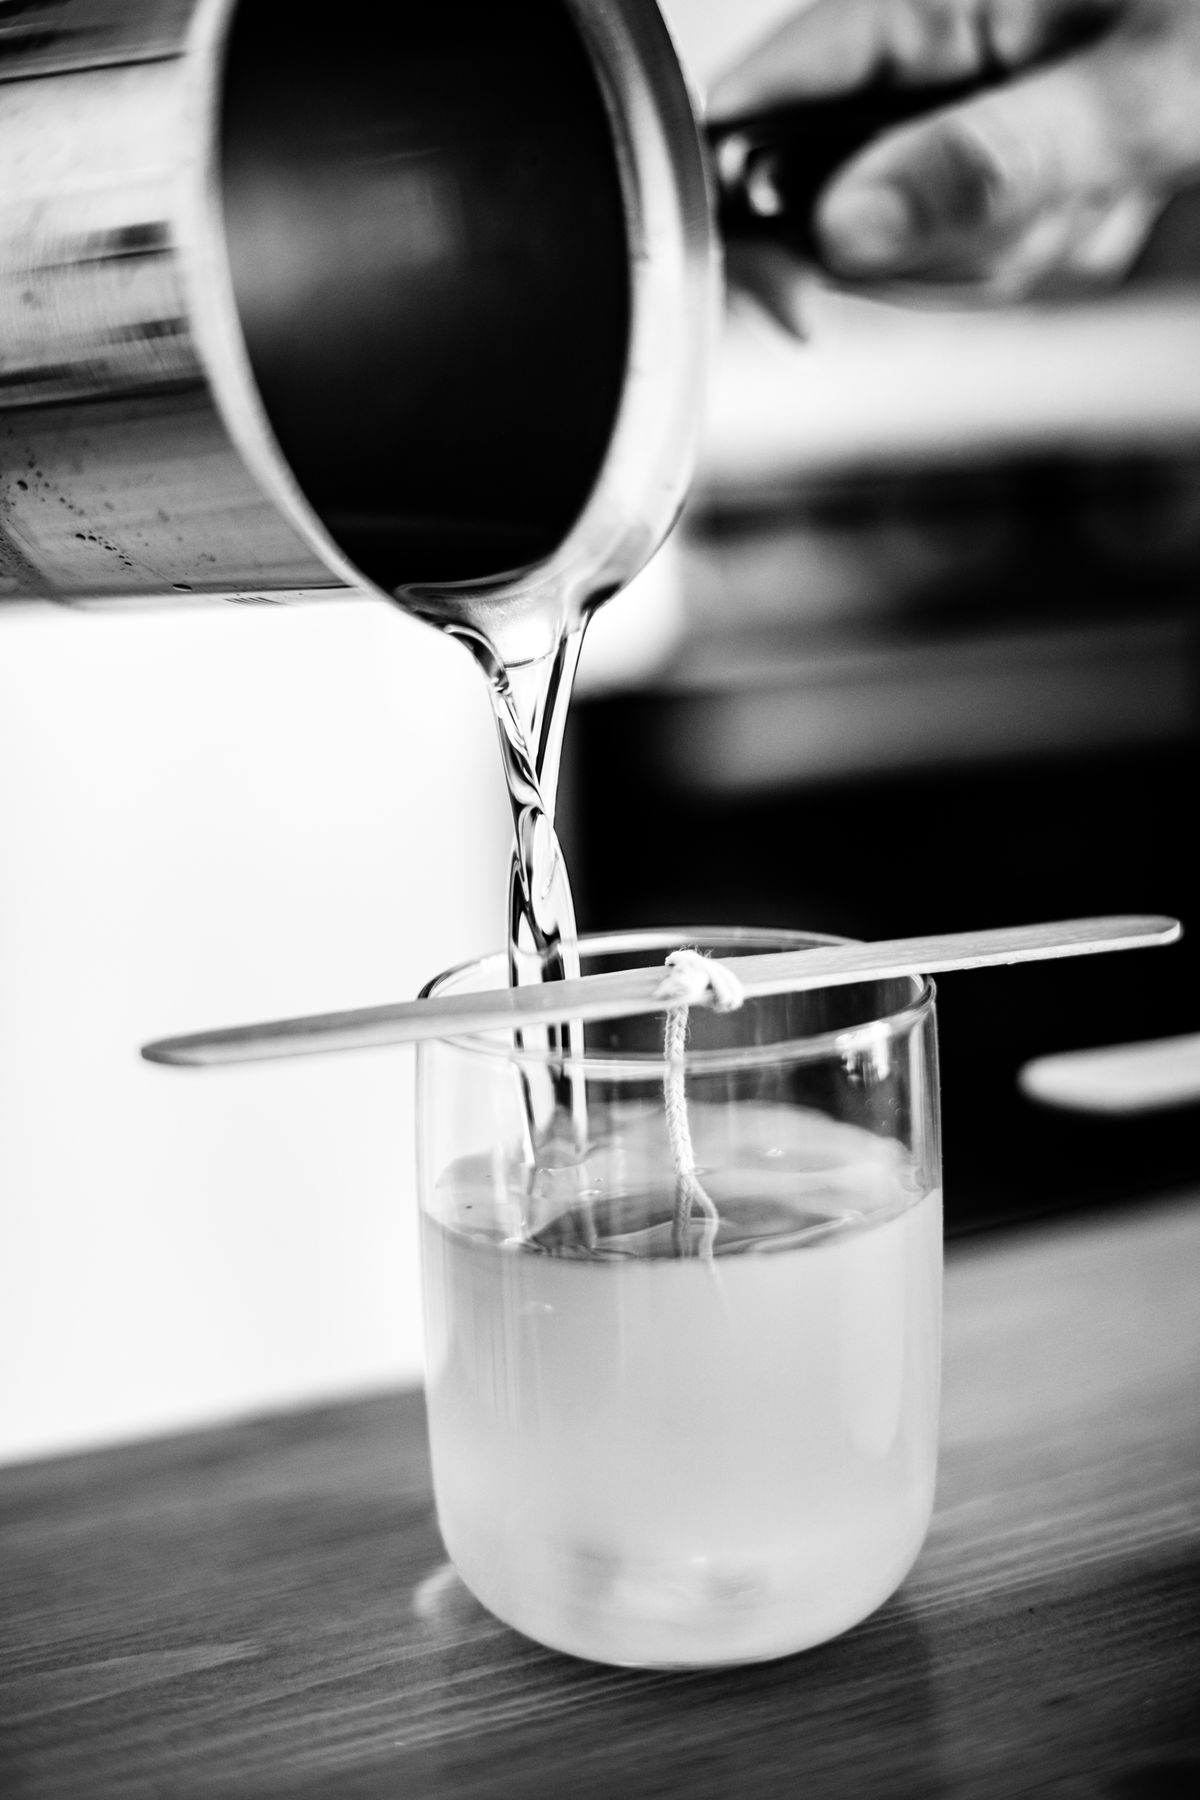
Sinkholes are dips or hidden pockets that appear around the wick as the candle cools. They happen because wax shrinks as it sets. Poke a few holes around the wick with a skewer, then pour in a little of your reserved wax, reheated gently, to fill them. A heat gun or a hair dryer on low also smooths a rough top in seconds.
Wet spots are the pale patches where wax has pulled away from the glass. They look worse than they are and do not affect how the candle burns. Pouring cooler, warming jars slightly before pouring, and cooling candles slowly in a draft free spot all reduce them.
Tunneling is when the candle burns straight down the middle and leaves a wall of unused wax. It is usually a wick problem or a first burn problem: the wick was too small for the jar, or the first burn was too short to set a full melt pool. Size up the wick on your next pour and give the first burn its full two to three hours.
Your candle making habit starts here
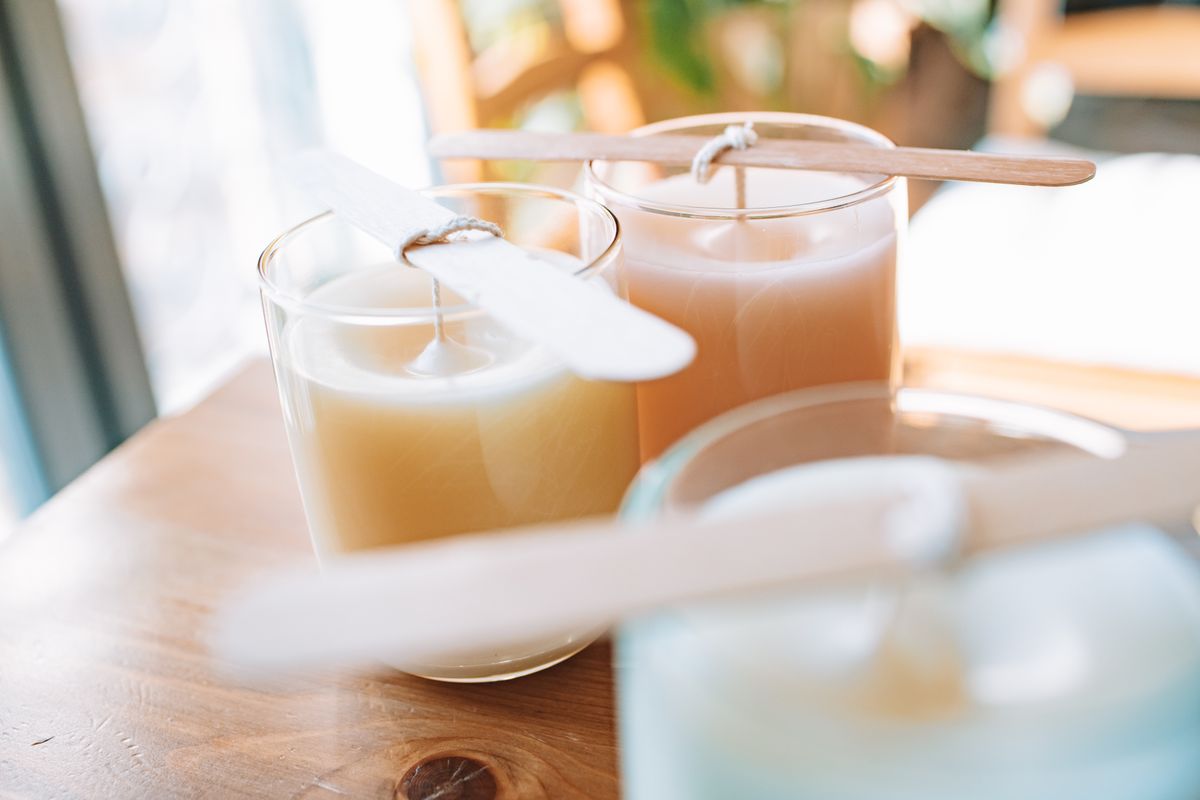
Once your first candle behaves, the variations are endless: tins for travel candles, layered scents, a row of small jars as table decorations. Keep notes on wax weight, fragrance amount and temperatures for every batch, because the candle you love in three months will be the one you can repeat exactly. Homemade candles also make wonderful fillers for gift bags, and a small candle tucked into a surprise bag is one of the prettiest ideas in our DIY blind bags guide. Light your first one on a quiet evening, and enjoy the glow you made yourself.


Comments
Post a Comment