Borax Crystal Ornaments: Grow Sparkling Snowflakes and Stars
There is something a little bit magical about going to bed with a plain pipe cleaner shape in a jar and waking up to find it covered in sparkling crystals. Borax crystal ornaments have been a favourite winter craft for years, and it is easy to see why. They cost very little to make, they catch the light beautifully on the tree, and the growing part feels like a small science experiment and a craft project rolled into one.
In this guide we will show you how to grow your own snowflakes and stars, step by step. The finished pieces look lovely on a tree, tied to a gift, or hung in a window.
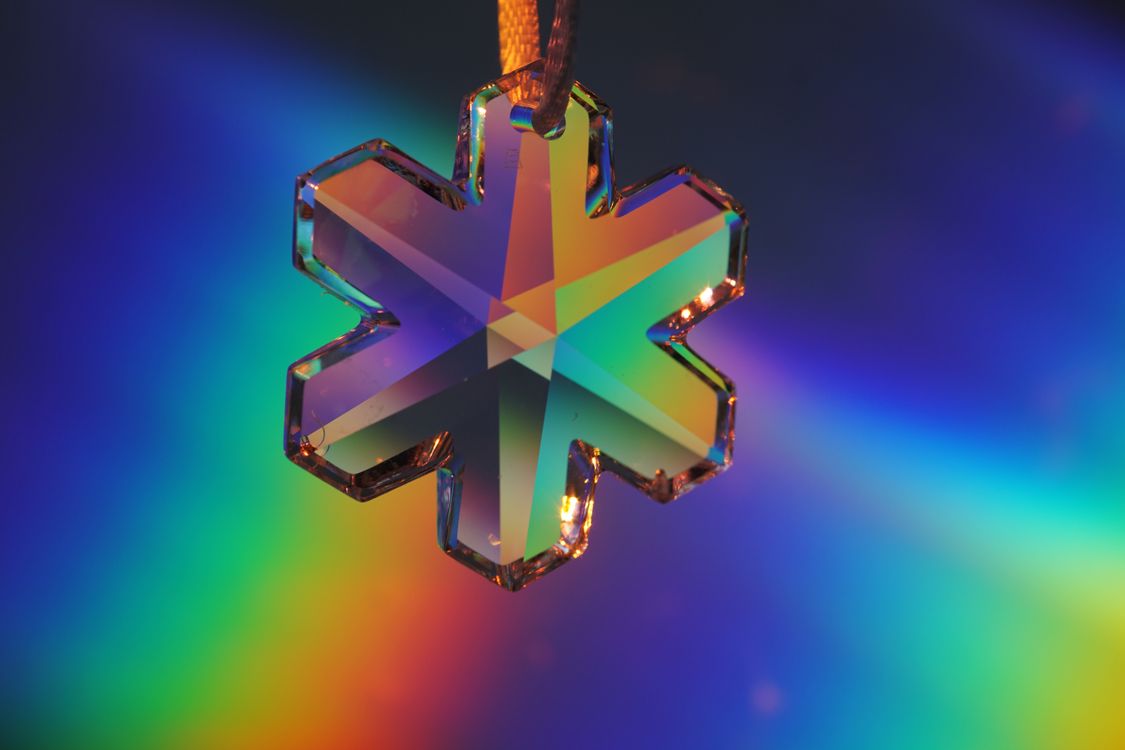
Safety first: please read before you start
This is an adults only project. Borax is a laundry and cleaning product, and it needs to be treated with respect. Keep this craft for grown ups to make, and enjoy the finished ornaments together once they are dry and sealed.
Borax is not food. Never eat it or drink the solution, and keep the powder, jars, and wet ornaments well away from children and pets at every stage.
Wash your hands well after handling the powder and the wet ornaments, and try not to touch your eyes or face while you work. Do not use kitchen pots, jugs, spoons, or jars that you cook or serve food in. Use a dedicated craft pot, or an old pot that will not be used for food again. The solution uses boiling water, so take your time and use oven mitts.
Finally, label the jar as soon as you mix the solution. Write borax solution, do not drink, plus the date, on tape or a label, so no one mistakes it for anything else.
What you need
You do not need much, and you may already have most of it at home. Gather everything before you start, because the solution works best while it is still hot.
- Borax powder, from the laundry aisle
- Boiling water, plus a kettle or dedicated craft pot
- White or coloured pipe cleaners, also called chenille stems
- Wide mouth glass jars, one for each ornament
- Pencils, chopsticks, or wooden skewers for the jar tops
- String, fishing line, or thin yarn for suspending and hanging
- Scissors and pliers or wire cutters
- A spoon kept for crafting, for stirring
- Paper towels or an old tray for drying
- Clear spray sealant or brush on sealant
- Optional: food colouring, glitter pipe cleaners, and ribbon
How to make borax crystal ornaments
Step 1: Shape your snowflakes and stars
Shape your pipe cleaners first, while the kettle is still off. For a snowflake, cut one pipe cleaner into three equal pieces and twist them together in the middle, so you have six points. Add small V shapes near the end of each arm: cut short pieces, twist one onto each point, and trim any long ends. Flatten the shape and check that it fits inside your jar with room to spare on all sides.
For a star, bend one full pipe cleaner into five points, twisting the ends together where they meet. A star shaped cookie cutter makes a handy guide. Simple shapes grow the best crystals. Tie string to the top of each shape now, with a little extra left for hanging.

Step 2: Mix the borax solution
The ratio to remember is about 3 tablespoons of borax per cup of boiling water. Most wide mouth jars hold 2 to 3 cups, so you will need 6 to 9 tablespoons for a full jar. Make a little too much rather than too little, because your shape needs to be fully covered.
Pour the boiling water into your jar or dedicated pot, add the borax a spoonful at a time, and stir well after each addition. A little powder left at the bottom is normal and tells you the solution is saturated, which is exactly what you want. If you are adding food colouring, stir it in now, and work fairly quickly while the solution is hot.
Step 3: Suspend the shapes in the jar
Tie the string from your shape to a pencil or chopstick, lower the shape slowly into the hot solution until it is fully covered, and rest the pencil across the top of the jar. Adjust the string so the shape hangs in the middle and does not touch the sides, the bottom, or any other shape. This matters: if it touches the glass, crystals will grow onto the glass and may break when you lift the ornament out.
Give each ornament its own jar if you can. Two shapes in one jar often grow together into one sparkly lump, which is hard to hang.
Step 4: Leave the crystals to grow overnight
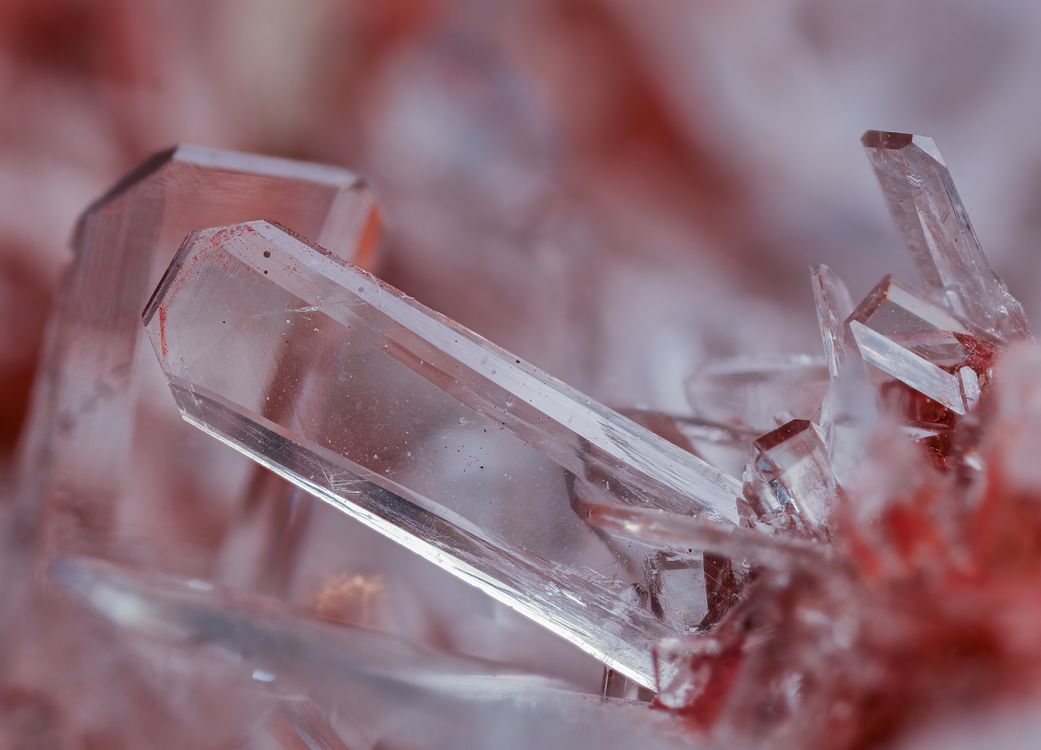
Set the jar somewhere it can sit completely still, then leave it alone. Crystals form as the water cools, and most of the growing happens in the first few hours. Leave your ornaments for 6 to 24 hours. Six hours gives a light, delicate coating, while overnight, around 12 to 18 hours, gives the thick, frosty coverage most people want.
Try not to move, tap, or lift the shape to peek. Every move can knock off tiny new crystals. Look through the glass instead: you should see a pretty crust forming on the pipe cleaners, which is all normal.

Step 5: Dry and seal your ornaments
Lift the ornament out slowly by the pencil and let extra solution drip back into the jar. Lay it on paper towels, or hang it over a tray, and let it dry fully for at least 2 to 3 hours, ideally overnight. The crystals look a little dull while wet and brighten as they dry.
Once dry, seal your ornaments to help them last. Use clear spray sealant outdoors, in light coats, or paint on a thin layer of brush on sealant. Sealing protects against humidity and crumbling. Let it dry completely before hanging.
Step 6: Hang and store your finished pieces
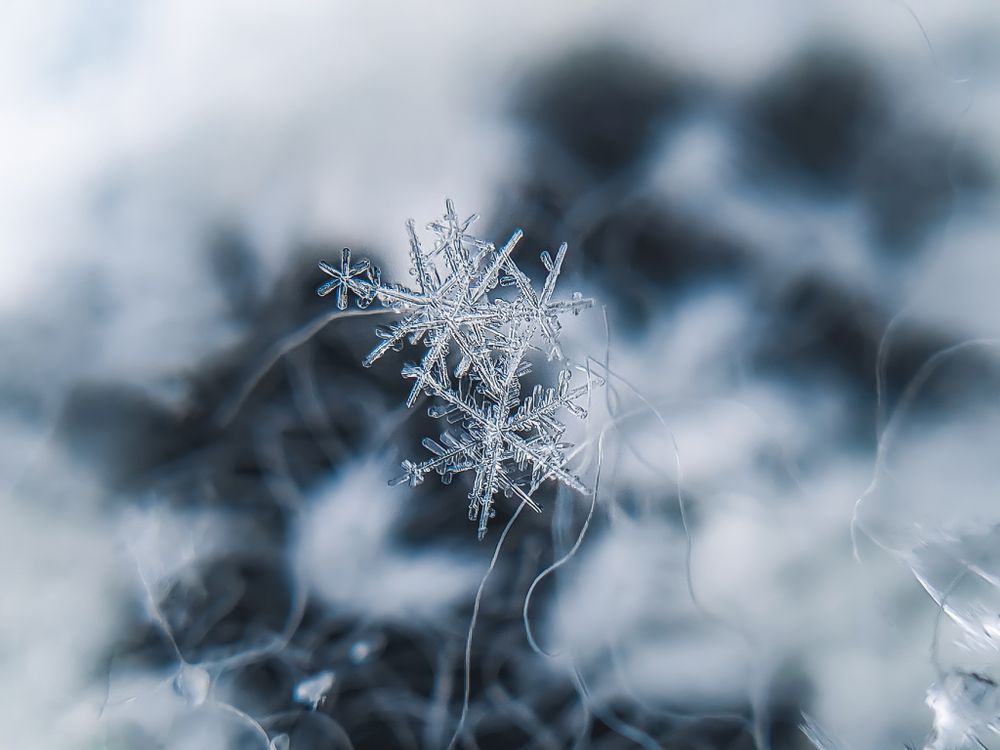
Replace the growing string with fresh string, fishing line, or pretty ribbon, and your ornaments are ready. They look beautiful on the tree near warm lights, in a window, or tied to a wrapped gift. For a full handmade display, hang them alongside our guide to dried orange slice ornaments, where warm orange and icy white set each other off so nicely.
To store them, wrap each piece in tissue paper in a sturdy box where they will not be crushed. Keep the box cool and dry, as moisture is the main enemy of borax crystals.
Troubleshooting: quick fixes for common problems
No crystals formed
The solution was most likely not saturated enough, or the water was not hot enough. Reheat it in your dedicated pot until steaming, stir in more borax one tablespoon at a time until no more will dissolve, then try again with a clean, dry shape. Also check that you used borax powder, not baking soda or washing soda.
Cloudy crystals
Cloudy, dull crystals often come from moving the jar during growing, or from the solution cooling too fast in a cold room. Next time, set the jar in a warm, still spot away from doors and windows, and leave it completely alone for a longer, undisturbed rest.
Crystals falling off
Crystals may crumble if the ornament was removed too soon, dried too fast near a heater, or never sealed. Let the next batch grow overnight, dry slowly at room temperature, and seal it well once fully dry. Handle finished pieces by the string, not by the crystal covered shape.
Fun variations to try
For food colouring tints, add a few drops to the hot solution before you lower the shape in. Blue and teal give a frosty, icy look, while pink and purple feel soft and pretty. The dried colour will be paler than it looks in the jar, so be a little generous with the drops.
Glitter pipe cleaners are the easiest variation of all. Crystals grow over the glittery surface and the sparkle shows through, with no extra steps. Silver, gold, and white glitter stems all work well.
Letters and hearts make lovely personalised gifts. Bend pipe cleaners into initials or simple heart shapes, keeping them fairly small and thick so they stay strong under the weight of the crystals. A crystal heart makes a sweet gift topper, and a set of initials looks charming on a family tree. Grouped above a mantel, these smaller pieces look wonderful with our guide to a DIY dollar store Christmas wreath as the centrepiece.
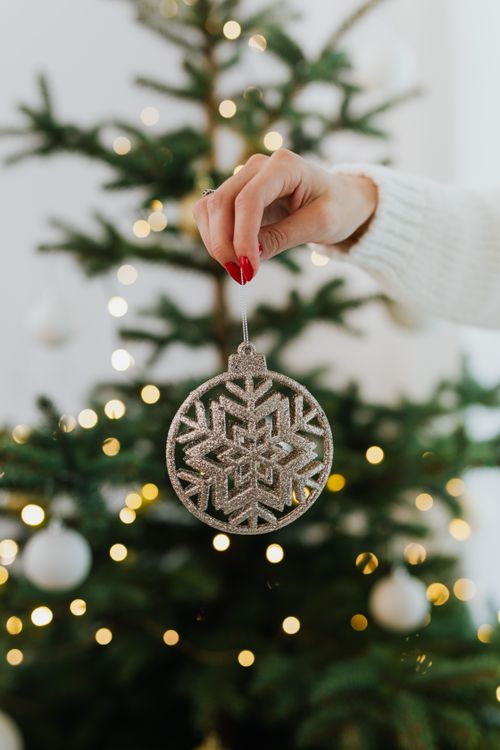
Borax crystal ornaments feel like magic but ask for very little: a few pipe cleaners, a box of borax, and a quiet night of patience. Make a first batch of snowflakes and stars, then have fun with colours and shapes. We hope yours sparkle all season long.


Comments
Post a Comment