Air Dry Clay Trinket Dish: A Beginner Ring Dish in One Afternoon
A trinket dish is one of those small things that quietly improves a room. Keys land in it instead of on the counter, rings come off into it at night instead of rolling under the dresser, and it takes one afternoon and a lump of air dry clay to make. No kiln, no wheel, no special studio: a rolling pin, a bowl from your own kitchen cupboard, and a little patience while it dries.
This beginner ring dish uses the same friendly clay as our easy air dry clay crafts, so if you have half a pack left over from another project, that is exactly enough. Work slowly, keep the clay an even thickness, and let drying time do the hard work for you.
What you need
Air dry clay costs about $6 to $10 for a 1 kg pack, and one pack makes four or five dishes. You also need a rolling pin or a smooth bottle, a small bowl to use as a mould (about 4 to 5 inches across is a lovely ring dish size), cling film or a freezer bag, a butter knife or clay knife, a small bowl of water, fine sandpaper (240 grit, then 400 if you have it), acrylic paints and brushes, and a water based varnish or sealant in matte or gloss. A gold acrylic paint pen, about $4, gives the prettiest edge finish and is far easier than a brush.
Step 1: Condition and roll the clay
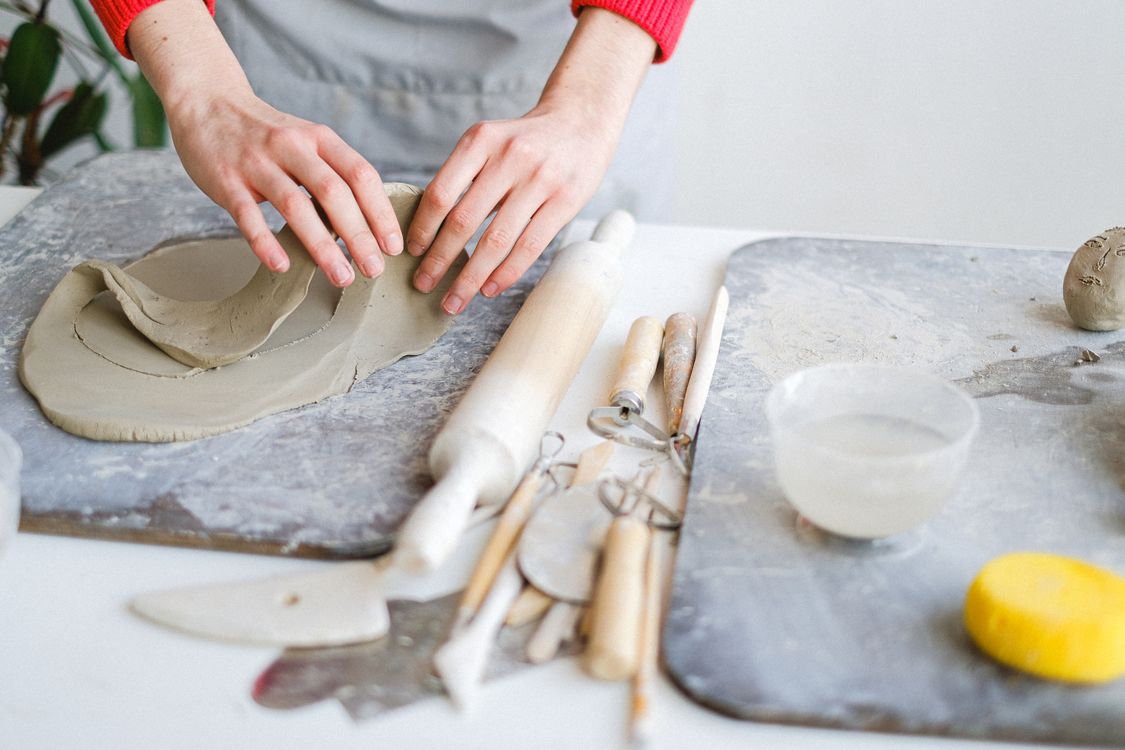
Cut off a lump of clay about the size of a tennis ball and put the rest straight back in its sealed pack, because air dry clay starts drying the moment it meets the air. Knead your lump for a minute or two, folding and pressing, until it feels smooth, soft and even with no dry cracks at the edges. This conditioning step is what stops cracks later, so do not skip it even though it feels like nothing is happening.
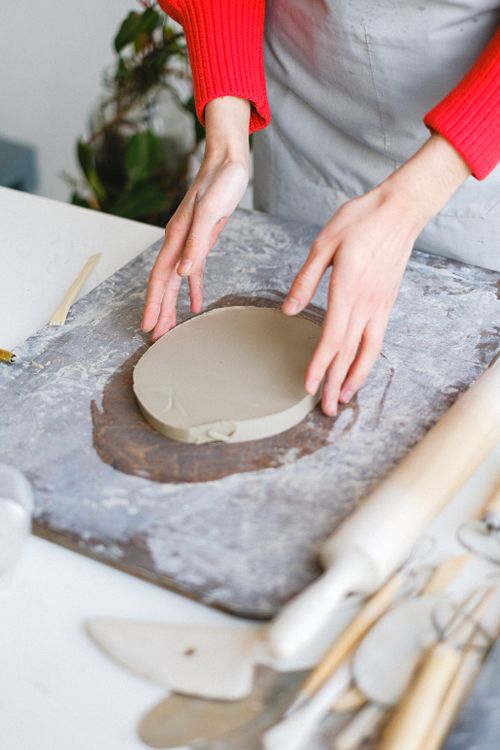
Roll the clay out on a smooth surface or a sheet of baking paper, turning it a quarter turn every few rolls so it stays round. Aim for an even thickness of about 5 to 6 mm, roughly two coins stacked. Evenness matters more than thinness: a dish that is thick on one side and thin on the other dries at two speeds and warps. Two wooden skewers or pencils laid either side of the clay make simple thickness guides for the rolling pin to rest on.
Step 2: Cut and shape it in the bowl mould
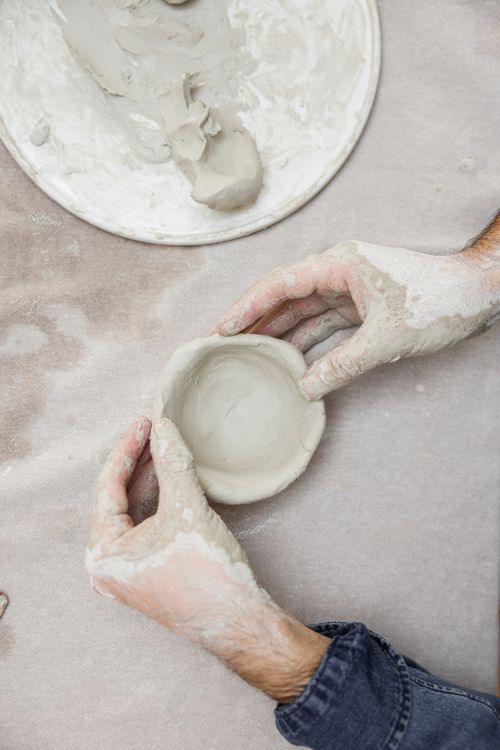
Cut a rough circle from your slab, about an inch wider all round than the top of your mould bowl. A plate or a large lid makes a handy template. Line the inside of the bowl with cling film, smoothing out as many wrinkles as you can, then lay the clay circle into the bowl and press it gently down and outwards with your fingertips until it takes the bowl shape. Work from the centre out, coaxing rather than stretching, because stretched clay springs back and thins at the rim.
Trim the rim level with a knife, following the top edge of the bowl, and keep the offcuts wrapped for a second smaller dish. If you want a wavy, organic edge instead, trim the circle unevenly on purpose and soften each wave with a wet fingertip. Run a damp finger around the whole rim now: this first smoothing is much easier while the clay is wet than after it dries.
Step 3: Smooth and refine
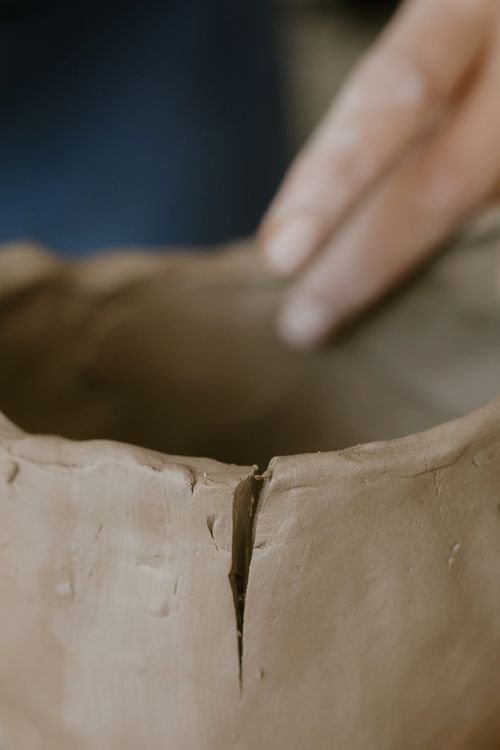
With the dish still in its mould, dip your fingers in water and smooth the inside surface in small circles. Tiny cracks, joins and fingerprints all melt away under a wet fingertip. Check the outside too, lifting the cling film edge to peek, and smooth any creases the film pressed into the clay. If one spot looks thin, press a pea sized piece of soft clay into it from the inside and smooth it over.
Step 4: Let it dry properly
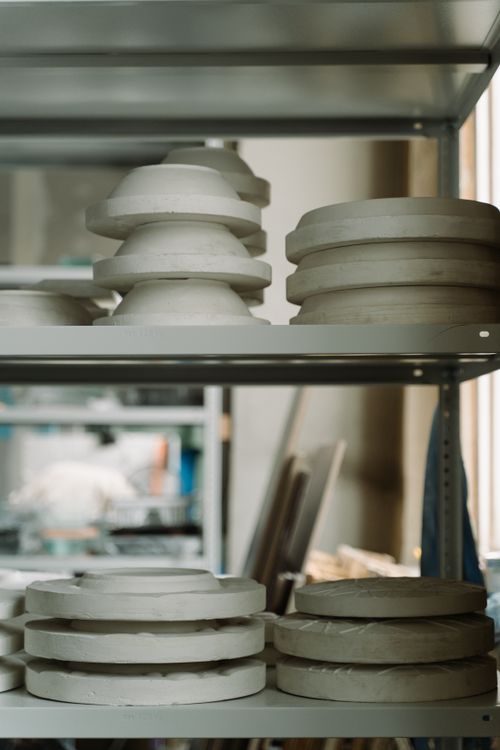
Leave the dish in its mould for the first 24 hours, somewhere at room temperature and out of direct sun and away from radiators. Fast drying is the enemy: heat makes the surface skin over while the inside stays wet, and that is how cracks are born. After a day, the clay will have lightened in colour and feel firm and papery. Ease it out of the mould, peel away the film, and set it right side up on a rack or a folded cloth for another 24 hours so the base dries too.
Thin dishes sometimes curl very slightly as the base dries. If yours does, rest it upside down for the second day with a light book nearby, not on it, and it will usually settle. Do not be tempted to paint at the 24 hour mark, because trapped moisture under paint is the main cause of peeling later.
Step 5: Sand for a smooth finish
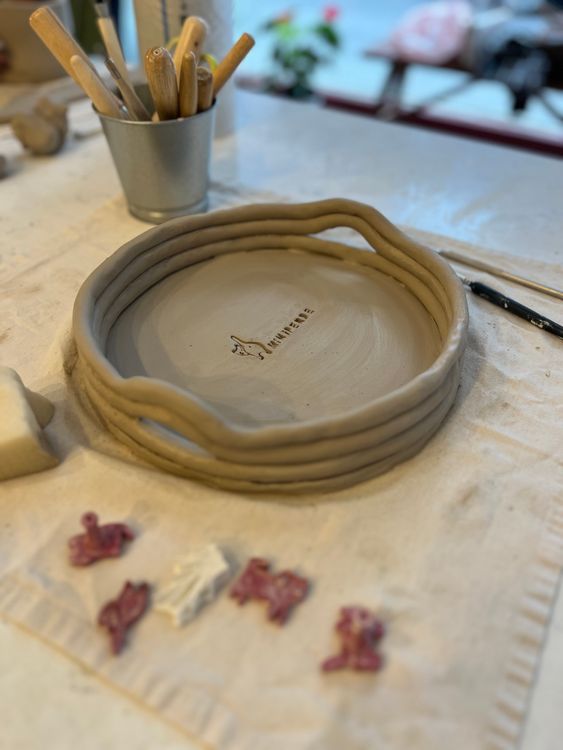
Once the dish is dry all through, sand the rim and any rough patches with 240 grit sandpaper, then a quick pass with 400 grit if you have it. Sand over a bin or outdoors, because clay dust is fine and gets everywhere, and keep strokes light and circular. Wipe the dish with a barely damp cloth afterwards to remove the dust. This five minute step is the difference between a dish that feels homemade and one that feels handmade, so it is worth doing properly.
Step 6: Paint your design
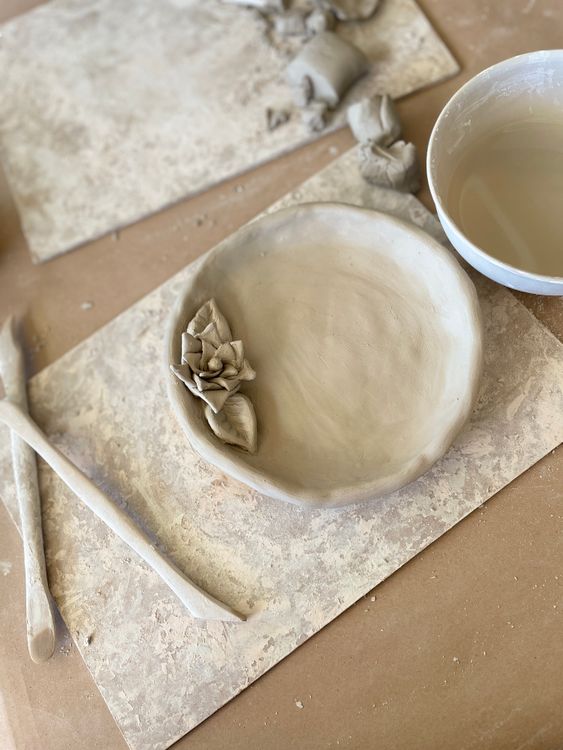
Acrylic paint suits air dry clay best. A plain colour inside and out looks clean and modern, or paint the inside one colour and leave the outside natural for contrast. Patterns that forgive a wobbly hand: dots made with the end of a paintbrush, simple stripes, tiny leaves, or a speckled finish made by flicking a dry brush. Two thin coats, left to dry between coats, always look better than one thick coat. If you make a mistake, let it dry and paint straight over it.
Step 7: Seal it and add the gold edge
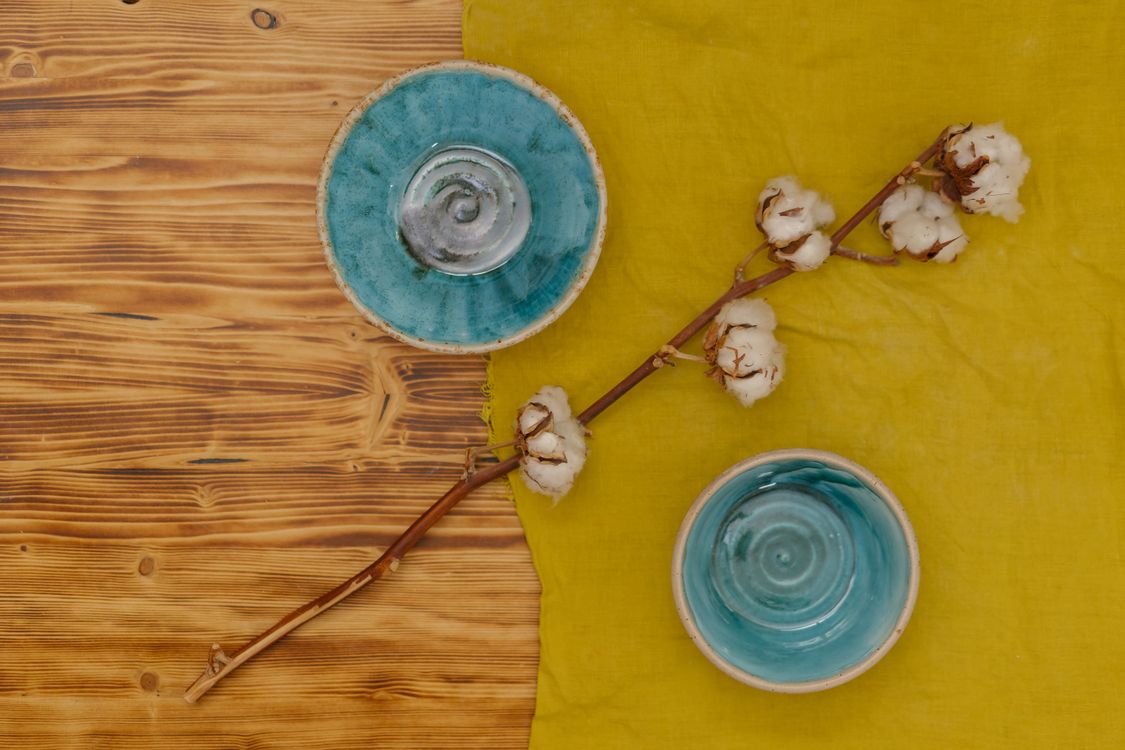
When the paint is fully dry, brush on a thin, even coat of water based varnish. Matte varnish keeps the soft clay look, while gloss makes colours deeper and the dish easier to wipe clean. Let it dry for the time on the tin, usually two to four hours, and add a second coat if the dish will live somewhere steamy like a bathroom shelf.
For the finishing touch, run a gold paint pen slowly around the rim, resting your hand on the table and turning the dish rather than your wrist. A fine gold line catches the light and makes even the plainest white dish look like a boutique buy. If gold is not your style, a rim painted in one strong colour, navy, forest green or terracotta, has the same smart effect.
Care notes and simple variations
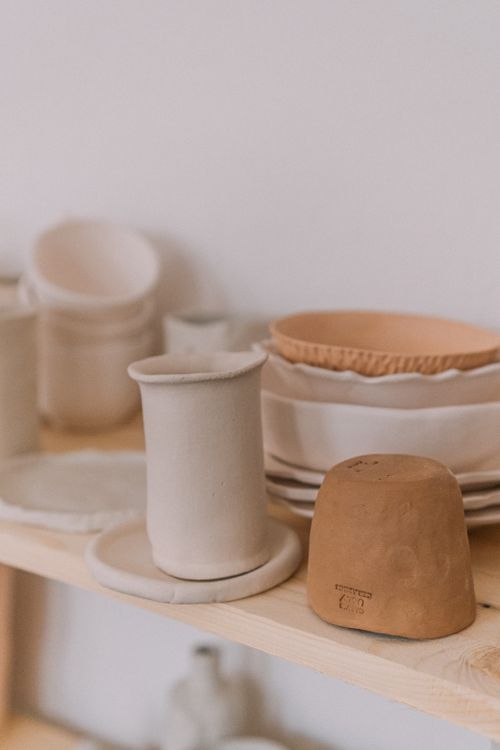
Air dry clay is decorative, not waterproof, even when sealed. Use your dish for rings, keys, hair clips, coins and other dry things, wipe it with a dry or barely damp cloth, and never soak it or put it in the dishwasher. It is not food safe, so keep it away from unwrapped food and use it as a catch all instead of a snack bowl.
Variations are endless once you have the basic dish down. Press a lace doily or a leaf into the wet clay before shaping for a printed texture, stamp initials into the base for a personalised gift, or make a set of three tiny dishes in nesting sizes. A finished dish earns a place in any of the displays in our trinket shelf ideas round up, and a stack of them, tied with ribbon, is one of the easiest handmade gifts you will ever give.


Comments
Post a Comment